
At this point, we should be ready to get an installation or two of Ubuntu Server going. In the steps that follow, I'll walk you through the process.
To get started, all you should need to do is insert the media into your server or device and follow the onscreen instructions to open the boot menu. The key you press at the beginning of the POST process differs from one machine to another, but it's quite often F10, F11, or F12. Refer to your documentation if you are unsure, though most computers and servers tell you which key to press at the beginning. You'll probably miss this window of opportunity the first few times, and that's fine—to this day I still seem to need to restart the machine once or twice to hit the key in time.
When you first boot from the Ubuntu Server install media, you'll see an icon near the bottom that looks like the following (it will go away after a few seconds):

This icon is your indication that you can press Enter here to select additional options, such as your language. If you don't press Enter within a few seconds, this will be bypassed and the default options (such as the English language) will be chosen automatically. If you do press Enter, you'll see the following screenshot:
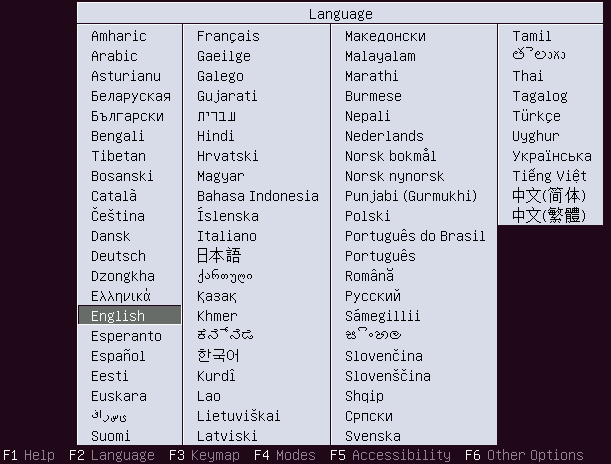
If your language is anything other than English, you'll be able to select that here. You can also press F6 to view additional options, which you would only explore in a situation in which your hardware wasn't working properly. Most people won't need to do this, however.
After choosing your language, you'll be brought to the installation menu. (If you didn't press Enter when the previously mentioned icon was on the screen, this screen will be bypassed and you won't see it). The installation menu will give you additional options. To start the installation process, press Enter to choose the first option (Install Ubuntu Server), though a few of the other options may be useful to you:
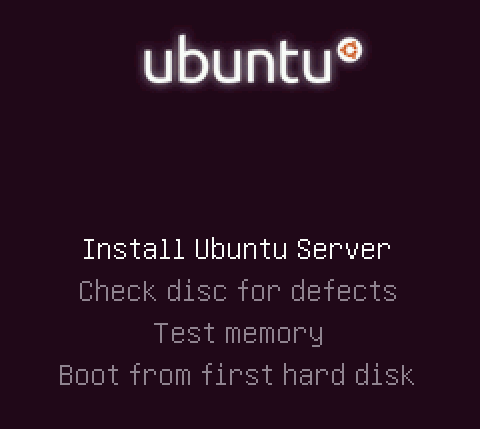
First, this menu also offers you an option to Check disc for defects. Although I'm sure you've done well in creating your media, all it takes is for a small corruption in the download and you would end up with invalid media. This is extremely rare—but it does happen from time to time. If you have the extra time, it may make sense to verify your media.
Second, this menu gives you the option to Test memory. This is an option I've found myself using far more often than I'd like to admit. Defective RAM on computers and servers is surprisingly common and can cause all kinds of strange things to happen. For one, defective RAM may cause your installation to fail. Worse, your installation could also succeed—and I say that's worse due to the fact you'd find out about problems later (after spending considerable time setting it up) rather than right away. While doing a memory test can add considerable time to the installation process, I definitely recommend it on physical servers, especially if the hardware is new and hasn't ever been tested at all. In fact, I make it a process to test the RAM of all my servers once or twice a year, so this media can be used as a memory tester any time you need one.
From this point forward, we will progress through the various screens to customize our installation. I'll guide you along the way.
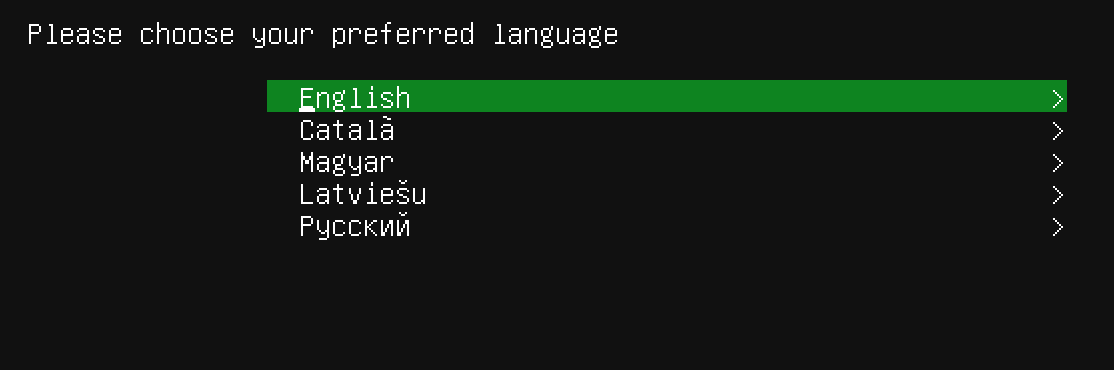
To navigate the installer, you simply use the arrow keys to move up and down to select different options, and press Enter to confirm choices. The Esc key will allow you to exit from a sub-menu. The installer is pretty easy to navigate once you get the hang of it. Anyway, after you enter the actual installation process, the first screen will ask you to select a language. Go ahead and do so:
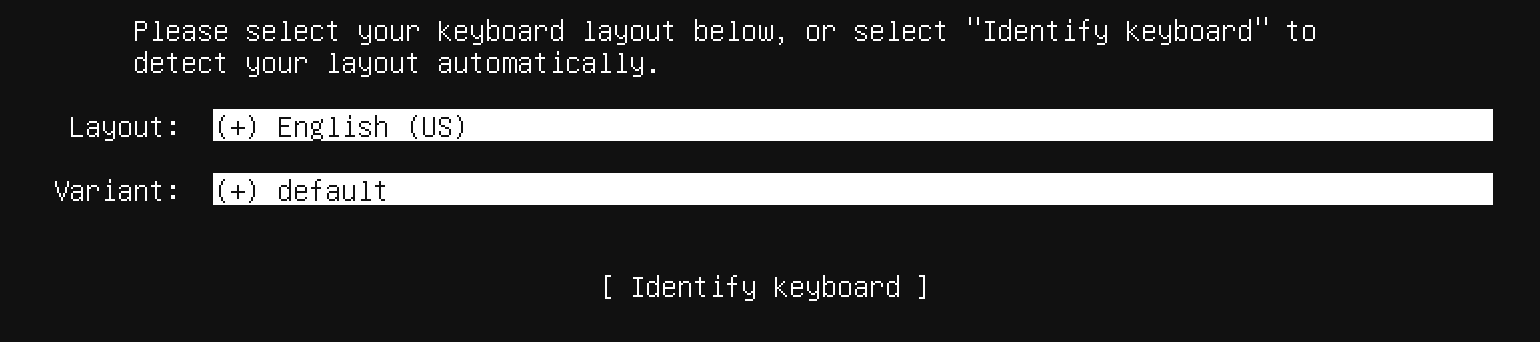
The next screen will allow you to choose your keyboard layout. If you use a keyboard other than an English (US) keyboard, you can select that here. Press down key to highlight Done and press Enter when you've finished:
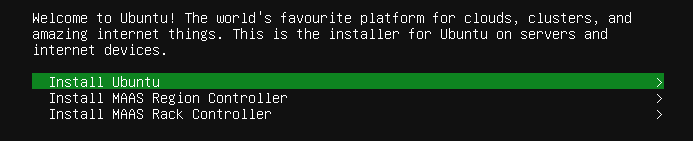
At the next screen, you will have the option to install Ubuntu Server, or a MAAS region or rack controller. MAAS, or Metal as a Service, is beyond the scope of this book, but it offers some very interesting features, such as additional options for scaling and provisioning your servers. After you become proficient with Ubuntu Server, it may be worth learning later. I have included a link to the documentation for MAAS at the end of this chapter, should you desire to learn more about it. For now, choose the first option, Install Ubuntu:
Next, the installer will automatically try to configure your network connection via DHCP. This is often correct, so you shouldn't need to do anything here unless you have more than one network card and you'd like to use one other than the default. In my case, it defaulted to device enp0s3 (which is correct) but the interface name will be different depending on your hardware. If you do need to change this, you can select the defaulted interface name, press Enter, and select a different one. When you're finished, arrow down to done and press Enter:

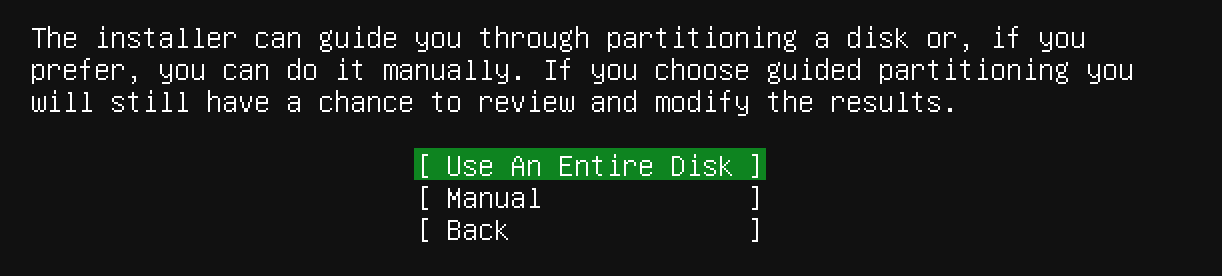
The next screen will give you a chance to configure your server's disk. At this screen, if you want to implement a custom partitioning scheme, you can do that here. The option Manual will allow you to do just that. However, that is beyond the scope of this chapter as we're just trying to get an installation off the ground, so choose Use An Entire Disk to continue:
After selecting Use An Entire Disk, the next screen will allow you to choose a disk on which to install Ubuntu Server. In my case, I only have one disk, and you probably do as well. But if you have more than one, select the drive to be used as the main drive for the distribution. We can always configure any other drives you may have later. In fact, we will take a look at storage volumes in Chapter 3, Managing Storage Volumes. Simply press Enter after highlighting the appropriate disk:

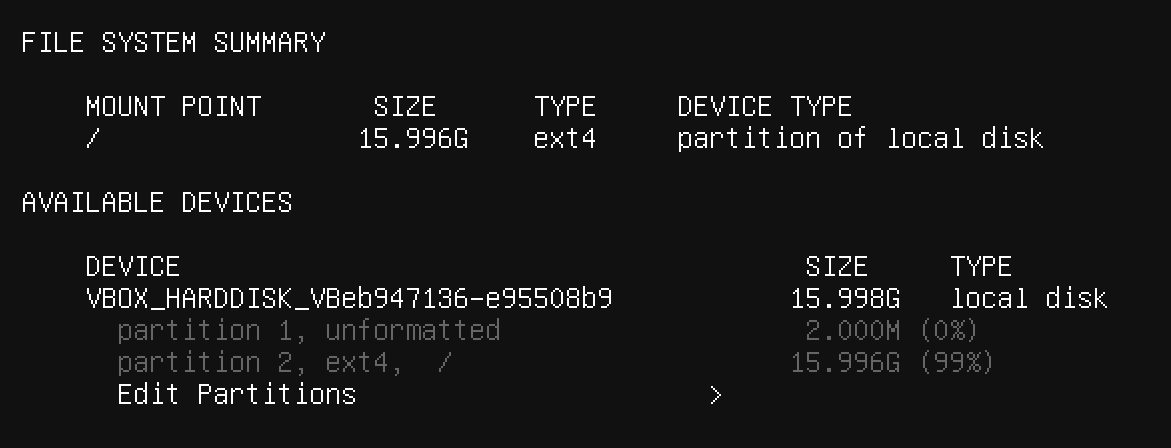
Next, the Ubuntu installer will give you an overview of the partitioning it will perform. The defaults are fine, so simply press Enter. You'll be asked to confirm one last time; when you are, arrow down to continue and press Enter:
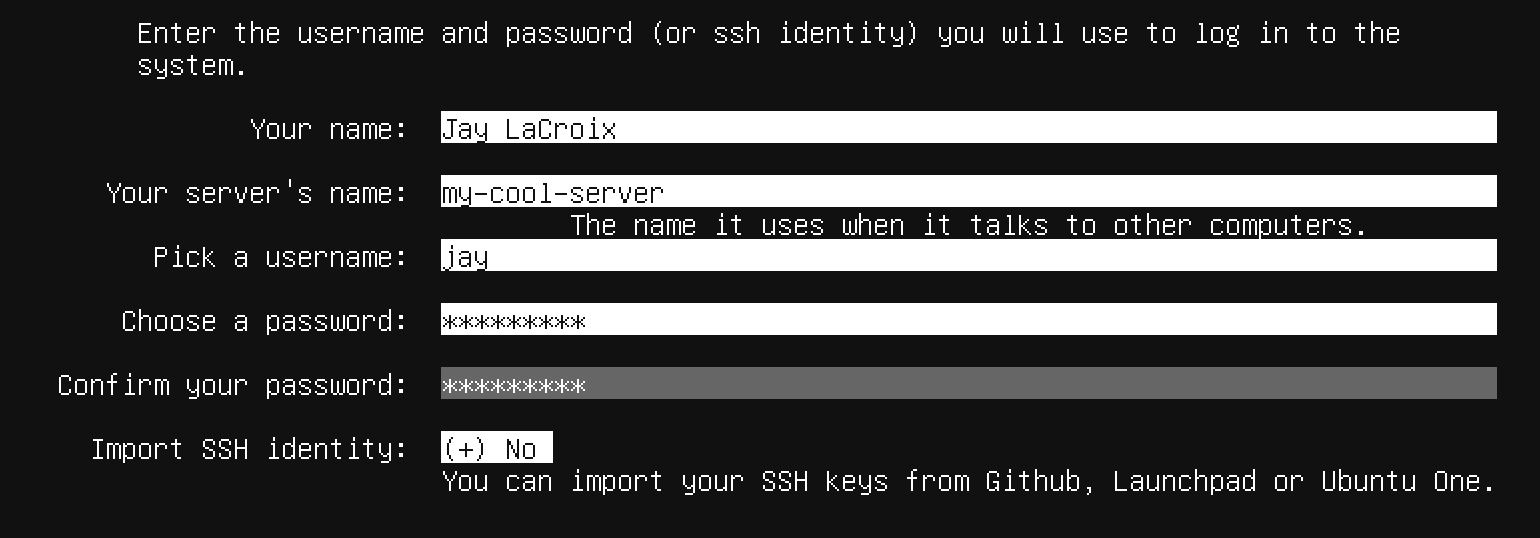
At the next screen, you'll fill out information relative to the default user account. Fill out your information on this screen, as I have in the sample screenshot. One important thing to keep in mind is that the user you create here will have administrative access. You can always create other users later on, but the user you create here will have special privileges. When finished, arrow down to done and press Enter:
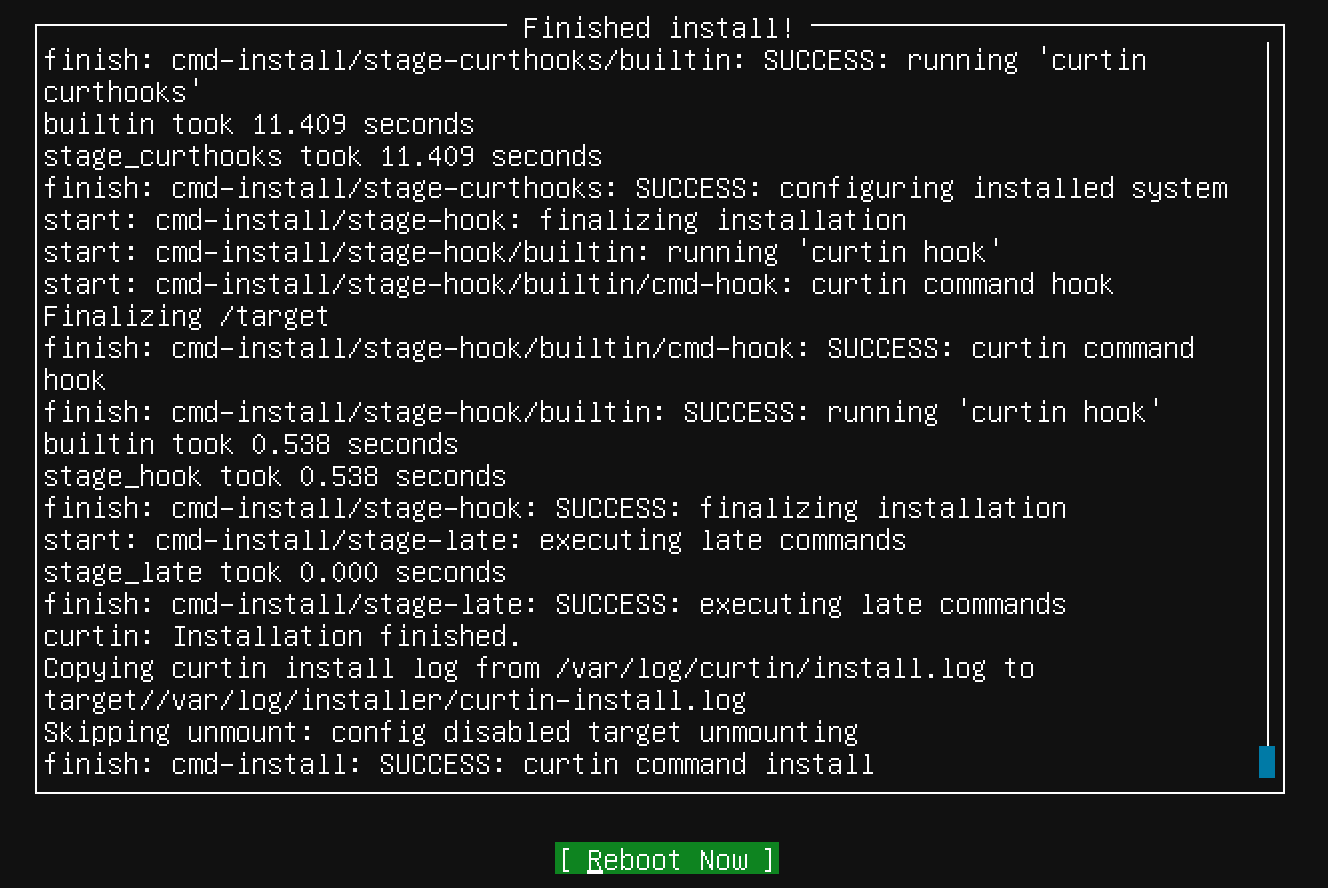
At this point, the installation will continue on, and may even be well on its way before you're finished filling out your user information. You'll see a screen similar to the following when everything is finished. Press Enter to reboot the server into the new installation:
At this point, your server will reboot and then Ubuntu Server should start right up. Congratulations! You now have your own Ubuntu Server installation!