
Amazon Web Services (AWS) is a suite of services hosted within Amazon's network infrastructure which allows companies and individuals take advantage of their computing/storage capacity and world wide data centers. Elastic Cloud Compute (EC2) is a virtualization platform that lets us set up virtual systems on demand, usually to host websites and web apps. This recipe will walk you through the process of setting up a new virtual server running CentOS on the AWS platform.
This recipe assumes that you have an AWS account. You can sign up for one at http://aws.amazon.com. You will need to provide a valid credit card, although you will have access to Amazon's free tier for 12 months.
To set up a new Amazon Machine Instance (AMI) on AWS's EC2 platform, follow these steps:
Log in at https://aws.amazon.com and go to the AWS Management console. Under the Compute category, click on the EC2 link to access the EC2 management page. Then, click on the Launch Instance button:
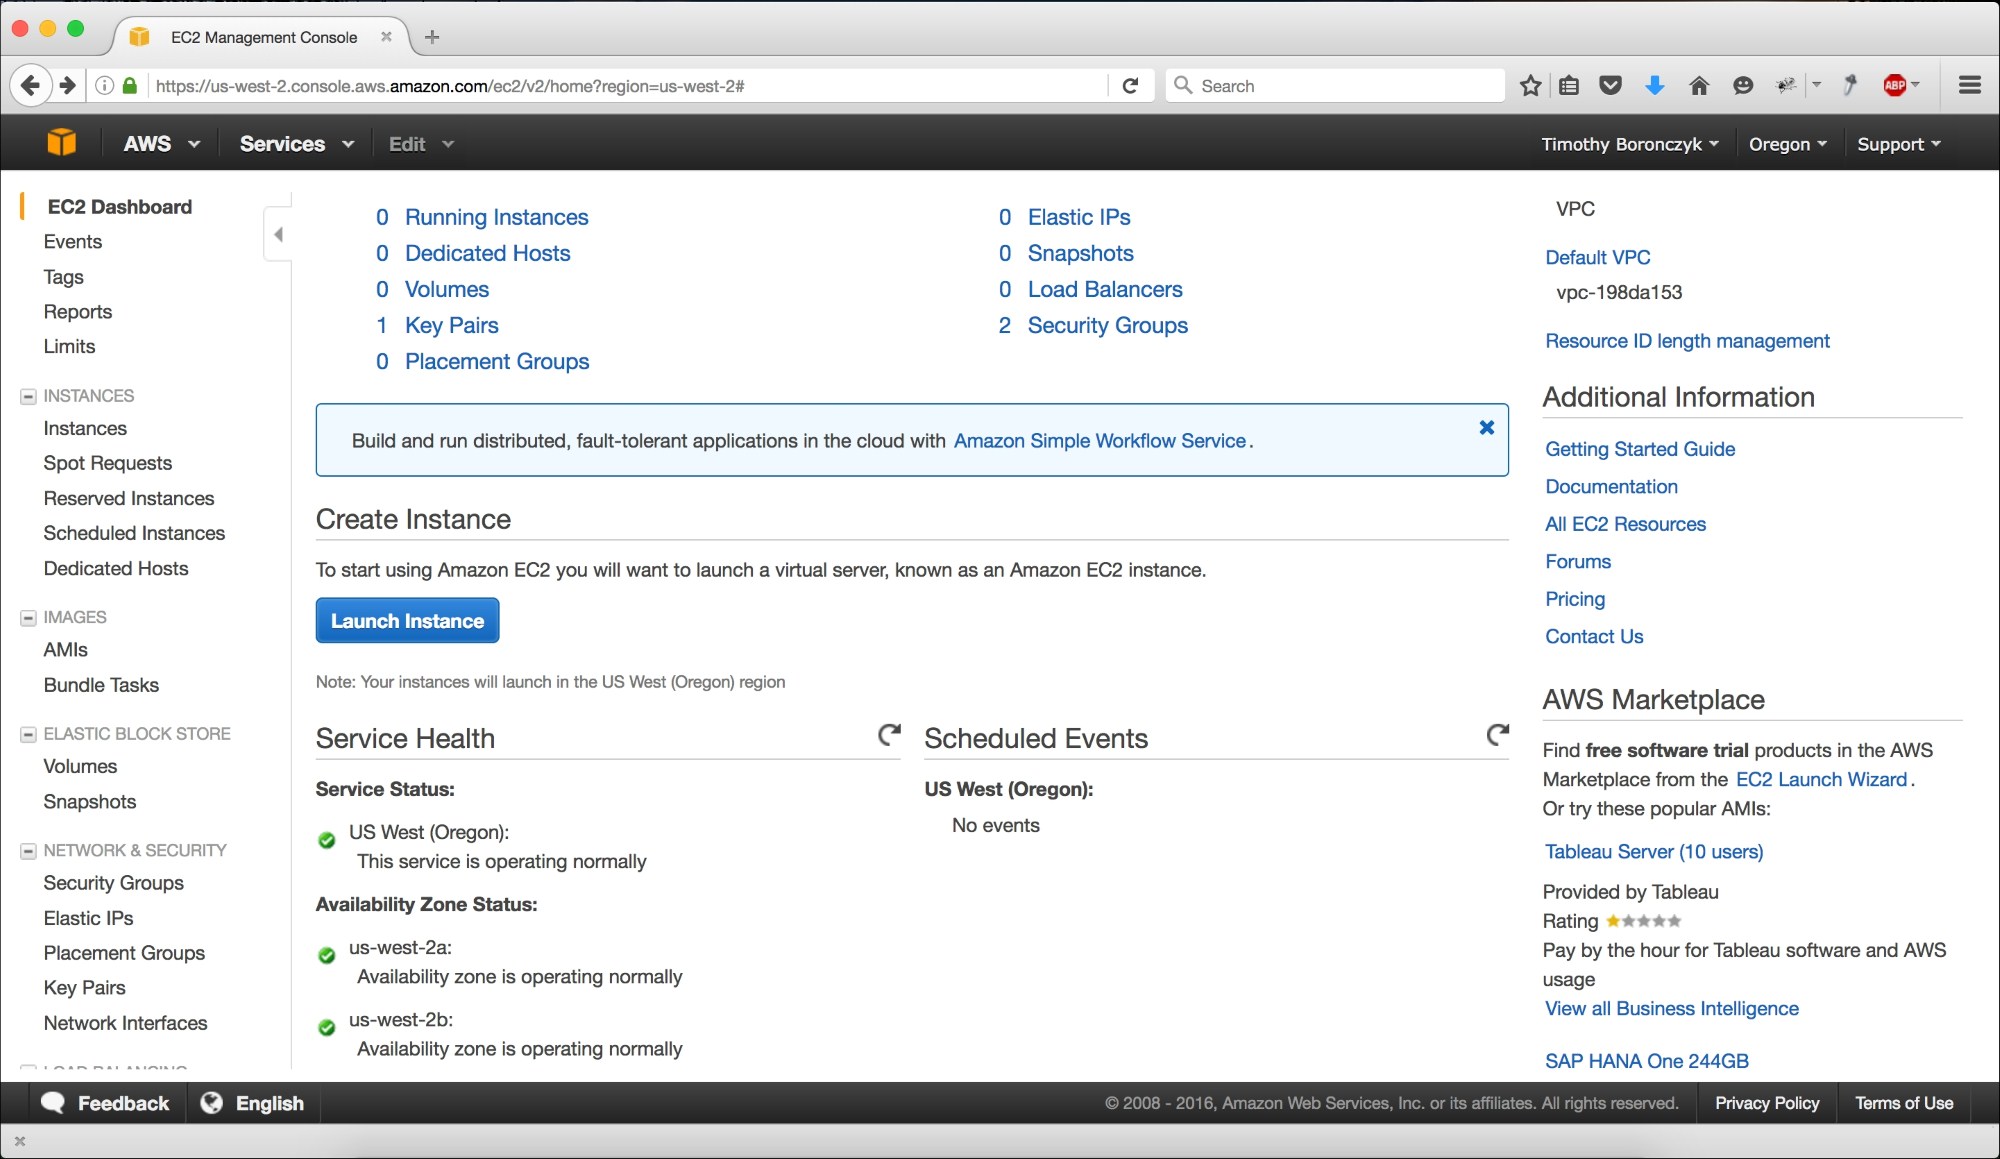
The EC2 Management Console presents an overview and quick access to resources
On the Choose an Amazon Machine Image (AMI) page, select Community AMIs in the side menu and then check the CentOS filter. A list of instances created by the community will be shown. Select the one you desire:
Note
Review the list of available images carefully. Many are available, created using different versions of CentOS and with various configurations.

The image selection page presents a filterable list of machine images created by community users
On the Review Instance Launch page, review your instance's resources (the number of virtual CPUs, available memory, and so on) and click on the Launch button:
Note
Amazon guides you through selecting an AMI and configuring it in a wizard-like fashion, listing the steps at the top of the page. The Review and Launch buttons jump directly to the last step. You can use the links at the top of the page to go back to an earlier step and adjust the instance's configuration.

Review your instance's resources on the Review Instance Launch page
Using the drop-down list, select Create a new key pair, enter a suitable filename for the key, and click on the Download Key Pair button. After you save the downloaded private encryption key, click on the Launch Instances button:

You're prompted to create a pair of encryption keys the first time you launch the image
On the launch status page, click on the View Instances button at the bottom of the page. Then, right-click on the running instance and select Connect from the context menu. Select the preferred connection method and follow the instructions that appear on the screen.
This recipe walked you through the steps necessary to spin up a new CentOS AMI on AWS's EC2 platform. To log in to the system, a password or set of encryption keys is needed, and since the primary user account's password is likely to be unknown, we opted to generate a new pair of keys. The private key is downloaded and then used with your SSH client to authenticate your login.
Once you have logged in to your running system, it's worth viewing the contents of the /etc/system-release file to verify the running version of CentOS. Also, you should use the passwd command to change the root account's password if the account isn't already locked down. This is an important security precaution because you don't know who knows the default password. You'll find recipes for managing user permissions in Chapter 3, User and Permission Management, and recipes for managing remote access in Chapter 6, Allowing Remote Access:

After you log in, verify the system's version number and update the root password
Refer to the following resources for more information on working with AMIs on Amazon's EC2 platform:
What Is Amazon EC2? (http://docs.aws.amazon.com/AWSEC2/latest/UserGuide/concepts.html)
Connect to Your Linux Instance (http://docs.aws.amazon.com/AWSEC2/latest/UserGuide/AccessingInstances.html)
Remove SSH Host Key Pairs (http://docs.aws.amazon.com/AWSEC2/latest/UserGuide/building-shared-amis.html#remove-ssh-host-key-pairs)