Book Image

Mastering Zendesk

By : Cedric F. Jacob
Book Image

Mastering Zendesk

By: Cedric F. Jacob

Overview of this book

Zendesk is a cloud-based customer service solution that is widely used because it is easy, efficienct, flexible, and low cost. It is highly scalable and is great for organizations of all sizes. If you’re a Zendesk administrator and are looking to explore advanced-level concepts, then this book is for you. It covers the core functionalities such as managing users, groups, and the organization, and creating and adding custom fields. You will learn how to add customized ticket channels to your account. Then, you will focus on customizing business rules and extending Zendesk with JIRA and Salesforce. Towards the end, the book emphasizes security and troubleshooting aspects as well as providing tips and tricks to create a more efficient support environment. By the end of this book, you will be able to turn a basic Zendesk setup into a highly customized working environment.
Table of Contents (17 chapters)
Mastering Zendesk
Credits
About the Author
About the Reviewer
www.PacktPub.com
Customer Feedback
Preface

Automations in detail


In order to navigate to the automations page, follow these steps:

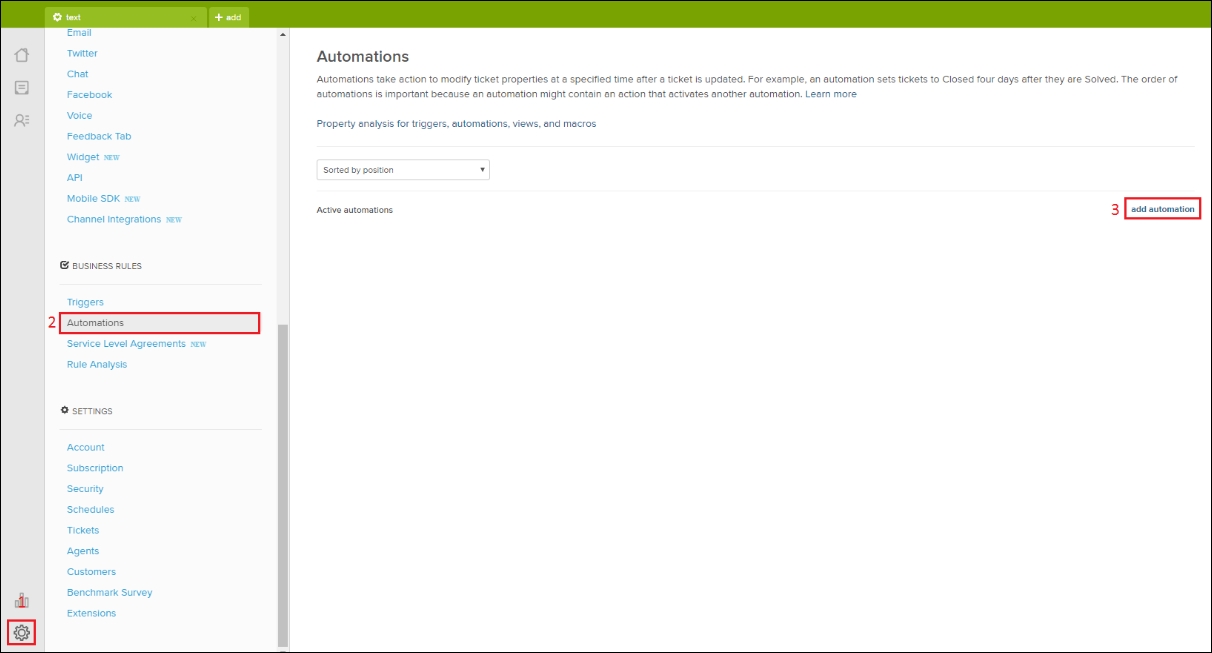
  1. Click on the Admin icon (gear symbol) located at the bottom of Zendesk's sidebar.

  2. Click on Automations located under BUSINESS RULES within the admin menu.

  3. In order to create a new automation, click on add automation on the right side of the screen:

We will be presented with an empty automation waiting to be set up. We can divide this page into the following items:

  • Automation title

  • Meet all of the following conditions

  • Meet any of the following conditions

  • Perform these actions

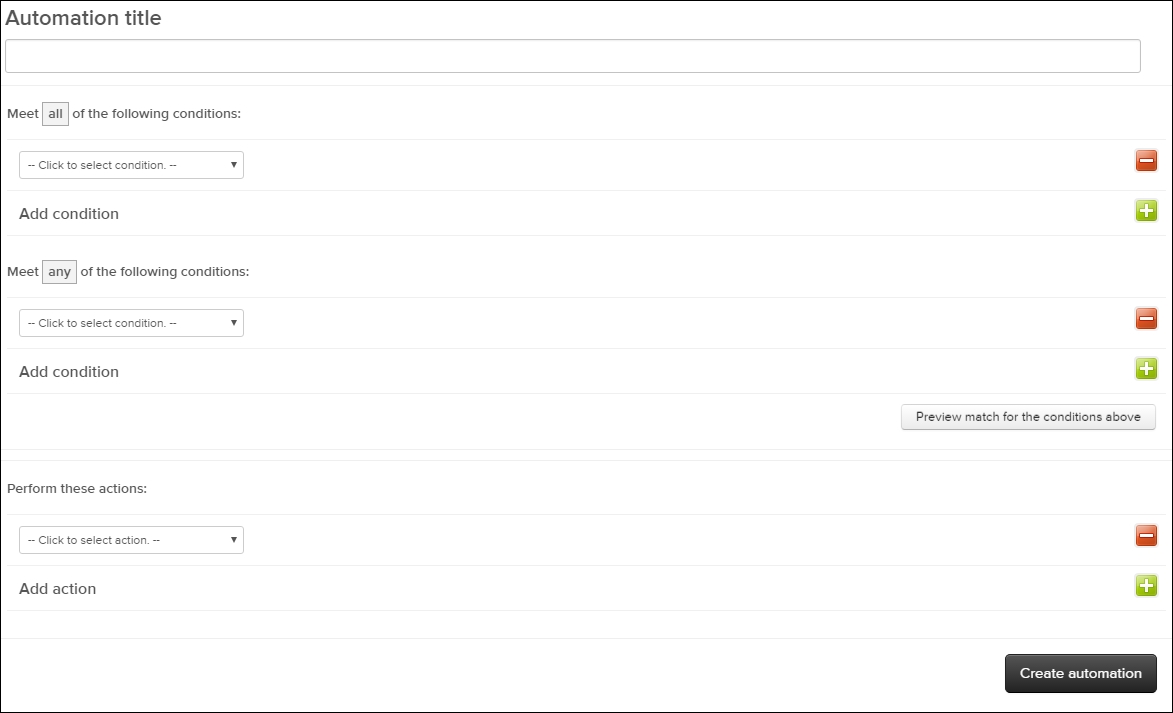
First we can choose the Automation title. Again, it makes sense to use some sort of statement that explains the automation's purpose. This way, we understand what all our automations do by simply reading through their titles. Look at this example—Ticket over 7 days old -> Notify Teamleader + Tag with "old_request".

Next up, we can define our automation's conditions. Just like for triggers, we can add the all and any conditions...