
The Mate desktop environment was built in continuation of GNOME 2. It was first released in 2011.
To configure the Mate environment follow the given steps:
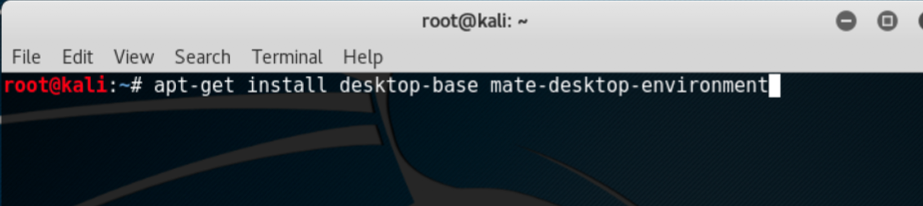
- We start by using the following command to install the Mate environment:
apt-get install desktop-base mate-desktop-environment
The following screenshot shows the preceding command:
- Type
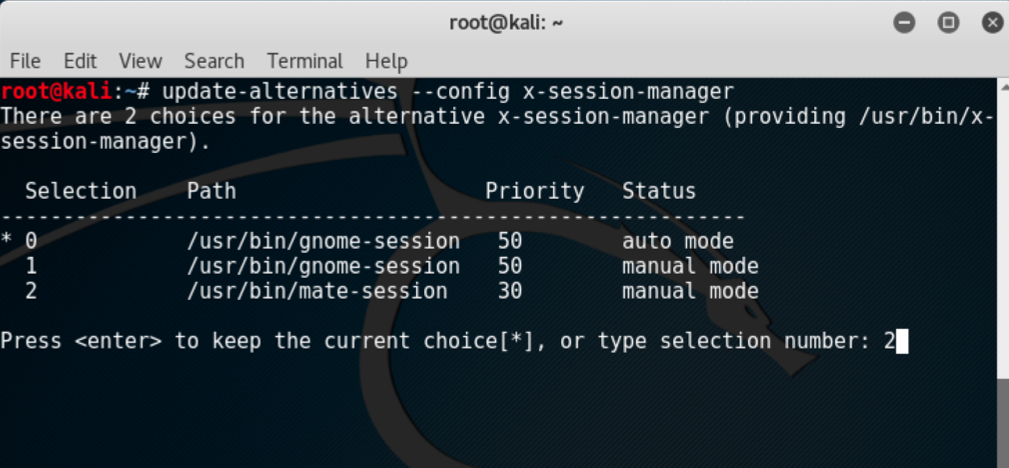
Ywhen it asks for confirmation on additional space requirements. - When installation is complete we will use the following command to set Mate as our default environment:
update-alternatives --config x-session-manager- Choose the option
mate-session(in our case2) and press the Enter key:
- Log out and log in again or restart and we will see the Mate environment: