
Creating a penetration-testing lab is essential, it will allow you to practice and test new techniques and exploits in a secure environment. Using virtual machines for your lab environment will give you portability, flexibility, and low maintenance. You can work simultaneously on more than one operating system, set up complex network scenarios, and perform penetration tests on multiple targets. So, let's have a quick look at how we can set up a penetration-testing lab using virtualization.
For your lab, you can use the hypervisor of your choice; the most common hypervisors are VirtualBox, VMware Workstation Pro, VMware Fusion Pro (for Mac), VMware ESXi, and Microsoft Hyper-V. For the penetration testing lab used in this book, I would recommend you to use VirtualBox since it is an open source hypervisor and a requirement for building one of the virtual machines.
Note
Although you need to build the virtual machine using VirtualBox, after building the machine you can import it to any of the hypervisors you like.
This is the network diagram for the penetration-testing lab:

We will use four virtual machines with Kali Linux, a Linux server, a Windows server, and a Windows 10 client. In this lab, we have a modern scenario that will allow us to test and practice the latest techniques and exploits.
For the Kali Linux machine, the Linux server, and the Windows 10 client, the setup is simple. We can download the Kali Linux virtual machine from the official site, https://www.kali.org/downloads/; for the Linux server, we will use the Metasploitable 2 machine which you can download from SourceForge at https://sourceforge.net/projects/metasploitable/files/Metasploitable2/; and for the Windows 10 client, we can download a 90-day trial from the Microsoft Developer site at https://developer.microsoft.com/en-us/microsoft-edge/tools/vms/.
For the last machine, we will use Metasploitable 3, a Windows virtual machine that we will build, with many security vulnerabilities for us to test. To build the Metasploitable 3 machine, we have to install Packer, Vagrant, the Vagrant Reload plugin, and VirtualBox. The build scripts and documentation, as well as the most up-to-date build instructions, can be found at the official GitHub repository: https://github.com/rapid7/metasploitable3. To build the machine automatically, perform the following steps:
- Run the
build_win2008.shscript if using Bash, orbuild_win2008.ps1if using Windows. - Upon successful completion, run
vagrant up. - When the process completes, you should be able to open the VM within VirtualBox and log in using the username
vagrantand passwordvagrant.
Before you start your virtual machines, there is an important configuration that you will have to make in order to set up the network communication for the lab:
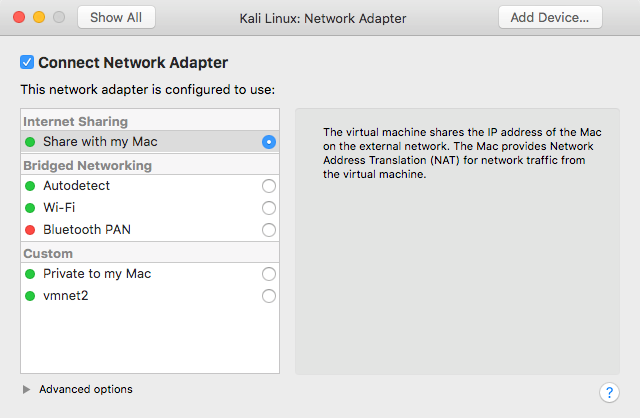
- Select the Kali Linux virtual machine and click on
Settings. Then, move toRemovable Devices. In theNetwork Adapteroption, the network adapter should be configured to useInternet Sharing|Share with my Mac, which will allow the virtual machine to access the internet, sharing the IP address of the host machine, since it will provide Network Address Translation (NAT) for network traffic from the virtual machine.
- The network adapter of the Metasploitable 3 virtual machine and the first network adapter of the Metasploitable 2 virtual machine should also be configured to use NAT:
- In VMware Fusion, go to
Preferences, select theNetworktab, and create a custom network. Check the box to provide addresses on this network via DHCP; use theSubnet IPof10.0.0.0and theSubnet Maskof255.255.255.0:

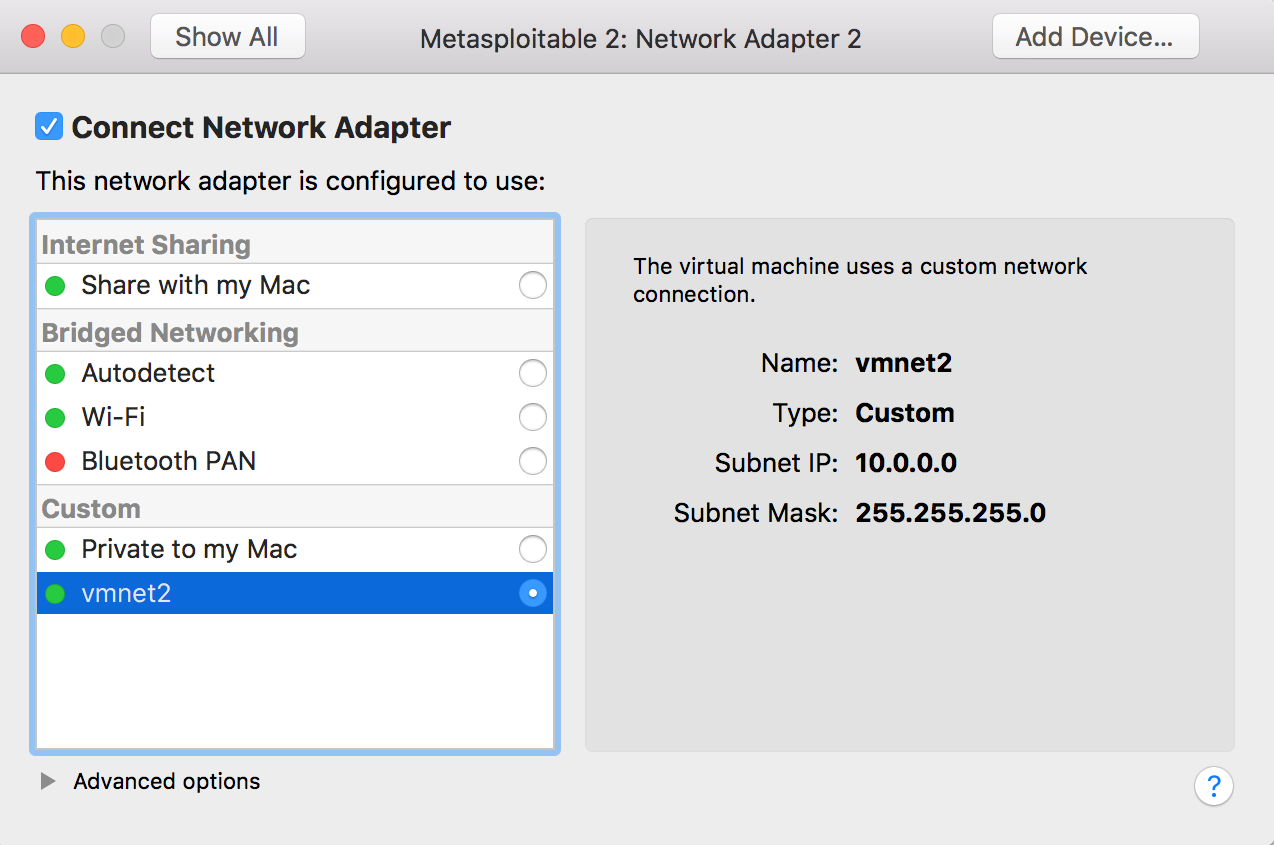
- Now that you have created the custom network, select the Windows 10 virtual machine, click on
Settings, then go to theNetwork Adaptersettings. ChooseCustomnetwork and select the custom network we have created. Repeat the process for the secondNetwork Adapterof the Metasploitable 2 virtual machine:
- To verify the configuration, log in to the Metasploitable 2 machine and use the
ip acommand. The default username for the root user ismsfadminand the password ismsfadmin:

By creating two NAT networks, we can simulate internet-facing servers using the first NAT network and internal machines using the custom network we have created, thus providing a more realistic scenario, and giving you the possibility to learn how to do reconnaissance of internal targets, pivoting, and lateral movement.