Book Image

Digital Forensics with Kali Linux

Book Image

Digital Forensics with Kali Linux

Overview of this book

Kali Linux is a Linux-based distribution used mainly for penetration testing and digital forensics. It has a wide range of tools to help in forensics investigations and incident response mechanisms. You will start by understanding the fundamentals of digital forensics and setting up your Kali Linux environment to perform different investigation practices. The book will delve into the realm of operating systems and the various formats for file storage, including secret hiding places unseen by the end user or even the operating system. The book will also teach you to create forensic images of data and maintain integrity using hashing tools. Next, you will also master some advanced topics such as autopsies and acquiring investigation data from the network, operating system memory, and so on. The book introduces you to powerful tools that will take your forensic abilities and investigations to a professional level, catering for all aspects of full digital forensic investigations from hashing to reporting. By the end of this book, you will have had hands-on experience in implementing all the pillars of digital forensics—acquisition, extraction, analysis, and presentation using Kali Linux tools.
Table of Contents (18 chapters)
Title Page
Credits
Disclaimer
About the Author
About the Reviewers
www.PacktPub.com
Customer Feedback
Preface
10
Revealing Evidence Using DFF

Digital forensics with Autopsy


Now that we have our sample image file downloaded (or perhaps even a forensically acquired image of our own), let's proceed with the analysis using the Autopsy browser by first getting acquainted with the different ways to start Autopsy.

Starting Autopsy

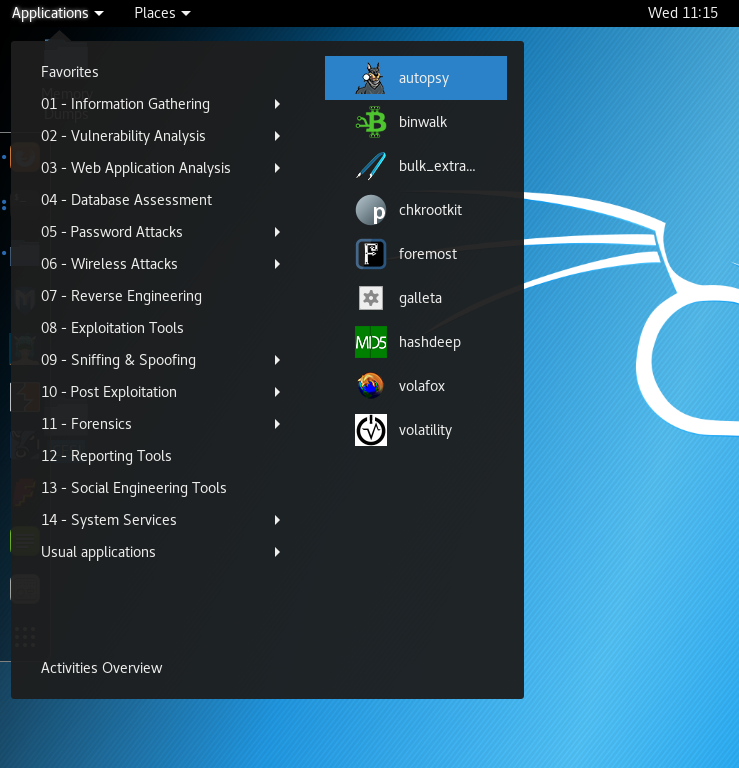
Autopsy can be started in two ways. The first uses the Applications menu by clicking on Applications | 11 - Forensics | autopsy:

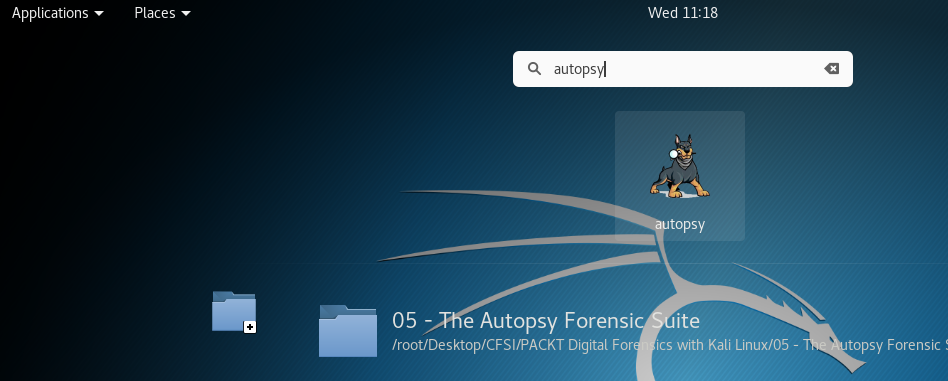
Alternatively, we can click on the Show applications icon (last item in the side menu) and type autopsy into the search bar at the top-middle of the screen and then click on the autopsy icon:

Once the autopsy icon is clicked, a new terminal is opened showing the program information along with connection details for opening the The Autopsy Forensic Browser.

In the following screenshot, we can see that the version number is listed as 2.24 with the path to the Evidence Locker folder as /var/lib/autopsy:

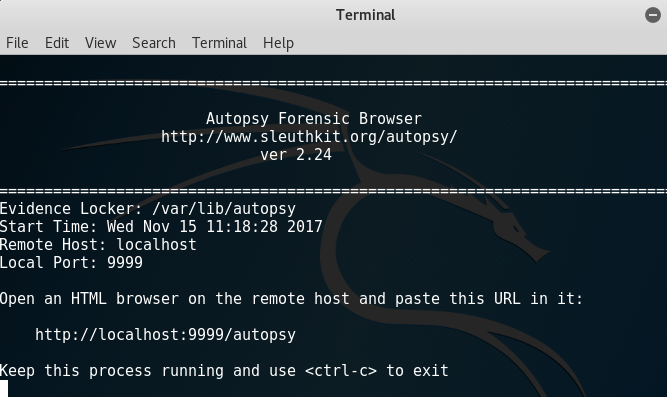
To open the Autopsy browser, position the mouse over the link in the terminal, then right...