

Jupyter Notebooks are a novel idea, which has been adopted by many companies (including Esri and the new ArcGIS API for Python). Managed by Project Jupyter, the open source project (which is based on IPython, an earlier interactive code environment), is a fantastic tool for both learning and production environments. While the code can also be run as a script, as seen in other chapters, using the Jupyter Notebooks will make coding even more fun.
The idea of the code Notebooks is to make coding interactive. By combining a Python terminal with direct output that results from the code being run, the Notebooks (which are saveable) become a tool for sharing and comparing code. Each section can be edited later or can be saved as a separate component for demonstration purposes.
Note
Check out the documentation for Jupyter Notebooks here:http://jupyter.org/documentation.
To start the local server that powers the Notebooks, activate the virtual environment and pass the jupyter notebook command:
C:\PythonGeospatial3>cartoenv\Scripts\activate
(cartoenv) C:\PythonGeospatial3>jupyter notebook
[I 17:30:46.338 NotebookApp] Serving notebooks from local directory: C:\PythonGeospatial3
[I 17:30:46.338 NotebookApp] 0 active kernels
[I 17:30:46.339 NotebookApp] The Jupyter Notebook is running at:
[I 17:30:46.339 NotebookApp] http://localhost:8888/?token=5376ed8c704d0ead295a3c0464e52664e367094a9e74f70e
[I 17:30:46.339 NotebookApp] Use Control-C to stop this server and shut down all kernels (twice to skip confirmation).
[C 17:30:46.344 NotebookApp]

    Copy/paste this URL into your browser when you connect for the first time,
    to login with a token:
        http://localhost:8888/?token=5376ed8c704d0ead295a3c0464e52664e367094a9e74f70e
[I 17:30:46.450 NotebookApp] Accepting one-time-token-authenticated connection from ::1
[I 17:30:49.490 NotebookApp] Kernel started: 802159ef-3215-4b23-b77f-4715e574f09b
[I 17:30:50.532 NotebookApp] Adapting to protocol v5.1 for kernel 802159ef-3215-4b23-b77f-4715e574f09b
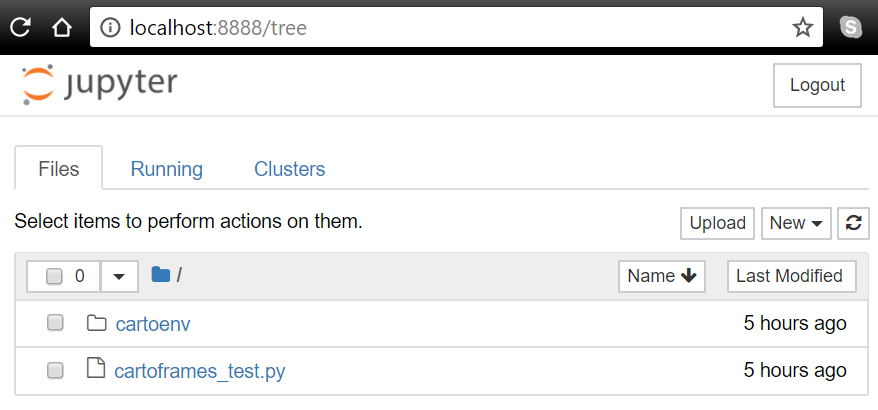
This will start running the server that will power the Notebooks. This local server can be accessed on port 8888, using a browser, by navigating to: http://localhost:8888. It should automatically open a tab like this one when started:
If you log out, use the token provided in the text generated when the jupyter notebook command is passed to log back in, as in this example:
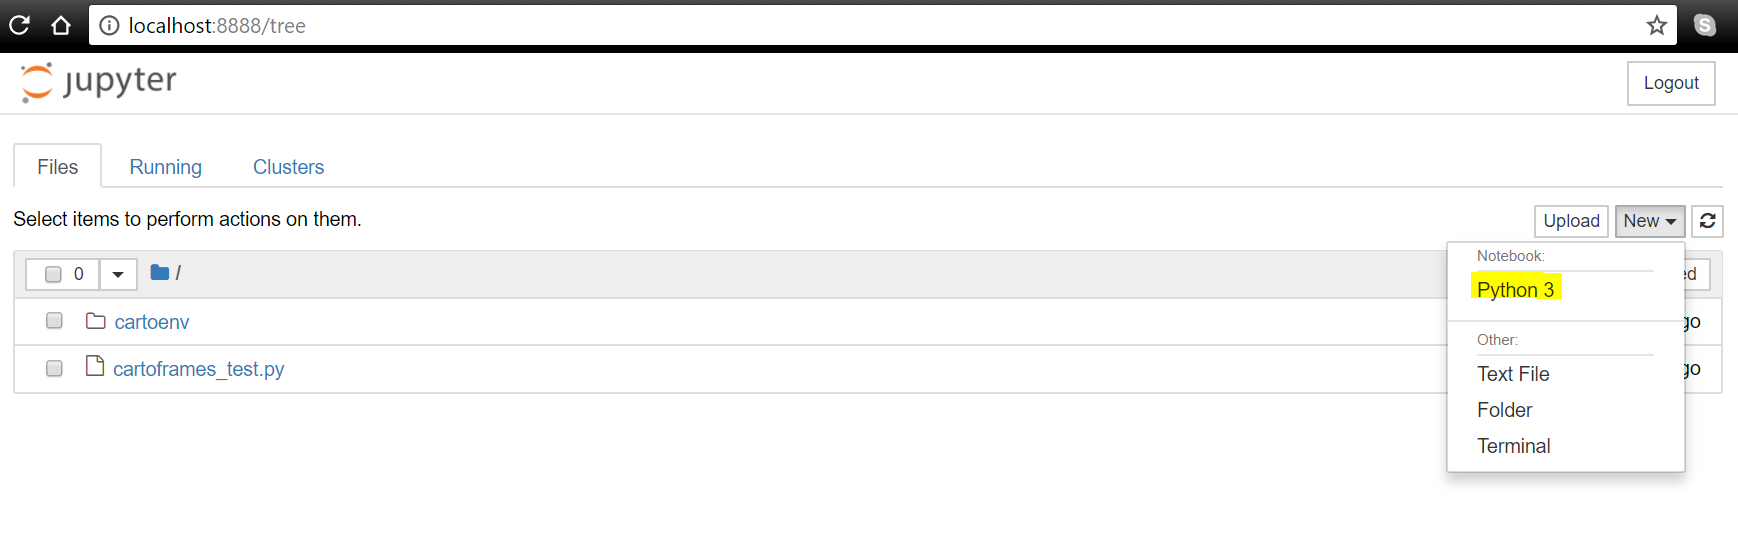
http://localhost:8888/?token=5376ed8c704d0ead295a3c0464e52664e367094a9e74f70eTo create a new Notebook, click on the New button in the upper-right, and select Python 3 from the Notebook section. It will open the Notebook in a new tab:
In Jupyter Notebooks, code is added in the In sections. The code can be added line by line, as the code variables and imported modules will be saved in memory, or it can be added in blocks/multiple lines, like a script. The In sections can be edited and run over and over, or they can be left alone, and a new section can be started. This creates a record of the scripting efforts, along with the interactive output.
Note
Here is a GIST explaining lots of useful keyboard shortcuts for Jupyter Notebooks:https://gist.github.com/kidpixo/f4318f8c8143adee5b40