

Before you start programming, you will need to choose an Integrated Development Environment (IDE) that includes a code editor for C#. Microsoft has a family of IDEs:
- Visual Studio 2017
- Visual Studio for Mac
- Visual Studio Code
The most mature and fully-featured IDE to choose is Microsoft Visual Studio 2017, but it only runs on the Windows operating system.
The most modern and lightweight IDE to choose, and the only one from Microsoft that is cross-platform, is Microsoft Visual Studio Code, and it will run on all common operating systems, including Windows, macOS, and many varieties of Linux, such as Red Hat Enterprise Linux (RHEL) and Ubuntu.
Note
To help you decide if Visual Studio Code is right for you, I recommend that you watch the following video, Beginner's Guide to VS Code: Up and Running in Ten Minutes:https://channel9.msdn.com/Blogs/raw-tech/Beginners-Guide-to-VS-Code
The most suitable IDE to choose for mobile development is Visual Studio for Mac. To create apps for iOS (iPhone and iPad), tvOS, macOS, and watchOS, you must have macOS and Xcode. Although you can use Visual Studio 2017 with its Xamarin extensions to write a cross-platform mobile app, you still need macOS and Xcode to compile it.
The following table shows which IDE and operating systems can or must be used for each of the chapters in this book:
Chapters | IDE | Operating systems |
Chapters 1 to 16 | Visual Studio 2017 | Windows 7 SP1 or later |
Chapters 1 to 16 | Visual Studio Code | Windows, macOS, Linux |
Chapters 1 to 16 | Visual Studio for Mac | macOS |
Chapter 17 | Visual Studio 2017 | Windows 10 |
Chapter 18 | Visual Studio for Mac | macOS |
Note
Good Practice If you have the option, then I recommend that you try all the coding exercises with Visual Studio 2017 on Windows, Visual Studio Code on macOS, Linux, or Windows, and Visual Studio for Mac. It will be good for you to get experience with C# and .NET Core on a variety of operating systems and development tools.
To write the third edition of this book, I used the following listed software, as shown in the following screenshot:
- Visual Studio 2017 on Windows 10 in a virtual machine
- Visual Studio for Mac on macOS
- Visual Studio Code on macOS
- Visual Studio Code on RHEL (not shown in screenshot)

There are alternative IDEs for C#, for example, MonoDevelop and JetBrains Rider. You can install either of these two IDEs with the help of the following URLs:
- For MonoDevelop IDE, visit http://www.monodevelop.com/
- For JetBrains Rider, visit https://www.jetbrains.com/rider/
Cloud9 is a web browser-based IDE, so it's even more cross-platform than the others. It is growing in popularity. Here is the link: https://c9.io/web/sign-up/free
Your choice of IDE and operating system for development does not limit where your code gets deployed. .NET Core 2.0 supports the following platforms for deployment:
- Windows 7 SP1, or later
- Windows Server 2008 R2 SP1, or later
- Windows IoT 10, or later
- macOS Sierra (version 10.12), or later
- RHEL 7.3, or later
- Ubuntu 14.04, or later
- Fedora 25, or later
- Debian 8.7, or later
- openSUSE 42.2, or later
- Tizen 4, or later
Note
Linux OSes are popular server host platforms because they are relatively lightweight and more cost-effectively scalable when compared to operating system platforms such as Windows and macOS.
In the next section, you will install Microsoft Visual Studio 2017 for Windows. If you prefer to use Microsoft Visual Studio Code, jump ahead to the Installing Microsoft Visual Studio Code for Windows, macOS, or Linux section. If you prefer to use Microsoft Visual Studio for Mac, jump ahead to the Installing Microsoft Visual Studio for Mac section.
You can use Windows 7 SP1 or later to complete most of the chapters in this book, but you will have a better experience if you use Windows 10 Fall Creators Update.
Since October 2014, Microsoft has made a professional-quality edition of Visual Studio available to everyone for free. It is called Community Edition.
Download and install Microsoft Visual Studio 2017 version 15.4 or later from the following link:
https://www.visualstudio.com/downloads/
Note
You must install version 15.4 or later of Visual Studio 2017 to be able to work with .NET Core for UWP. You must install version 15.3 or later of Visual Studio 2017 to be able to work with .NET Core 2.0. Older versions of Visual Studio 2017 only support .NET Core 1.0 and 1.1.
On the Workloads tab, choose the following, as partially shown in the following screenshot:
Universal Windows Platform development.NET desktop developmentASP.NET and web developmentAzure developmentNode.js development.NET Core cross-platform development

On the Individual components tab, choose the following additional components:
Class DesignerGitHub extension for Visual StudioPowerShell tools
Click on Install, and wait for the installer to acquire the selected software, and install it. When the installation is complete, click on Launch.
Note
While you wait for Visual Studio 2017 to install, you can jump ahead to the Understanding .NET section in this chapter.
The first time that you run Visual Studio 2017, you will be prompted to sign in. If you have a Microsoft account, you can use that account. If you don't, then register for a new one at the following link:
When starting Visual Studio 2017 for the first time, you will be prompted to configure your environment. For Development Settings, choose Visual C#. For the color theme, I chose Blue, but you can choose whatever tickles your fancy.
You will see the Microsoft Visual Studio user interface with the Start Page open in the central area. Like most Windows desktop applications, Visual Studio has a menu bar, a toolbar for common commands, and a status bar at the bottom. On the right is the Solution Explorer that will list your open projects:

Note
To have quick access to Visual Studio in the future, right-click on its entry in the Windows taskbar and select Pin this program to taskbar.
In Chapter 14, Building Web Sites Using ASP.NET Core Razor Pages, Chapter 15, Building Web Sites Using ASP.NET Core MVC, and Chapter 16, Building Web Services and Applications Using ASP.NET Core, you will need Node.js and NPM installed.
Download the Node.js installer for Windows from the following link:
https://nodejs.org/en/download/
Run the Node.js installer, as shown in the following screenshot:

Between June 2015 and September 2017, Microsoft released a new version of Visual Studio Code almost every month. Visual Studio Code has rapidly improved and surprised Microsoft with its popularity. Even if you plan to use Visual Studio 2017 or Visual Studio for Mac as your primary development tool, I recommend that you learn how to use Visual Studio Code and the .NET Core command-line tool as well.
You can download Visual Studio Code from the following link:
https://code.visualstudio.com/
Note
You can read about Microsoft's plans for Visual Studio Code in 2018 at the following link:https://github.com/Microsoft/vscode/wiki/Roadmap
In this book, I will show examples and screenshots of Visual Studio Code using the version for macOS. The steps for doing the same with Visual Studio Code for Windows and variants of Linux is very similar, so I will not repeat the instructions for every platform.
After downloading Visual Studio Code for macOS, drag and drop it to your Applications folder, as shown in the following screenshot:

You will now need to install the .NET Core SDK for macOS. The full instructions, including a video to watch, are described at the following link, and I have included the basic steps in this book for your convenience: https://www.microsoft.com/net/core#macos
The first step is to install Homebrew (if you don't already have it).
Start macOS's Terminal app and enter the following command at the prompt:
/usr/bin/ruby -e "$(curl -fsSL
https://raw.githubusercontent.com/Homebrew/install/master/install)"
Terminal will prompt you to press Enter to continue and then prompt for your password.
The next step is to download the .NET Core SDK installer for macOS (x64) from the following link:
https://www.microsoft.com/net/download/core
Run the dotnet-sdk-2.0.0-sdk-osx-x64.pkg installer package, as shown in the following screenshot:
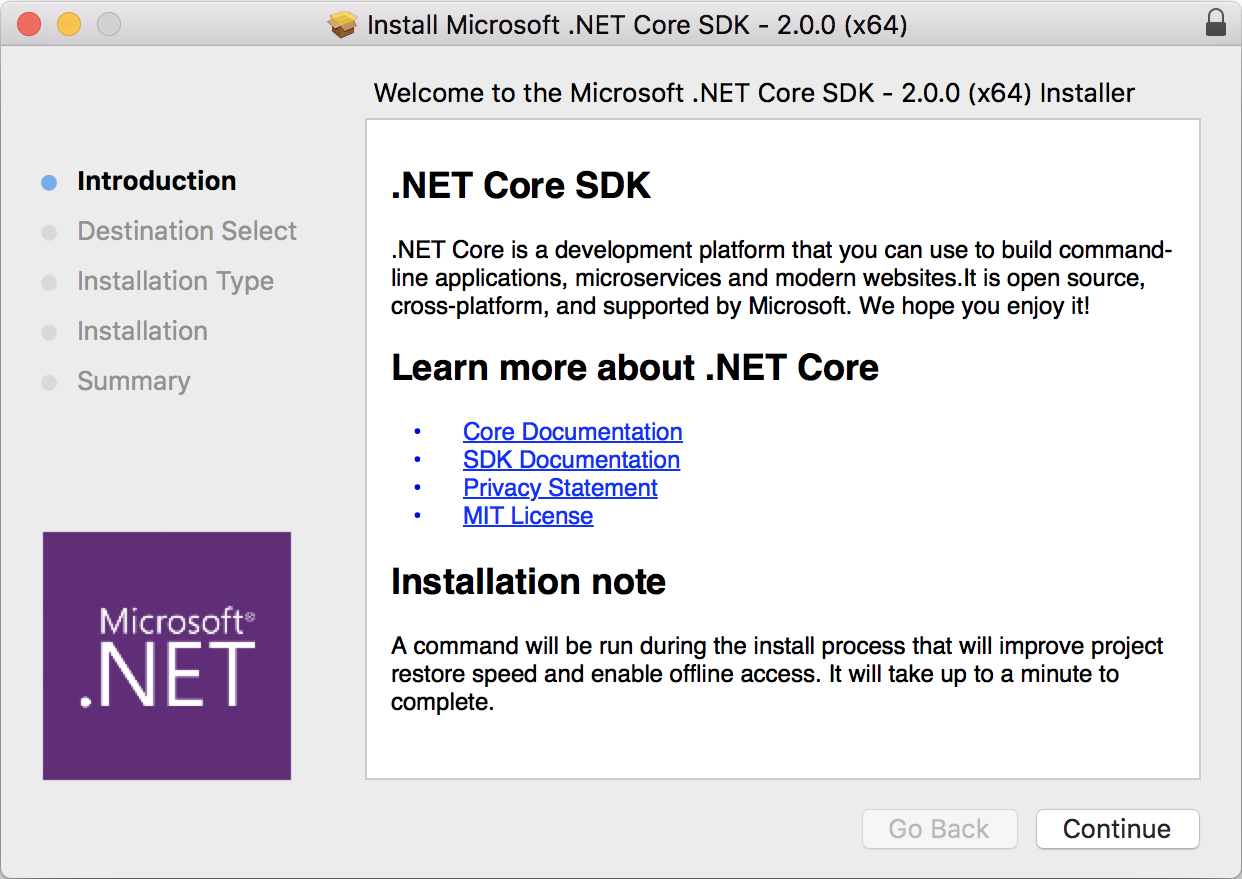
Click on Continue, accept the license agreement, click on Install, and then, once it has finished, click on Close.
In Chapter 14, Building Web Sites Using ASP.NET Core Razor Pages, Chapter 15, Building Web Sites Using ASP.NET Core MVC, and Chapter 16, Building Web Services and Applications Using ASP.NET Core, you will need Node.js and NPM installed.
In Terminal, enter commands to install Node.js and NPM, and then check their versions, which at the time I wrote this book, were Node.js version 8.4 and NPM version 5.3, as shown in the following screenshot:
brew install node
node -v
npm -v

The C# for Visual Studio Code extension is not necessary, but it provides IntelliSense as you type, so it's very handy to install.
Launch Visual Studio Code and click on the Extensions icon, or go to View | Extensions, or press Cmd + Shift + X.
C# is the most popular extension, so you should see it at the top of the list, as shown in the following screenshot:

Click on Install, and then click on Reload, to reload the window and activate the extension.
In November 2016, Microsoft released a preview version of Visual Studio for Mac. Initially, it could only be used to create Xamarin mobile apps, because it is a fork of the Xamarin Studio product. The final release version, available since May 2017, has support for creating .NET Standard 2.0 class libraries, ASP.NET Core web applications and services, and console apps, so it can be used to complete (almost) all of the exercises in this book.
Although Visual Studio 2017 on Windows can be used to create mobile apps for iOS and Android, only Xcode running on macOS or OS X can compile iOS apps, so it is my opinion that a developer might as well use the native Visual Studio for Mac to create mobile apps.
If you have not already installed Xcode on your Mac, install it now from the App Store.
On the Apple menu, choose App Store....
In the App Store, enter xcode in the Search box, and one of the first results will be Xcode, as shown in the following screenshot:

Click on Get, and wait for Xcode to install.
You can download and install Visual Studio for Mac from the following link:
https://www.visualstudio.com/vs/visual-studio-mac/
In the Visual Studio for MacInstaller, accept the License Terms and the Privacy Statement, choose to install all components, and then click on Continue, as shown in the following screenshot:

Click on Continue, and then click on Install.
Agree to the license terms for the components, such as the Android SDK, click on Continue, and wait for Visual Studio for Mac to fully install.
Start Visual Studio for Mac to see the Welcome Page, as shown in the following screenshot:

If you are prompted to update components, then click on Restart and Install Updates.
Now that you have installed and set up your development environment, you will learn some background about .NET before diving in to writing code.