-
Book Overview & Buying

-
Table Of Contents

.NET MAUI for C# Developers
By :
.NET MAUI for C# Developers
By:
Overview of this book
While UI plays a pivotal role in retaining users in a highly competitive landscape, maintaining the same UI can be tricky if you use different languages for different platforms, leading to mismatches and un-synced pages. In this book, you'll see how .NET MAUI allows you to create a real-world application that will run natively on different platforms. By building on your C# experience, you’ll further learn to create beautiful and engaging UI using XAML, architect a solid app, and discover best practices for this Microsoft platform.
The book starts with the fundamentals and quickly moves on to intermediate and advanced topics on laying out your pages, navigating between them, and adding controls to gather and display data. You’ll explore the key architectural pattern of Model-View-ViewModel: and ways to leverage it. You’ll also use xUnit and NSubstitute to create robust and reliable code.
By the end of this book, you’ll be well-equipped to leverage .NET MAUI and create an API for your app to interact with a web frontend to the backend data using C#.
Table of Contents (18 chapters)
Preface

Part 1 – Getting Started
 Free Chapter
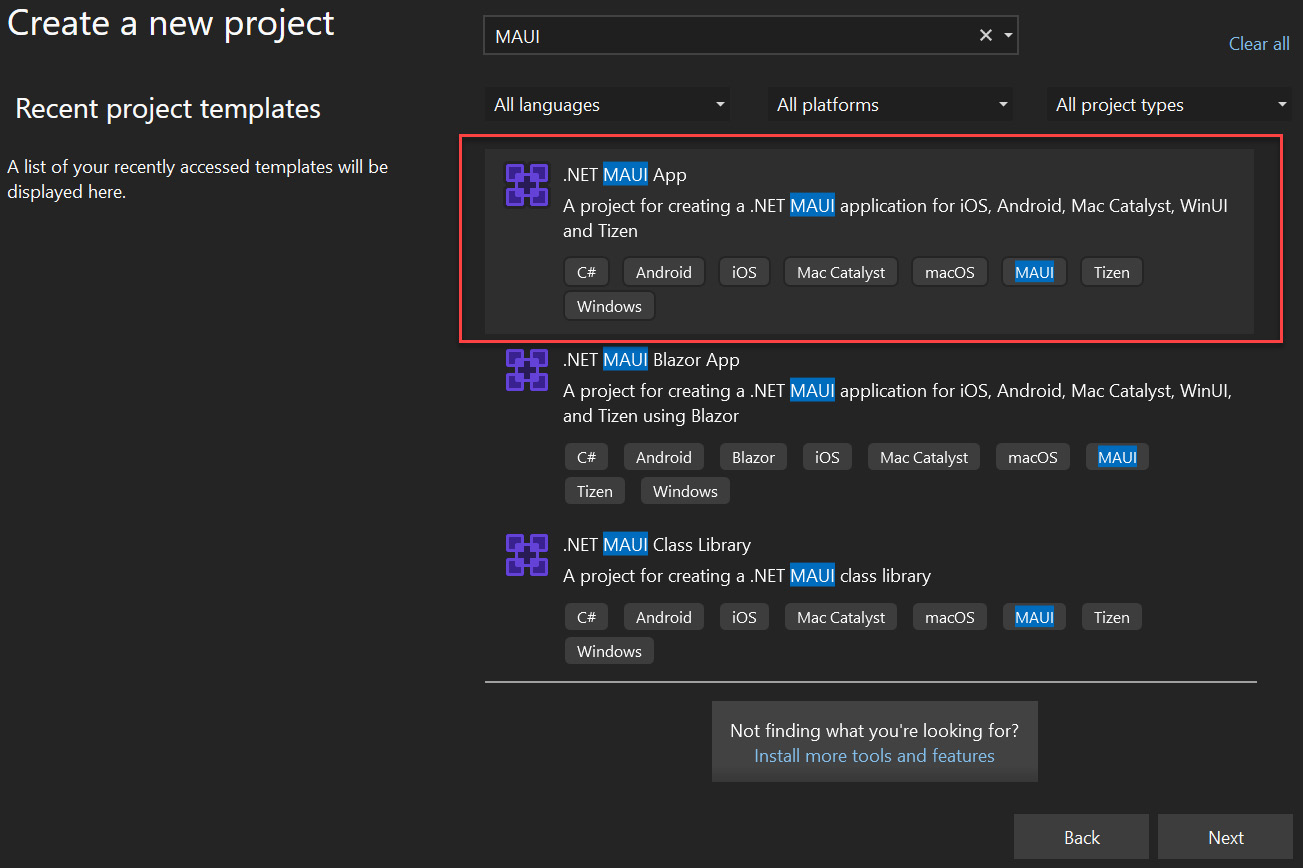
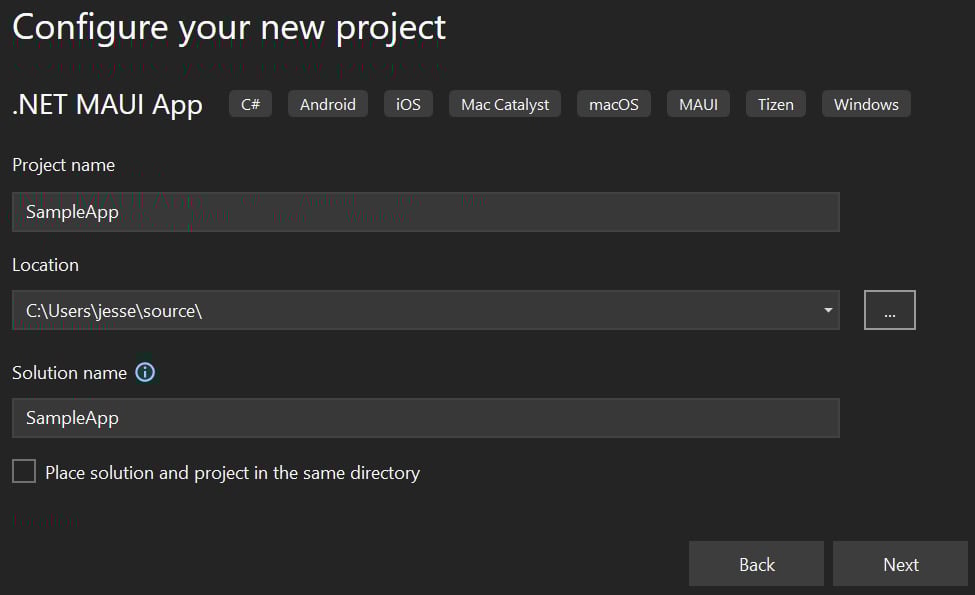
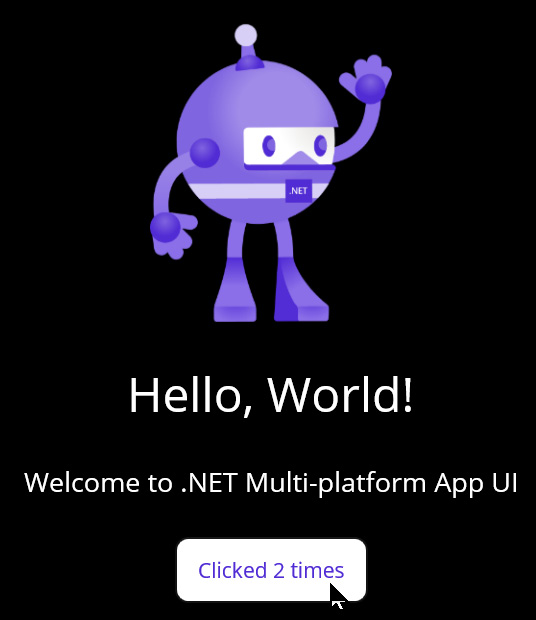
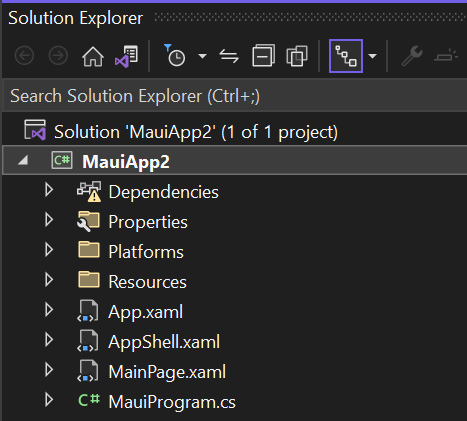
Chapter 1: Assembling Your Tools and Creating Your First App
Chapter 2: What We Will Build: Forget Me Not
Chapter 3: XAML and Fluent C#
Chapter 4: MVVM and Controls
Chapter 5: Advanced Controls
Chapter 6: Layout
Part 2 – Intermediate Topics
Chapter 7: Understanding Navigation
Chapter 8: Storing and Retrieving Data
Chapter 9: Unit Testing
Part 3 – Advanced Topics
Chapter 10: Consuming REST Services
Chapter 11: Exploring Advanced Topics
Assessments
Index