

In three easy steps, you can install an OSGI framework and get it set up on your system. A bare OSGi core however can be unwieldy; therefore we'll show you how to install Apache Karaf as an OSGi environment (steps 4 and 5), as well as how to obtain the BND tool to help make OSGi bundles (step 6), a blueprint for handing services (step 7), and finally Pax Exam for testing your applications (step 8). We've chosen to include Apache Karaf instructions, as we believe it to be an easier environment to be introduced to OSGi, and interact with a running core. You should note that you may also find success using BND, Apache Ant, BNDTools, and Eclipse IDE; coverage of all possible OSGi development tool chains is beyond the scope of this book.
Before you install OSGi, you will need to check that you have all of the required elements, listed as follows:
Disk space: 20 MB free (minimum). You will require more free space as additional resources are provisioned into the OSGi container.
Memory: 128 MB (minimum), 2GB+ (recommended).
OSGi frameworks are written in Java. Currently, OSGi rev 4.2 implementations from Apache Felix require a minimum of Java 1.4 to run.
We'll make use of Apache Maven 2.2.1 for provisioning and building automation.
For our demos we'll use Apache Karaf 2.2.8 as an OSGi runtime environment. This will simplify getting introduced to OSGi, as an interactive shell is provided, and users can easily switch OSGi cores.
The easiest way to download an OSGi core is as a compressed package from http://felix.apache.org/site/downloads.cgi.
We suggest that you download the most current stable build. For our purposes we'll focus on Apache Felix. After downloading and unpacking the archive, you will be left with a directory called felix-framework-4.0.2, containing a number of files and folders. Among these there will be a bin folder, which contains the Felix OSGi core JAR file (org.apache.felix.main.distribution-4.0.2.tar.gz). The following screenshot shows the Apache Felix download page:

Alternatively, you can also get an OSGi core as a compressed package from http://download.eclipse.org/equinox. The following screenshot shows the Eclipse Equinox download page:

Starting the OSGi framework is as simple as executing the following command:
$java –jar bin/felix.jar

Apache Felix Gogo shell
This will start the Apache Felix Gogo shell, a shell for interacting with the OSGi environment. Type help to see a list of available commands. To exit the shell, press Ctrl + C.
Using a bare OSGi framework can be an unwieldy experience for a first time OSGi developer. As such, we encourage new users to try an OSGi environment such as Apache Karaf or Eclipse Virgo. Apache Karaf, by default, uses Apache Felix as it is an OSGi framework while Eclipse Virgo uses Eclipse Equinox. Both runtime containers provide an enhanced experience when working with OSGi environments. For more information on Eclipse Equinox please visit http://www.eclipse.org/equinox/.
Apache Karaf is a full OSGi environment, which provides an enriched out-of-the-box experience to users and developers alike. Apache Maven provides a provisioning mechanism that simplifies the process of obtaining and configuring dependencies required for your OSGi projects. A few highlights of using Apache Karaf include: Hot Deployment of OSGi bundles, Dynamic Configuration via OSGi's ConfigurationAdmin service, a centralized logging system, built-in provisioning mechanisms to simplify gathering resources, native OS integration, an extensible shell console, remote access, security framework, and OSGi instance management, among other great features!
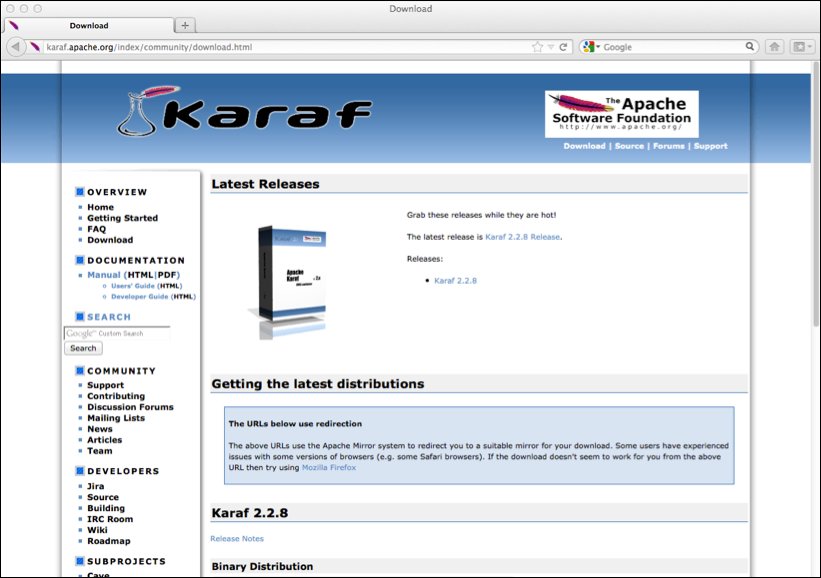
Apache Karaf Download Page
Starting Apache Karaf is as simple as executing the Karaf start script in the bin folder of your Karaf distribution. In our opinion, Apache Karaf's shell is easier to use than diving straight into writing a similar infrastructure for deployment using a bare OSGi runtime. You get a tab for completion of commands, a greatly expanded repertoire of commands and tooling that will help you develop, monitor, and deploy your projects. Note here that Apache Karaf can be installed as a system service, allowing the OSGi container to be started and stopped as any other service (See Apache Karaf documentation for details).
Change the directory to Karaf's bin folder and execute the Karaf script to start the environment as follows:
$karaf[.bat]
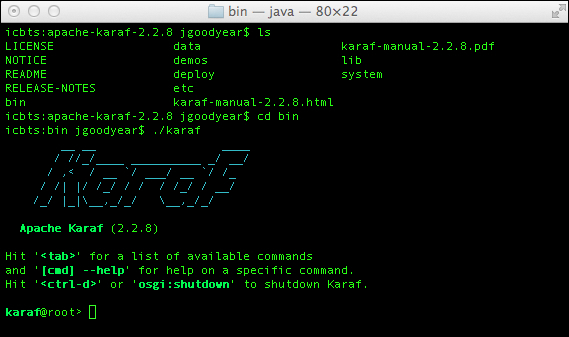
Apache Karaf interactive shell
Building OSGi bundles is a relatively straightforward operation consisting of adding OSGi headers to your Java Archive's Manifest file. Our recommendation, however, is to use tools to handle generating the file entries. The easiest way to do this is to use the Maven Bundle plugin.
Acquiring the plugin can be accomplished by adding the following to your plugin repositories section of your Maven project:
<dependency>
    <groupId>org.apache.felix</groupId>
    <artifactId>maven-bundle-plugin</artifactId>
    <version>${felix.plugin.version}</version>
    <!-- <scope>provided|compile|test</scope> -->
</dependency>
Note that Maven properties are accessed using ${property.name}, and they are defined in a property element as <properties><property.name></property.name></properties>.
Maven provides several scopes; these are optional. For container providing dependencies you want to use the scope provided. Other commonly used scopes are compile and test.
Once you've added the plugin dependency you can invoke the plugin by configuring its execution. We'll explore the BND tool's use in the sections that follow.
Blueprint is a dependency injection framework for OSGi, its job is to handle the wiring of JavaBeans, and instantiation and life cycle of an application. Blueprint also helps with the dynamic nature of OSGi where services can come and go at any time. Blueprint is expressed as an XML file that defines and describes how the various components are assembled together, instantiated, and wired together to build an executing module.
In our demo code, Blueprint will be expressed as a top-level element:
<?xml version="1.0" encoding="UTF-8"?>
<blueprint xmlns="http://www.osgi.org/xmlns/blueprint/v1.0.0">
</blueprint>
The namespace indicates that the document conforms to Blueprint's Version 1.0.0, the schema of which can be viewed at http://www.osgi.org/xmlns/blueprint/v1.0.0/blueprint.xsd.
In a container, testing your OSGi applications is easy—just grab Pax Exam! This tool allows you to launch an OSGi framework, build bundles as defined in your test cases, and inject them into the container. Multiple testing strategies are available, allowing you to thoroughly validate your application.
To pick up Pax Exam for your testing, add the following dependency to your Maven project's object model file:
<dependency>
    <groupId>org.ops4j.pax.exam</groupId>
    <artifactId>pax-exam</artifactId>
    <version>${pax.exam.version}</version>
</dependency>
We'll explore using Pax Exam in the sections that follow.