-
Book Overview & Buying
-
Table Of Contents

Oracle E-Business Suite R12 Core Development and Extension Cookbook
By :
Oracle E-Business Suite R12 Core Development and Extension Cookbook
By:
Overview of this book
Oracle's suite of applications is used by many major businesses and public sector organizations throughout the world. The book will show you how to build different types of extensions with different toolsets with Oracle E-Business Suite R12. It will take you from start to finish with fully working examples. This book will show you how to extend Oracle E-Business Suite Release 12. You will learn highly desirable skills on how to extend the application and develop your expertise. The book will provide detailed information about why things have to be done in certain ways, and will take you through the process of how to get started, what tools are needed, how to develop working examples, and how to deploy them within the application. Learn how to extend Oracle E-Business Suite (EBS) Release 12. There are detailed examples to work through, such as how various components are configured and how we can extend standard functionality. The book focuses on core development and extension and each chapter will introduce a topic before going through working examples from start to finish. There are plenty of detailed screen shots throughout each chapter giving clear instructions of what we are doing and why. Each recipe will develop a solution that will utilize core components to that topic. The Oracle E-Business Suite R12 Core Development and Extension Cookbook focuses on starting an extension right from the beginning, to deploying it within E-Business Suite. At the end of each chapter the reader will have a good understanding of what they need to do for each area to take away, and start using it in practice. Each chapter will detail how to build an extension in the supported manner and also comes with complete fully tested code, and scripts that can be downloaded.
Table of Contents (8 chapters)
Preface

 Free Chapter
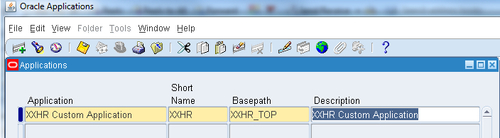
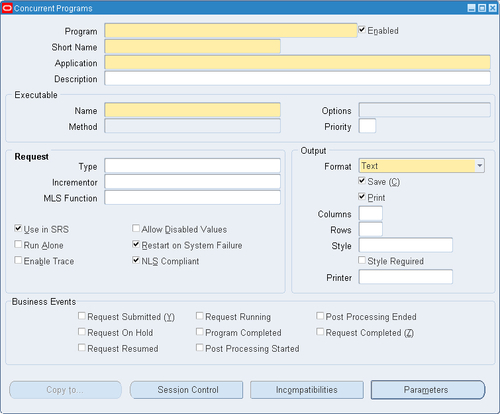
1. Creating Concurrent Programs
2. Oracle Forms
3. Advanced Oracle Forms
4. Forms Personalization
5. Workflow
6. Utilities
Index