Book Image

Mastering Kali Linux for Advanced Penetration Testing, Second Edition - Second Edition

By : Vijay Kumar Velu
Book Image

Mastering Kali Linux for Advanced Penetration Testing, Second Edition - Second Edition

By: Vijay Kumar Velu

Overview of this book

This book will take you, as a tester or security practitioner through the journey of reconnaissance, vulnerability assessment, exploitation, and post-exploitation activities used by penetration testers and hackers. We will start off by using a laboratory environment to validate tools and techniques, and using an application that supports a collaborative approach to penetration testing. Further we will get acquainted with passive reconnaissance with open source intelligence and active reconnaissance of the external and internal networks. We will also focus on how to select, use, customize, and interpret the results from a variety of different vulnerability scanners. Specific routes to the target will also be examined, including bypassing physical security and exfiltration of data using different techniques. You will also get to grips with concepts such as social engineering, attacking wireless networks, exploitation of web applications and remote access connections. Later you will learn the practical aspects of attacking user client systems by backdooring executable files. You will focus on the most vulnerable part of the network—directly and bypassing the controls, attacking the end user and maintaining persistence access through social media. You will also explore approaches to carrying out advanced penetration testing in tightly secured environments, and the book's hands-on approach will help you understand everything you need to know during a Red teaming exercise or penetration testing
Table of Contents (15 chapters)

Configuring and customizing Kali

Kali is a framework that is used to complete a penetration test. However, the tester should never feel tied to the tools that have been installed by default or by the look and feel of the Kali desktop. By customizing Kali, a tester can increase the security of client data that is being collected, and make it easier to do a penetration test.

Common customizations made to Kali include the following:

  • Resetting the root password
  • Adding a non-root user
  • Speeding up Kali operations
  • Sharing folders with Microsoft Windows
  • Creating encrypted folders

Resetting the root password

To change a user password, use the following command:

passwd root

You will then be prompted to enter a new password, as shown in the following screenshot:

Adding a non-root user

Many of the applications provided in Kali must run with root-level privileges in order to function. Root-level privileges do possess a certain amount of risk; for example, miskeying a command or using the wrong command can cause applications to fail or even damage the system being tested. In some cases, it is preferable to test with user-level privileges. In fact, some applications force the use of lower-privilege accounts.

To create a non-root user, you can simply use the adduser command from the Terminal and follow the instructions that appear, as shown in the following screenshot:

Speeding up Kali operations

Several tools can be used to optimize and speed up Kali operations:

  • When using a virtual machine, install the VM's software drive package: Guest Additions (VirtualBox) or VMware Tools (VMware). We need to ensure that we run apt-get update before the installation.
  • When creating a virtual machine, select a fixed disk size instead of the one that is dynamically allocated. It is faster to add files to a fixed disk, and there is less file fragmentation.
  • The preload application (apt-get install preload) identifies a user's most commonly used programs and preloads binaries and dependencies into memory to provide faster access. It works automatically after the first restart following installation.

  • BleachBit (apt-get install bleachbit) frees disk space and improves privacy by freeing the cache, deleting cookies, clearing internet history, shredding temporary files, deleting logs, and discarding other unnecessary files. The advanced features include shredding files to prevent recovery and wiping free disk space to hide traces of files that have not been fully deleted.
  • By default, Kali does not show all applications that are present in the start-up menu. Each application that is installed during the boot-up process slows the system data and may impact memory use and system performance. Install Boot Up Manager (BUM) to disable unnecessary services and applications that are enabled during the boot-up process (apt-get install bum), as shown in the following screenshot:
  • Add gnome-do (apt-get install gnome-do) to launch applications directly from the keyboard. To configure gnome-do, select it from Applications | Accessories. Once launched, select the Preferences menu, activate the Quiet Launch function, and select a launch command (for example, Ctrl + Shift). Clear any existing commands and then enter the command line to be executed when the launch keys are selected.
  • Rather than launching directly from the keyboard, it is possible to write specific scripts that launch complex operations.

Sharing folders with the host operating system

The Kali toolset has the flexibility to share results with applications residing on different operating systems, especially Microsoft Windows. The most effective way to share data is to create a folder that is accessible from the host operating system as well as the Kali VM guest.

When data is placed in a shared folder from either the host or the VM, it is immediately available via the shared folder to all systems that access that shared folder.

To create a shared folder, perform the following steps:

  1. Create a folder on the host operating system. In this example, it will be called Kali_Share.
  2. Right-click on the folder and select the Sharing tab. From this menu, select Share.
  3. Ensure that the file is shared with Everyone and that the Permission Level for this share is set to Read / Write.
  4. If you have not already done so, install the appropriate tools onto BackTrack. For example, when using VMWare, install the VMWare tools (refer to Appendix, Installing Kali Linux).

  1. When the installation is complete, go to the VMWare Player menu, select Manage, click on Virtual Machine Settings, locate the menu that enables Shared Folders, and select Always Enabled. Create a path to the shared folder that is present on the host operating system, as shown in the following screenshot:
  1. In the case of Oracle VirtualBox, select the VM and go to Settings and select Shared Folders, as shown in the following screenshot:
The older versions of VMware Player use a different menu.
  1. Open the file browser on the Kali desktop. The shared folder will be visible in the mnt folder (it might be placed in a subfolder, hgfs).
  2. Drag the folder onto the Kali desktop to create a link to the real folder.
  3. Everything placed in the folder will be accessible in the folder of the same name on the host operating system, and vice versa.

The shared folder, which will contain sensitive data from a penetration test, must be encrypted to protect the client's network and reduce the tester's liability, should the data ever be lost or stolen.

Using Bash scripts to customize Kali

Building a verification lab

As a penetration tester, it is recommended that you set up your own verification lab to test any kind of vulnerabilities and have the right proof of concept before emulating anything in a live environment.

Setting up a virtual network with Active Directory

As we progress in building our own verification lab, it's worth keeping in mind that the majority of corporate companies utilize Microsoft Active Directory for user administrative management and resource sharing activities, such as printer use, file sharing, and identity management. Attackers are no longer interested in just running the command on the server or shutting it down; they are now more focused on owning a full domain controller, which can potentially be the DNA of a company. We will perform some advanced attacks on Active Directory and the DNS server. In this section, we will install Active Directory on a Windows 2008 R2 server.

We will perform the same steps that we performed to install Kali to install Windows 2008 R2 to the same network.

Now we will see step-by-step instructions to install Active Directory Domain Services. Assuming we have already installed the Microsoft Windows 2008 R2 server, click on Server manager, go to Roles, and then click on Add Roles. This should take us to Before you Begin, and clicking on Next will bring up the following dialog box:

Select Active Directory Domain Services. When we select this, we are likely to get the following alert to install .NET Framework 3.5.1 Features, which is necessary for ensuring that all the API features are enabled. Click on Add Required Features, as shown in the following screenshot:

Let's move ahead and click on Install to continue. Both the items will be installed and we will see the successful completion of the installation of Active Directory Domain Services, as shown in the following screenshot:

Once the service is installed, we need to ensure that we run the service by clicking on the Active Directory Domain Services installation wizard and creating a new forest by following the instructions. In our case, we will be creating a new forest with FQDN as Secure.kali.com. Then with the domain NetBIOS name as Secure, set the forest functional level to Windows 2003 or Windows 2008 R2. This will invoke the Domain Name Server (DNS). As a fresh install, we will need to install DNS and follow the wizard. Finally, we must have a new domain as secure.kali.com, as shown in the following screenshot:

Installing defined targets

Practice makes perfect. In order to practice the art of exploitation, it is always recommended that you make use of software that is generally known to be vulnerable. In this section, we will install Metasploitable3, which is a Windows platform, and Multilladae, which is a PHP framework web application.

Metasploitable3

Metasploitable3 is an indubitably vulnerable virtual machine that is intended to be tested for multiple exploits using Metasploit. It is under a BSD-style license. This virtual machine can be downloaded from https://github.com/rapid7/metasploitable3. You can download the ZIP file and unzip it to your favorite Windows location (typically, we segregate this in the c:\HackTools\ folder) or you can use the git clone link with the Bash command.

Install all the relevant supporting software, such as Packer, Vagrant, VirtualBox, and the Vagrant reload plugin.

The following is a screenshot of the manual installation of Metasploitable3 on the Windows 10 host operating system:

Once the packer build has downloaded the ISO vbox image, you will receive a message as shown in the following screenshot:

After the VirtualBox file is downloaded, you will just have to run vagrant up in the same PowerShell. This should bring up your new VM in your virtual box without any problem, as shown in the following screenshot:

Mutillidae

Mutillidae is an open source insecure web application that is designed for penetration testers to practice web app-specific vulnerability exploitation.

XAMPP is another free and open source cross-platform web server solution stack package, developed by Apache Friends. XAMPP can be downloaded from this URL:
https://www.apachefriends.org/download.html

We will now be installing XAMPP to our newly installed Microsoft Windows 2008 R2 server to host it. Once XAMPP is downloaded, let's go ahead and install the executable by following the wizard. Once the installation is complete, launch XAMPP and you should be able to see the following screen:

Mutillidae can be downloaded from https://sourceforge.net/projects/mutillidae/files/latest/download.

Unzip the file and copy the folder to c:\yourxampplocation\htdocs\<mutillidae>.

We should be able to see the web application installed successfully, as shown in the following screenshot, and it can be accessed by visiting http://localhost/mutillidae/:

Managing collaborative penetration testing using Faraday

One of the most difficult aspects of penetration testing is remembering to test all of the relevant parts of the network or system target, or trying to remember whether the target was actually tested. In some cases, a single client may have multiple penetration testers performing scanning activities from multiple locations and management would like to have a single view. Faraday can provide a single view, assuming all the penetration testers are able to ping each other on the same network, or on the internet for external assessment.

Faraday is a multiuser penetration test Integrated Development Environment (IDE). It is designed for testers to distribute, index, and analyze all the data that is generated during the process of a penetration testing or technical security audit to provide different views such as management, executive summary, and an overall issues list.

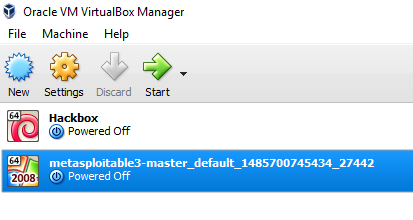
This IDE platform is developed in Python by InfoByte. Download the application from https://github.com/infobyte/faraday/wiki or directly git clone the link, as shown in the following screenshot:

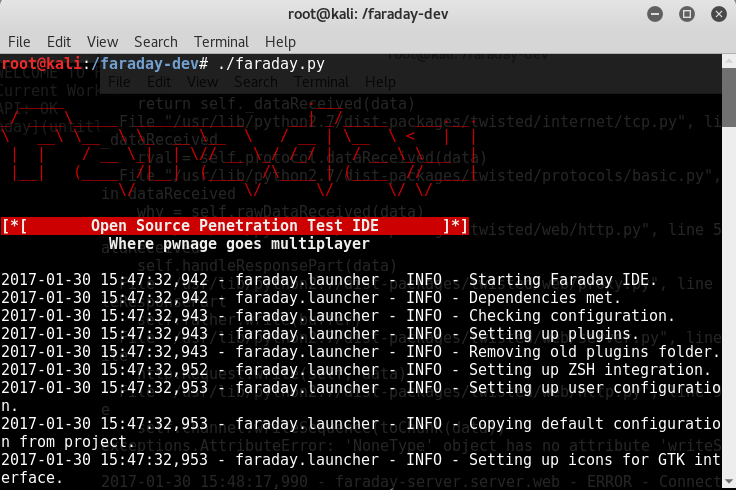
Once the folder is cloned to your Kali, run ./install.sh to install any dependencies. Do not forget to start the CouchDB service, as Faraday utilizes CouchDB as its database for storage. Finally, we run faraday-server.py to launch the Faraday server for an integrated platform, and then as the client, we should be able to launch Faraday by running faraday.py, as shown in the following screenshot:

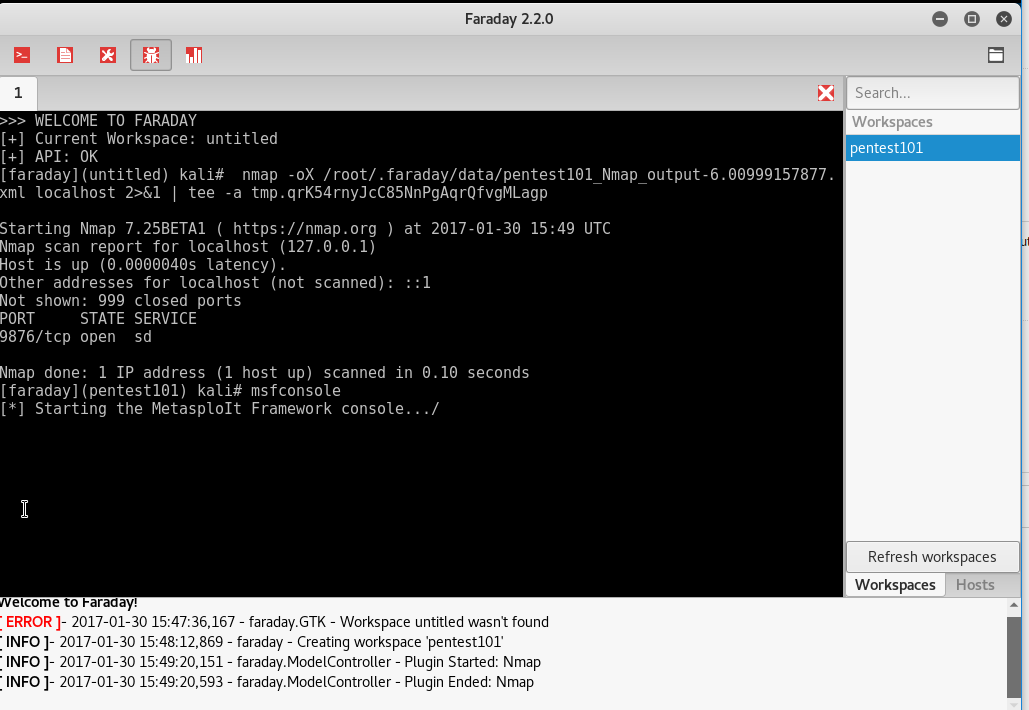
Launching Faraday should open up the Faraday shell console to us, as shown in the following screenshot:

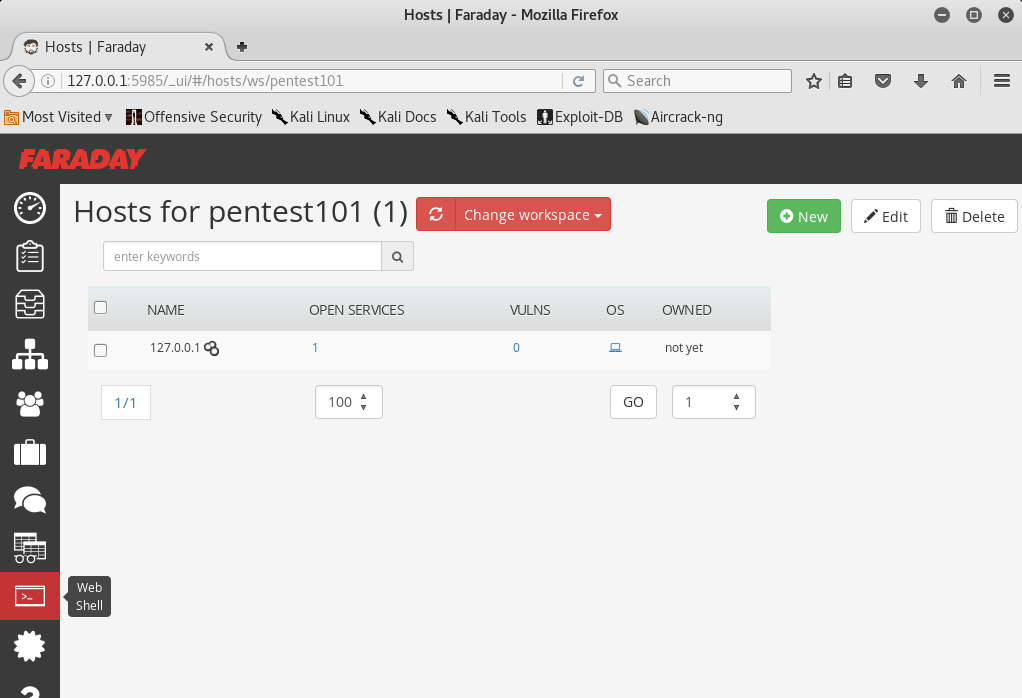
One positive aspect of the application is that you will be able to visualize the information from any scanning that you do, or that any other penetration tester does, by clicking on Faraday web, as shown in the following screenshot:

There is a limitation on the free version of Faraday for the community, which can be utilized to visualize all the lists of issues in a single place.