Book Image

Kali Linux 2018: Windows Penetration Testing - Second Edition

By : Wolf Halton, Bo Weaver
Book Image

Kali Linux 2018: Windows Penetration Testing - Second Edition

By: Wolf Halton, Bo Weaver

Overview of this book

Microsoft Windows is one of the two most common OSes, and managing its security has spawned the discipline of IT security. Kali Linux is the premier platform for testing and maintaining Windows security. Kali is built on the Debian distribution of Linux and shares the legendary stability of that OS. This lets you focus on using the network penetration, password cracking, and forensics tools, and not the OS. This book has the most advanced tools and techniques to reproduce the methods used by sophisticated hackers to make you an expert in Kali Linux penetration testing. You will start by learning about the various desktop environments that now come with Kali. The book covers network sniffers and analysis tools to uncover the Windows protocols in use on the network. You will see several tools designed to improve your average in password acquisition, from hash cracking, online attacks, offline attacks, and rainbow tables to social engineering. It also demonstrates several use cases for Kali Linux tools like Social Engineering Toolkit, and Metasploit, to exploit Windows vulnerabilities. Finally, you will learn how to gain full system-level access to your compromised system and then maintain that access. By the end of this book, you will be able to quickly pen test your system and network using easy-to-follow instructions and support images.
Table of Contents (12 chapters)

Configuring Kali to be your Daily Driver

Kali has come a long way since it was first developed. It was first a stripped-down version of Linux designed to be run as a VM or from a USB or CD. Your tools for normal computing just were there. You will notice that Kali is designed to run under the root account. During the setup, there isn't the normal Set up a user account section in the install like most other distros. Of course, this is normally a big security no-no. A normal user should never have root-level access to the system. Today on most Linux distros, the root account is basically disabled from interactive logins, and instructions written on administration of the system tell you to use sudo to gain access to system-level files. GUI-based administration applications require a user to sudo in and use their credentials to open and save a configuration change to the system. This is a great idea for a system set up for normal use, but when pen testing you need direct hardware and system-level access. Using sudo in front of every command just isn't a useful option.

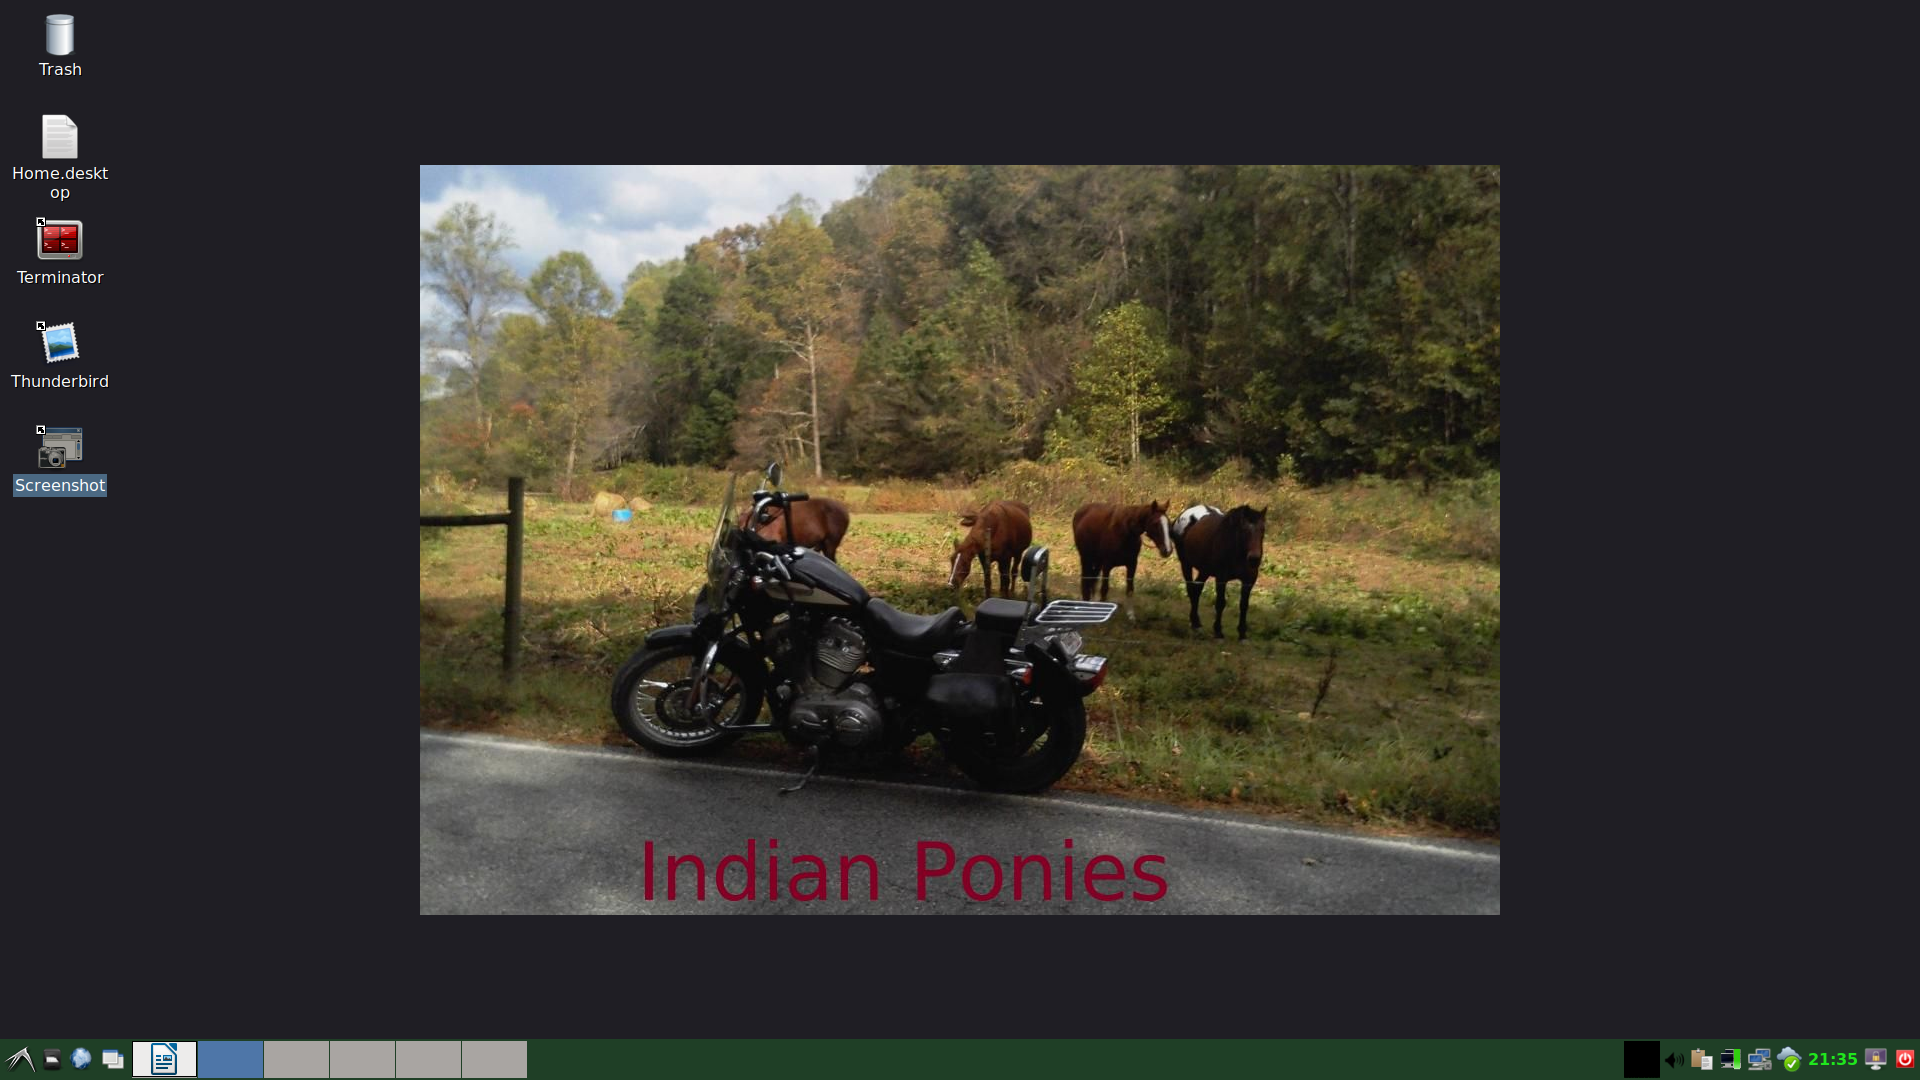
The next screenshot is of the desktop from the machine on which Bo wrote this chapter. Since he was writing a document, looking up information on the internet, and checking his email, he used his basic unprivileged user account. Note his personal photo on the desktop. When using more than one account on a system (especially when one of the accounts is root), you might want to have a different wallpaper for each account. This helps remind you how you are logged in and keeps you from doing something stupid when in the root account. This also helps protect you from the nasties on the internet:

Bo Weaver's desktop

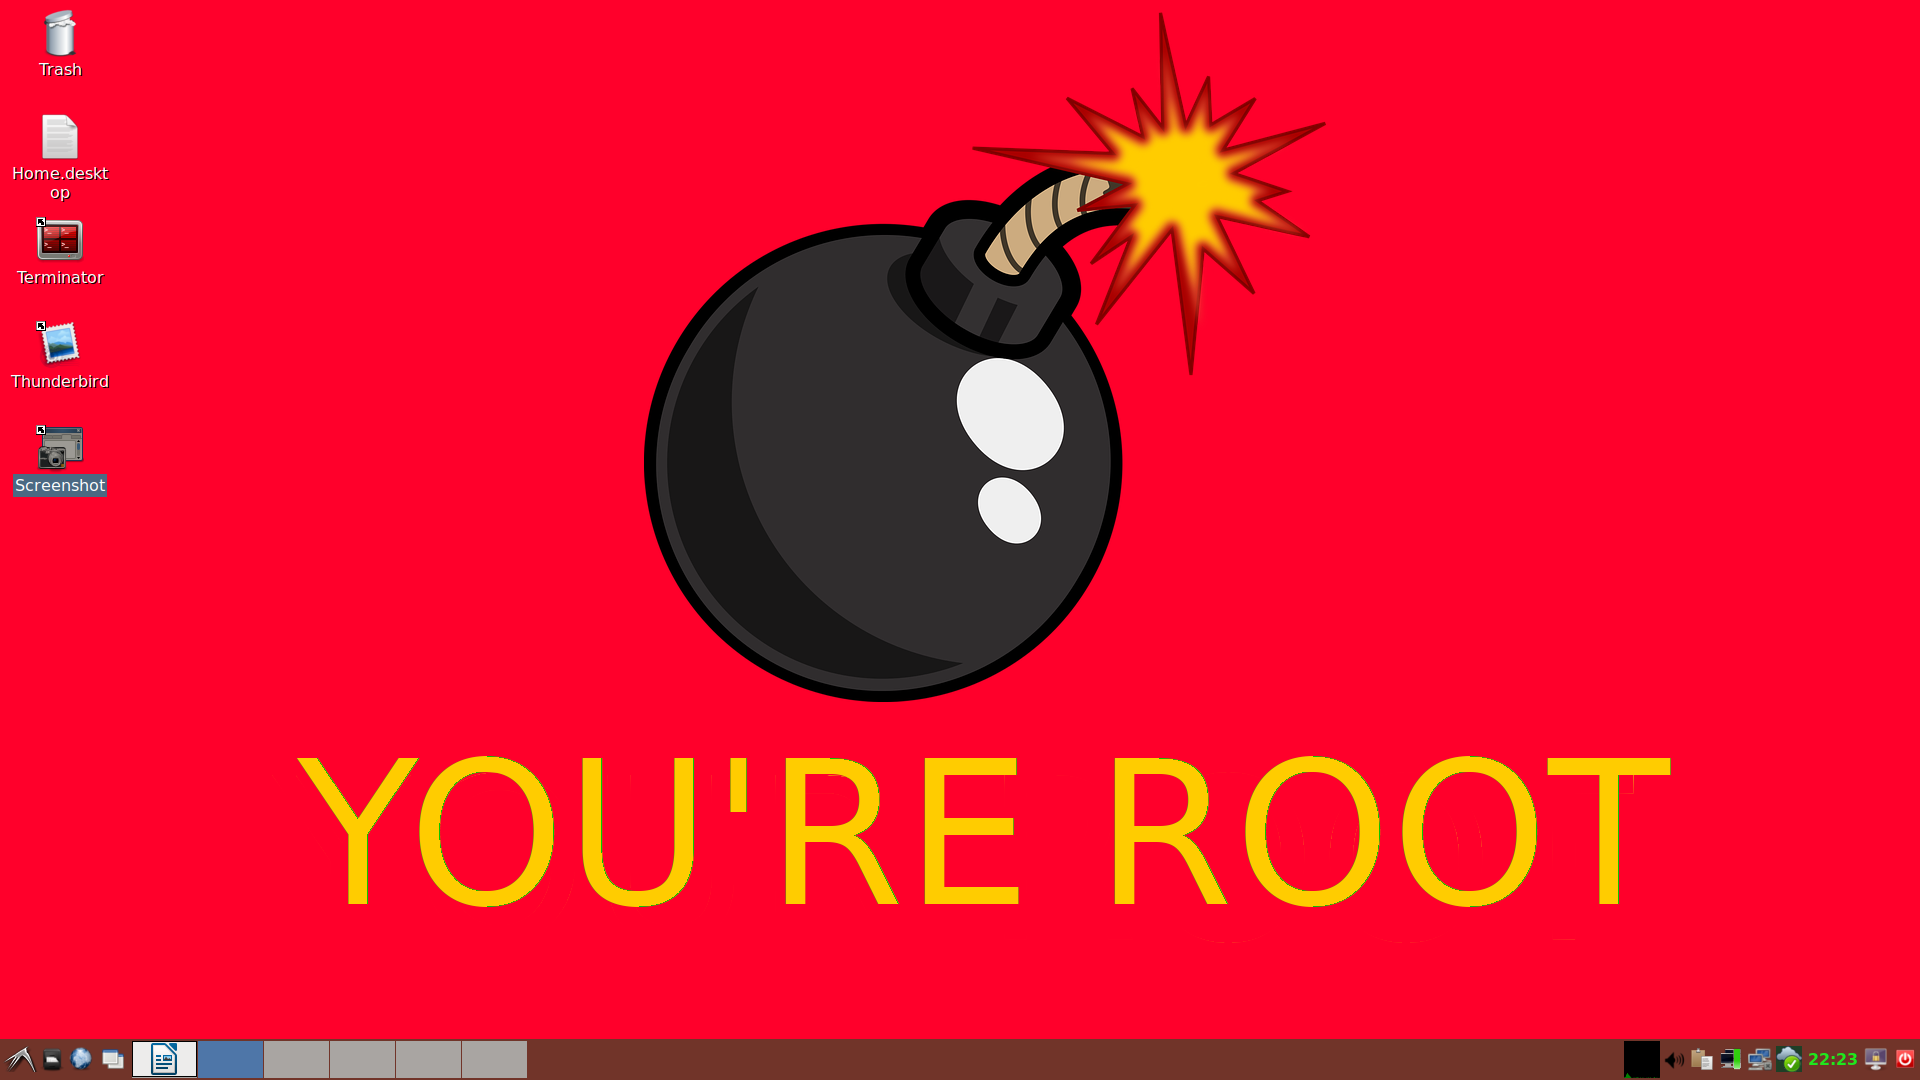
The following screenshot is the root desktop for this machine. There's no doubt where you're at when you are using this wallpaper:

Bo Weaver's root desktop

User account setup

After you have Kali set up and running, you'll need to add the normal user account to the system to make it your Daily Driver. The User Manager applications were not loaded with most of the Kali distros. They can be installed, but the easiest method and the one that works on all distros is the good old useradd command from the Terminal, as shown in the next screenshot.

The user for this and all other user processes is root:

Adding an admin user

To break down the meanings of the command options, the following is an example of adding user fred with a password of Password. Be sure to change the username and password to your unique account; we won't allow fred on our networks anymore:

useradd -m -U -G sudo -p LamePassword fred  

The flags we are using with this command are as follows:

  • -m: Sets up a home directory for the user in the /home directory.
  • -U: This flag sets up a unique user group for the new user, with the group name the same as the username.
  • -G sudo: This adds the new user to more than his own group. You will want your normal user account to have sudo access, so we are adding the user to the sudo group.
  • -p LamePassword: This flag sets up the password for the account. Please don't use something lame here.
  • fred: We end the command with the new username for the account.
  • Next, just hit the Enter key and the new user account is set up.

There are a couple of applications you'll want to load to have a working desktop: either LibreOffice or Apache OpenOffice, and an email client. OpenOffice is not in the Kali repos, so for this demo we will use LibreOffice. Mozilla Thunderbird is a useful email/scheduling tool. We'll use this for our demo. Kali doesn't come with an email client installed by default since it is designed to run under root. A word of warning: never open emails under a root account. Bad things can happen!

First, make sure your package list is up to date, so run this:

apt-get update  

Next, install OpenOffice and Thunderbird:

apt-get -y install libreoffice thunderbird  

Or, use this:

apt install libreoffice thunderbird  

The -y flag will answer yes to installing the packages. At this point, get a cup of coffee or take a little walk, as this will take a bit to install. The second command does the same thing, but it lets us look at the packages to be installed and upgraded. An abridged readout of the results of the second command are shown in the next screenshot. This screenshot shows wavy lines between the major sections of the install, to fit it all into the image window from the three screens of detail that are actually there. There are dozens of suggested packages, and you can ignore these and just hit the Y key for yes. You can also go back later, copy all the suggested package names from the Terminal window, and run this command:

apt install [all those names you just copied]  

Add them into your installation:

Installing mail client and Office apps

So, now you are ready. Change your root desktop to something that reminds you that you are logged in as root. Log out of root and, at the login screen, enter the new user's credentials. Once you are in, you now have a running account with the full security of a normal user account. Using this account, you are safe to browse the internet, read email, and do all the other things you normally do with a system. When you need to do a little pen testing, just log in as root.