

Ghidra overview
In a similar way as happened at RSA Conference, we will provide a Ghidra overview in order to present the tool and its capabilities. You will soon realize how powerful Ghidra is and why this tool is not simply another open source reverse engineering framework.
At the time of writing this book, the latest available version of Ghidra is 9.1.2, which can be downloaded from the official website mentioned in the previous section of this chapter.
Installing Ghidra
It is recommended to download the latest version of Ghidra (https://ghidra-sre.org/) by clicking on the red Download Ghidra v9.1.2 button, but if you want to download older versions, then you need to click on Releases:

Figure 1.2 – Downloading Ghidra from the official website
After downloading the Ghidra archive file (ghidra_9.1.2_PUBLIC_20200212.zip) and decompressing it, you will see the following file structure:
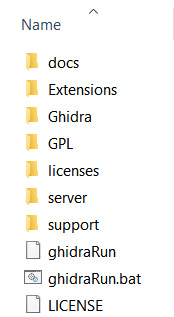
Figure 1.3 – The Ghidra 9.1.2 structure after it is decompressed
The content can be described as follows (source: https://ghidra-sre.org/InstallationGuide.html):
docs: Ghidra documentation and some extremely useful resources, such as learning Ghidra courses for all levels, cheatsheets, and a step-by-step installation guideExtensions: Optional Ghidra extensions allowing you to improve its functionality and integrate it with other toolsGhidra: The Ghidra program itselfGPL: Standalone GPL support programslicenses: Contains licenses used by Ghidraserver: Contains files related to Ghidra Server installation and administrationsupport: Allows you to run Ghidra in advanced modes and control how it launches, including launching it to be debuggedghidraRun: The script used to launch Ghidra on Linux and iOSghidraRun.bat: Batch script allowing you to launch Ghidra on WindowsLICENSE: Ghidra license file
In addition to downloading a release version of Ghidra (which is precompiled), you can compile the program on your own, as will be explained in the next section.
Compiling Ghidra on your own
If you want to compile Ghidra on your own, then you can download the source code from the following URL: https://github.com/NationalSecurityAgency/ghidra.
You can then build it using Gradle by running the following command:
gradle --init-script gradle/support/fetchDependencies.gradle init
gradle buildGhidra
gradle eclipse
gradle buildNatives_win64
gradle buildNatives_linux64
gradle buildNatives_osx64
gradle sleighCompile
gradle eclipse -PeclipsePDE
gradle prepDev
This will produce a compressed file containing the compiled version of Ghidra:
/ghidra/build/dist/ghidra_*.zip
Before starting Ghidra, make sure your computer meets the following requirements:
- 4 GB RAM
- 1 GB storage (for installing Ghidra binaries)
- Dual monitors strongly recommended
Since Ghidra is written in Java, if it is executed before installing the Java 11 64-bit runtime and development kit, some of the following error messages could be displayed:
- When Java is not installed, you will see the following:
"Java runtime not found..."
- When the Java Development Kit (JDK) is missing, you will see the following:

Figure 1.4 – Missing JDK error
Therefore, if you get any of those messages, please download the JDK from one of the following sources:
- https://adoptopenjdk.net/releases.html?variant=openjdk11&jvmVariant=hotspot
- https://docs.aws.amazon.com/corretto/latest/corretto-11-ug/downloads-list.html
How to solve installation issues
Ghidra's step-by-step installation guide, including known issues, can be found in Ghidra's documentation directory at
docs\InstallationGuide.html.It is also available online at the following link: https://ghidra-sre.org/InstallationGuide.html.
Note that you can report new issues you find in Ghidra through the following link: https://github.com/NationalSecurityAgency/ghidra/issues.
After installing Ghidra, you will be able to launch it using ghidraRun on Linux and iOS and ghidraRun.bat on Windows.
Overview of Ghidra's features
In this section, we will look at an overview of some fundamental Ghidra features in order to understand the overall functionality of the program. It is also a good starting point to get familiar with it.
Creating a new Ghidra project
As you will notice, differently than other reverse engineering tools, Ghidra doesn't work with files directly. Instead, Ghidra works with projects. Let's create a new project by clicking on File | New Project…. You can also do this faster by pressing the Ctrl + N hotkey (the complete list of Ghidra hotkeys is available at https://ghidra-sre.org/CheatSheet.html and also in Ghidra's documentation directory):
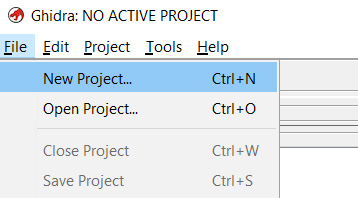
Figure 1.5 – Creating a new Ghidra project
Furthermore, projects can be non-shared or shared projects. Since we want to analyze a hello world program without collaboration with other reverse engineers, we will choose Non-Shared Project, and then click on the Next>> button. Then, the program asks us to choose a project name (hello world) and where to store it:
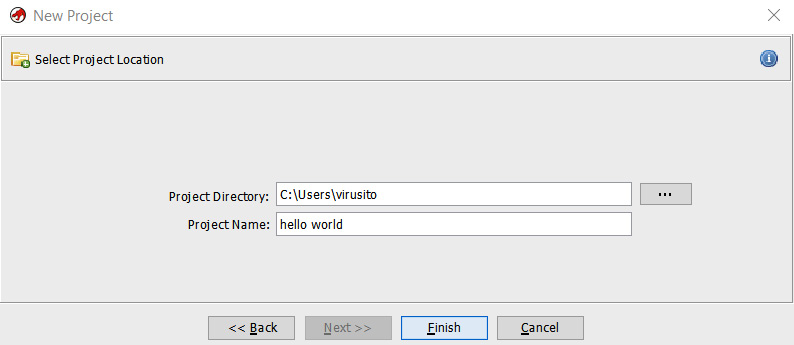
Figure 1.6 – Choosing a project name and directory
The project is composed of a hello world.gpr file and a hello world.rep folder:
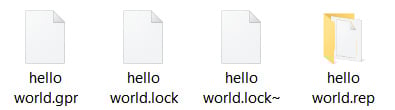
Figure 1.7 – Ghidra project structure
A Ghidra project (the *.gpr file) can only be opened by a single user. Therefore, if you try to open the same project twice at the same time, the concurrency lock implemented using the hello world.lock and hello world.lock~ files will prevent you from doing so, as shown in the following screenshot:
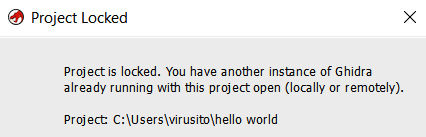
Figure 1.8 – Ghidra's project locked
In the next section, we will cover how to add binary files to our project.
Importing files to a Ghidra project
We can start to add files to our hello world project. In order to analyze an extremely simple application with Ghidra, we will compile the following hello world program (hello_world.c) written in the C programming language:
#include <stdio.h>
int main(){
	printf("Hello world.");
}
We use the following command to compile it:
C:\Users\virusito\Desktop\hello_world> gcc.exe hello_world.c
C:\Users\virusito\>\
Let's analyze the resulting Microsoft Windows Portable Executable file: hello_world.exe.
Let's import our hello world.exe file to the project; to do that, we have to go to File | Import file. Alternatively, we can press the I key:
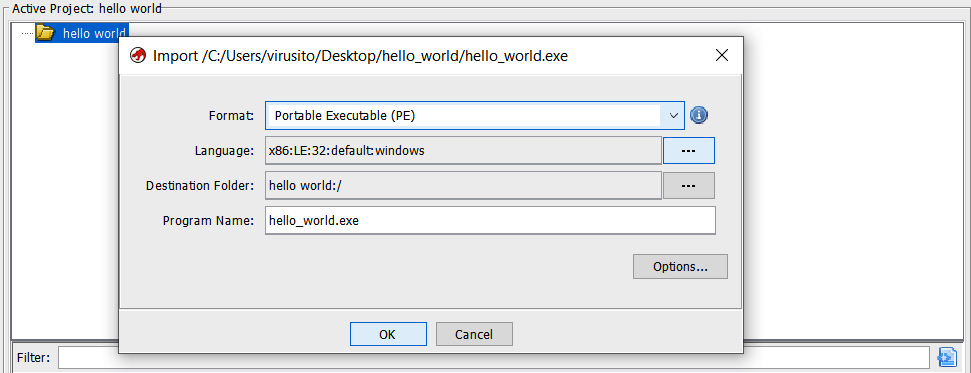
Figure 1.9 – Importing a file to the Ghidra project
Ghidra automatically identified the hello_world.exe program as an x86 Portable Executable binary for 32-bit architectures. As it was successfully recognized, we can click OK to continue. After importing it, you will see a summary of the file:

Figure 1.10 – Ghidra project file import result summary
By double-clicking the hello_world.exe file or clicking on the green Ghidra icon of Tool Chest, the file will be opened and loaded by Ghidra:

Figure 1.11 – A Ghidra project containing a Portable Executable file
After importing files into your project, you can start to reverse engineer them. This is a cool feature of Ghidra, allowing you to import more than one file into a single project, because you can apply some operation (for example, search) over multiple files (for example, an executable binary and its dependencies). In the next section, we will see how to analyze those files using Ghidra.
Performing and configuring Ghidra analysis
You will be asked whether to analyze the file, and you probably want to answer Yes to this because the analysis operation recognizes functions, parameters, strings, and more. Usually, you will want to let Ghidra get this information for you. A lot of analysis configuration options do exist. You can see a description of every option by clicking on it; the description is displayed in the upper-right Description section:
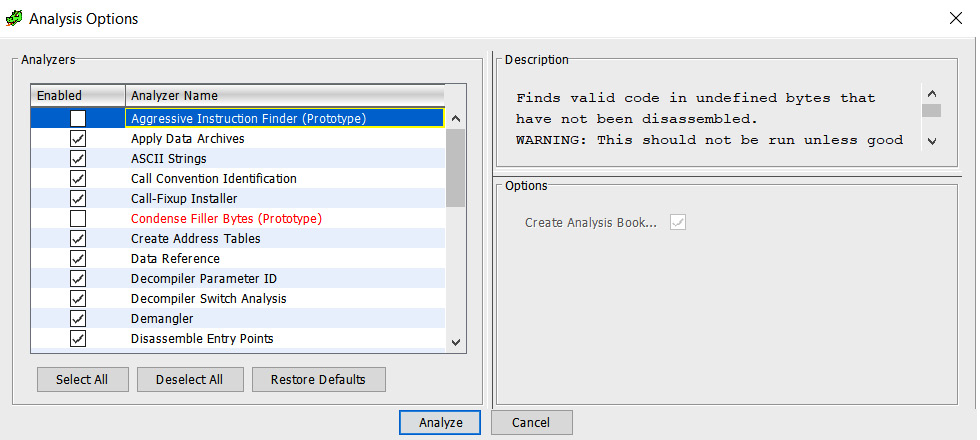
Figure 1.12 – File analysis options
Let's click on Analyze to perform the analysis of the file. Then, you will see the Ghidra CodeBrowser window. Don't worry if you forget to analyze something; you can reanalyze the program later (go to the Analysis tab and then Auto Analyze 'hello_world.exe'…).
Exploring Ghidra CodeBrowser
Ghidra CodeBrowser has, by default, a pretty well-chosen distribution of dock windows, as shown in the following screenshot:
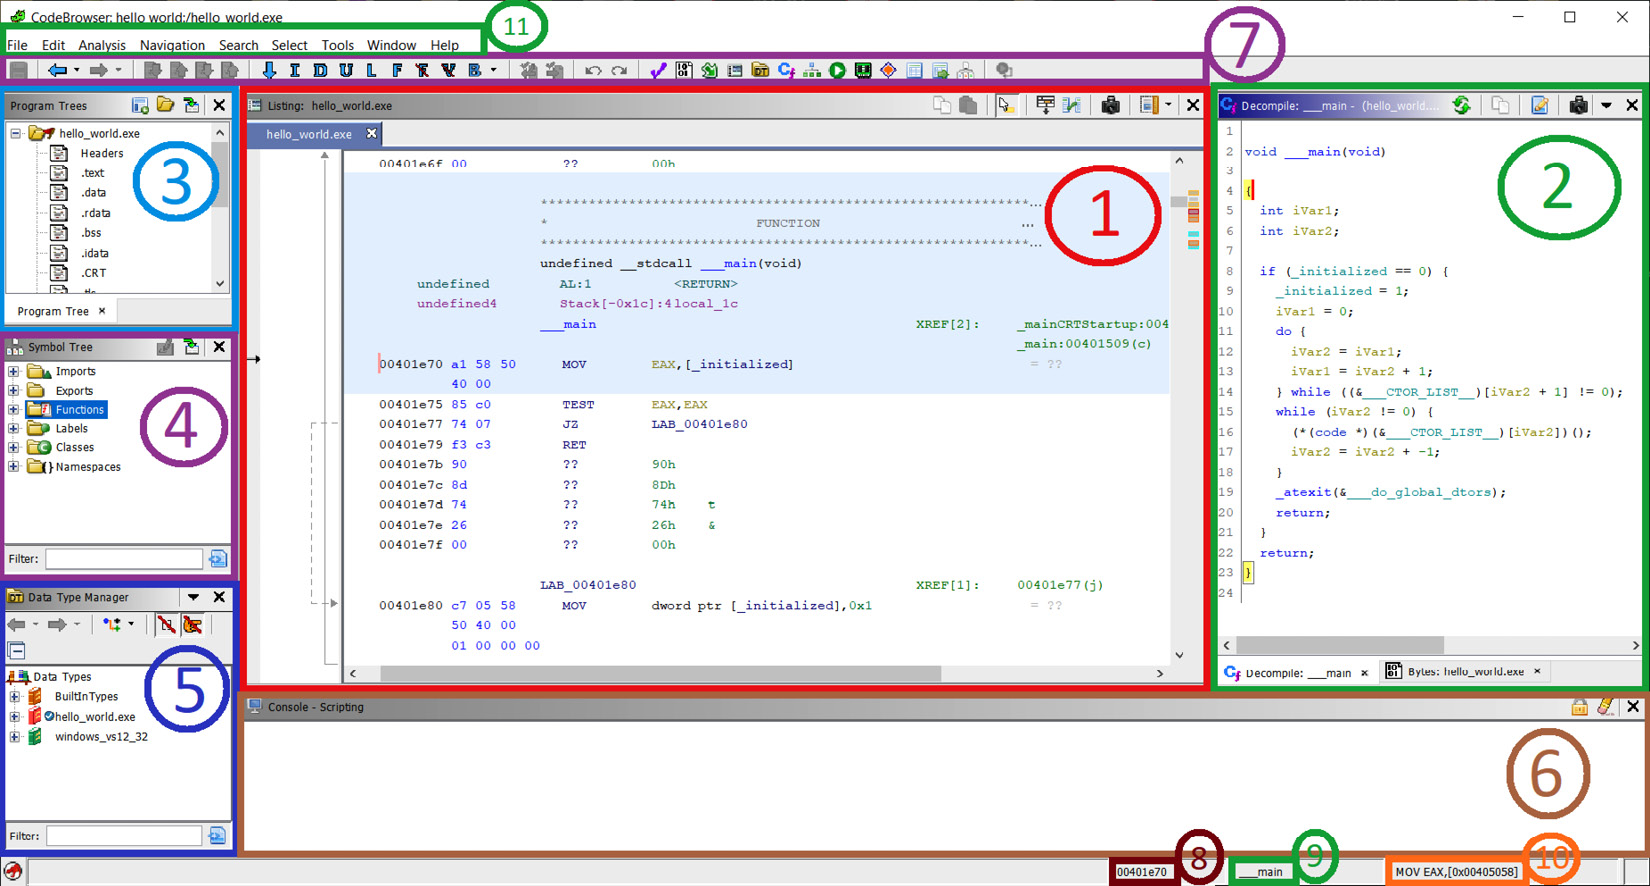
Figure 1.13 – Ghidra's CodeBrowser window
Let's see how CodeBrowser is distributed by default:
- As usual, by default in reverse engineering frameworks, in the center of the screen, Ghidra shows a disassembly view of the file.
- As the disassembly level is sometimes a too low-level perspective, Ghidra incorporates its own decompiler, which is located to the right of the disassembly window. The main function of the program was recognized by a Ghidra signature, and then parameters were automatically generated. Ghidra also allows you to manipulate decompiled code in a lot of aspects. Of course, a hexadecimal view of the file is also available in the corresponding tab. These three windows (disassembly, decompiler, and the hexadecimal window) are synchronized, offering different perspectives of the same thing.
- Ghidra also allows you to easily navigate in the program. For instance, to go to another program section, you can refer to the Program Trees window located in the upper-left margin of CodeBrowser.
- If you prefer to navigate to a symbol (for example, a program function), then go just below that, to where the Symbols Tree pane is located.
- If you want to work with data types, then go just below that again, to Data Type Manager.
- As Ghidra allows scripting reverse engineering tasks, script results are shown in the corresponding window at the bottom. Of course, the Bookmarks tab is available in the same position, allowing you to create pretty well-documented and organized bookmarks of any memory location for quick access.
- Ghidra has also a quick access bar at the top.
- At the bottom right, the first field indicates the current address.
- Following the current address, the current function is shown.
- In addition to the current address and the current function, the current disassembly line is shown to complete the contextual information.
- Finally, at the topmost part of CodeBrowser, the main bar is located.
Now that you know the default perspective of Ghidra, it's a good time to learn how to customize it. Let's address this in the following section.
Customizing Ghidra
This is the default perspective of Ghidra, but you can also modify it. For instance, you can add more windows to Ghidra by clicking on the Window menu and choosing one that piques your interest:
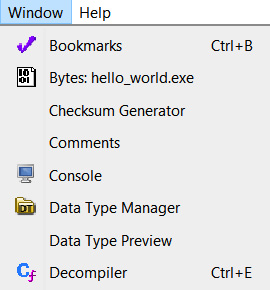
Figure 1.14 – Some items in the Ghidra Window submenu
Ghidra has a lot of awesome functionalities – for instance, the bar located on the upper-right bar of the disassembly window allows you to customize the disassembly view by moving fields, adding new fields, extending the size of a field in the disassembly listing, and more:
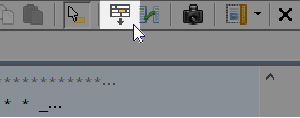
Figure 1.15 – Disassembly listing configuration
It also allows you to enable a very interesting feature of Ghidra, which is its intermediate representation or intermediate language, called PCode. It allows you to develop assembly language-agnostic tools and to develop automated analysis tools in a more comfortable language:
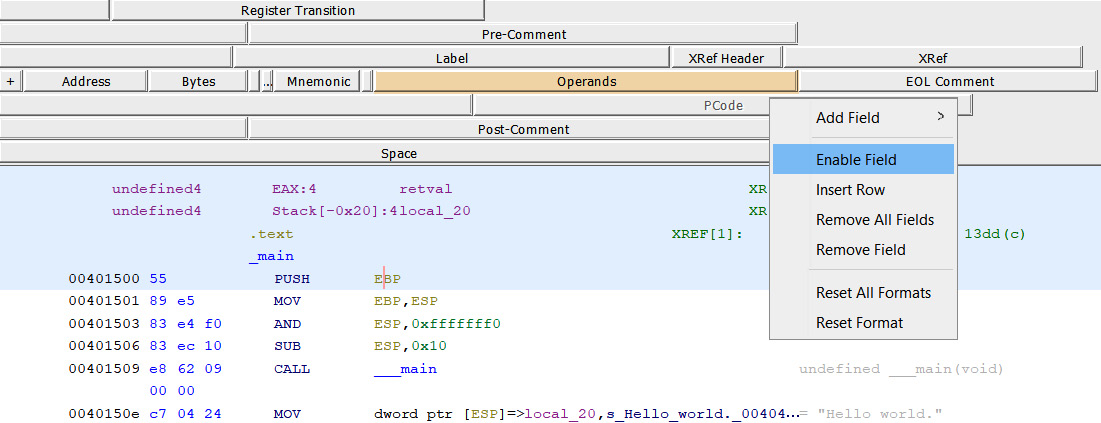
Figure 1.16 – Enabling the PCode field in the disassembly listing
If it is enabled, then PCode will be shown in the listing. As you will soon realize, PCode is less human-readable, but it is sometimes better for scripting reverse engineering tasks:
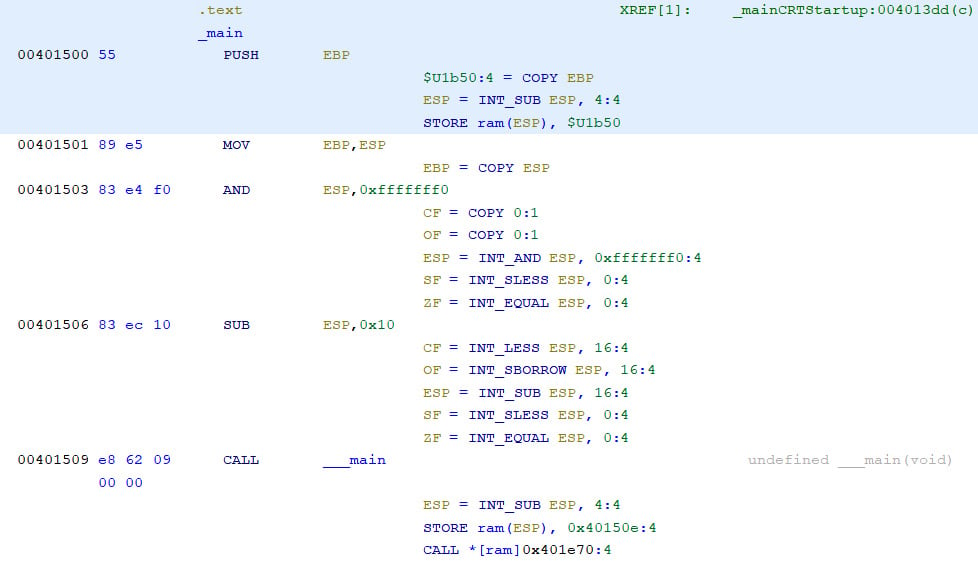
Figure 1.17 – Disassembly listing with PCode enabled
Discovering more Ghidra functionalities
Some powerful features available in other reverse engineering frameworks are also included in Ghidra. For instance, as in other reverse engineering frameworks, you also have a graph view:
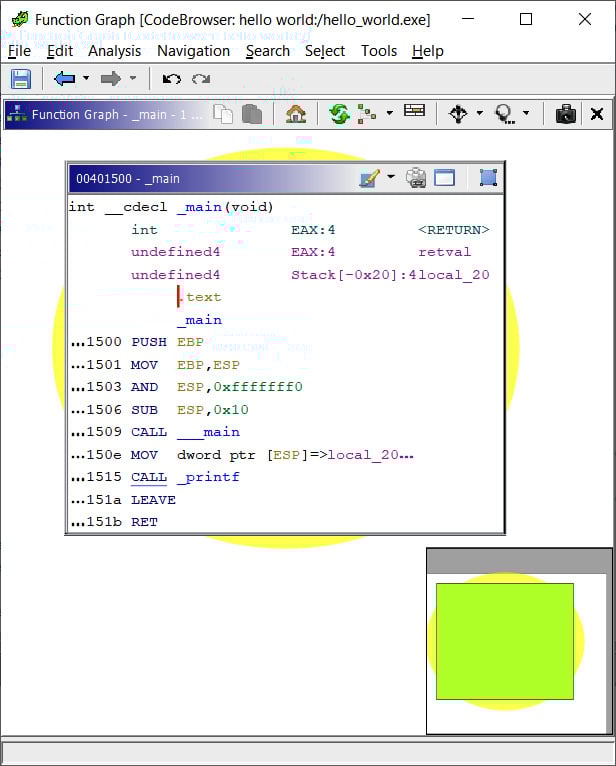
Figure 1.18 – Graph view of a hello world program's main function
As you will notice, Ghidra has a lot of features and windows; we will not cover all of them in this chapter, nor modify and/or extend them all. In fact, we haven't mentioned all of them yet. Instead, we will learn about them through practice in the following chapters.