-
Book Overview & Buying
-
Table Of Contents

-
Feedback & Rating

MS-700 Managing Microsoft Teams Exam Guide - Second Edition
By :
MS-700 Managing Microsoft Teams Exam Guide
By:
Overview of this book
Exam MS-700: Managing Microsoft Teams tests your knowledge and competence in the deployment, management, and monitoring of Microsoft Teams features within the Microsoft 365 platform.
This book will teach you how to effectively plan and implement the required services using both the Teams admin centre within Microsoft 365 and Windows PowerShell. Throughout the chapters, you'll learn about all the policies relating to messaging, teams, meetings, and more; get to grips with the settings; and explore configuration options that a Teams administrator would encounter in their day-to-day responsibilities. You'll also discover best practices for rolling out and managing Teams services for users within your Microsoft 365 tenant as you explore each objective in detail.
By the end of this Microsoft Teams book, you'll have covered everything you need to pass the MS-700 certification exam and have a handy, on-the-job desktop reference guide.
Table of Contents (24 chapters)
Preface

Section 1: Plan and Configure a Microsoft Teams Environment
 Free Chapter
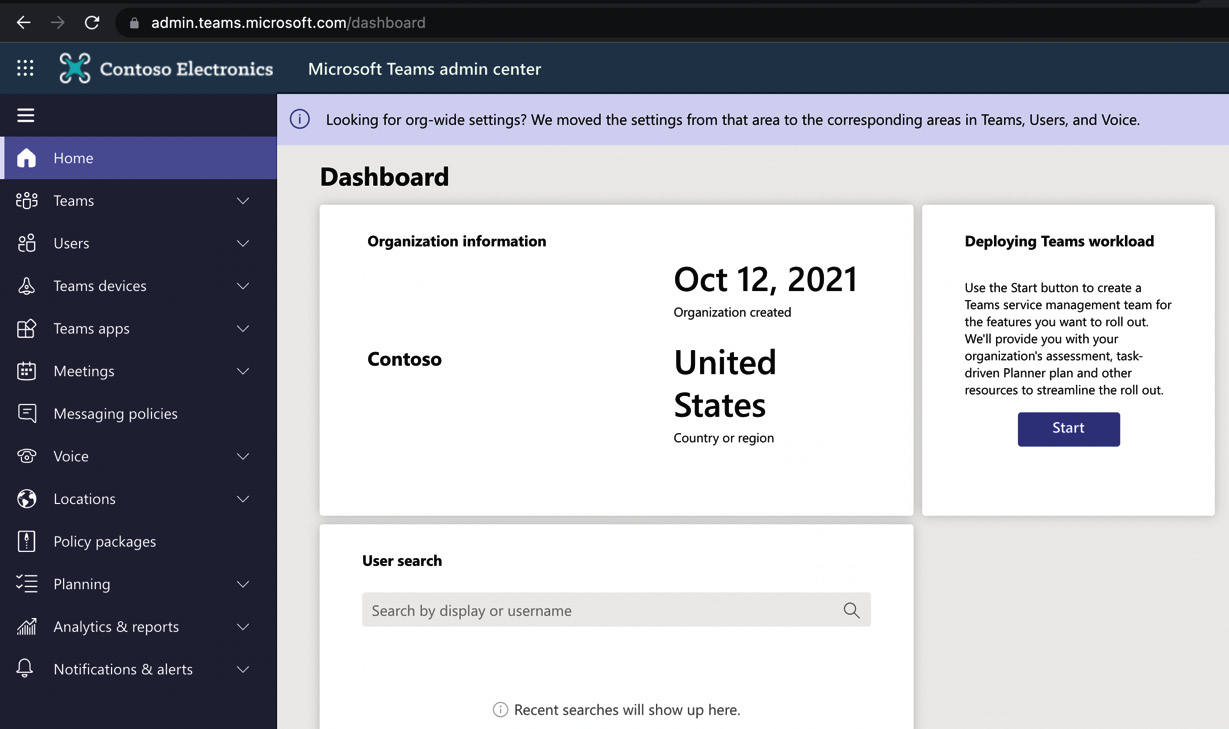
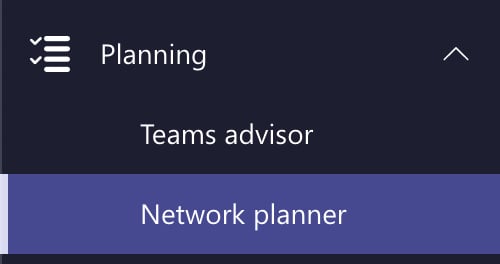
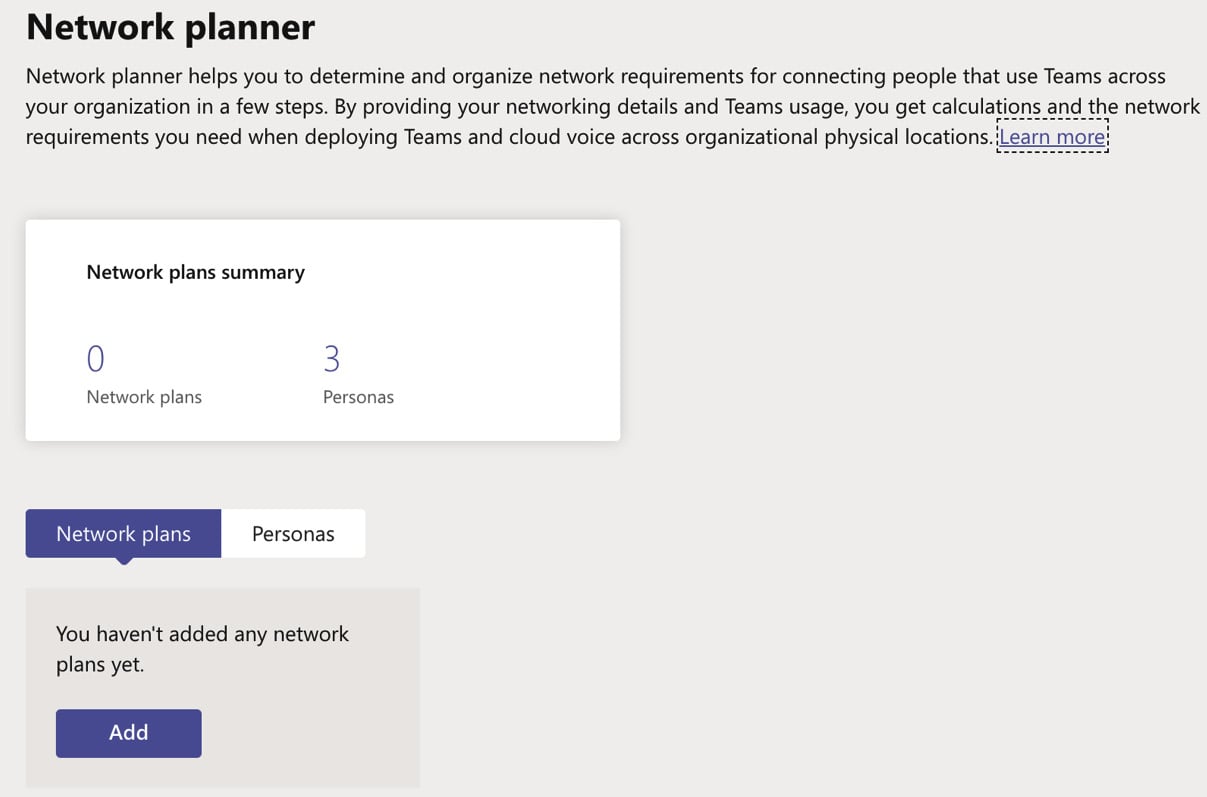
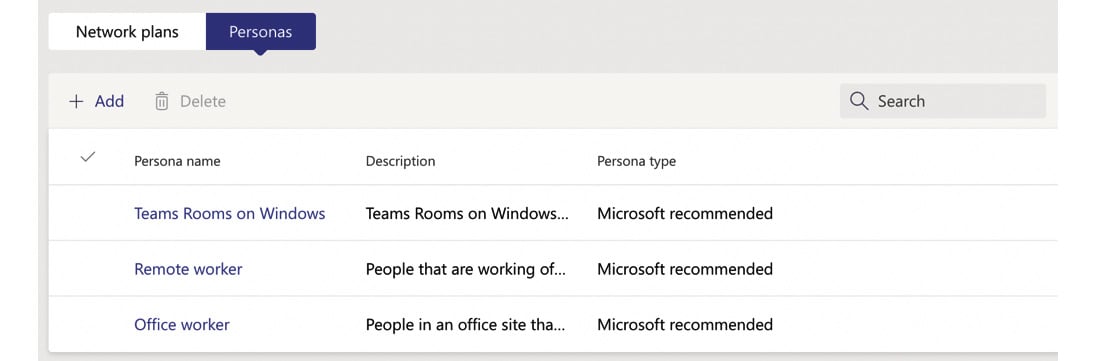
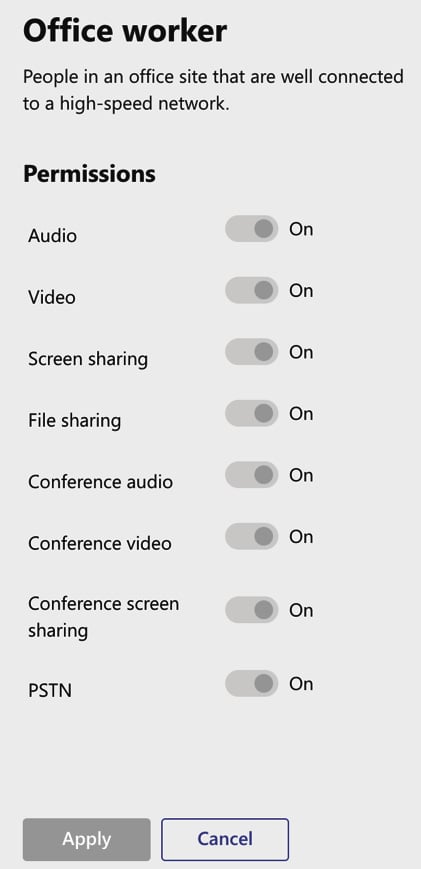
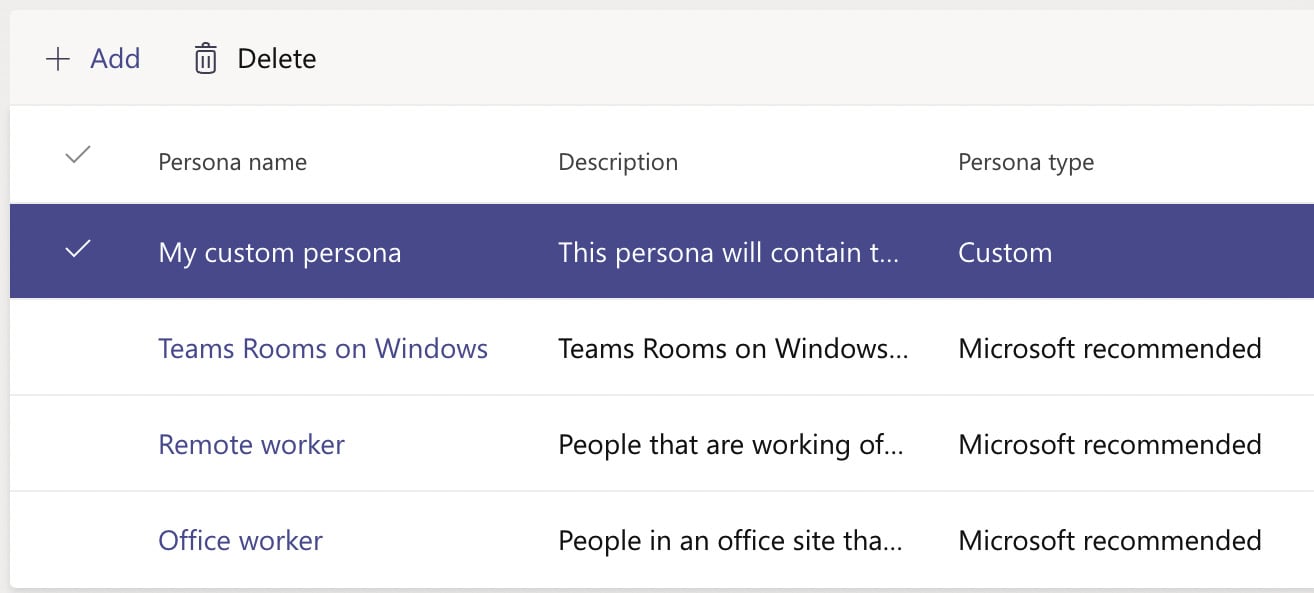
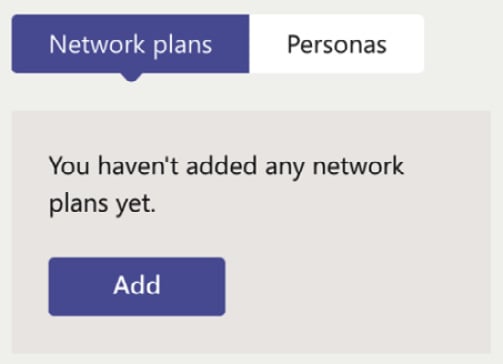
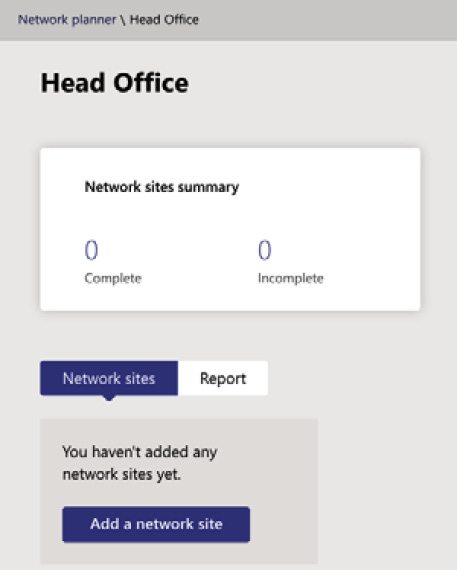
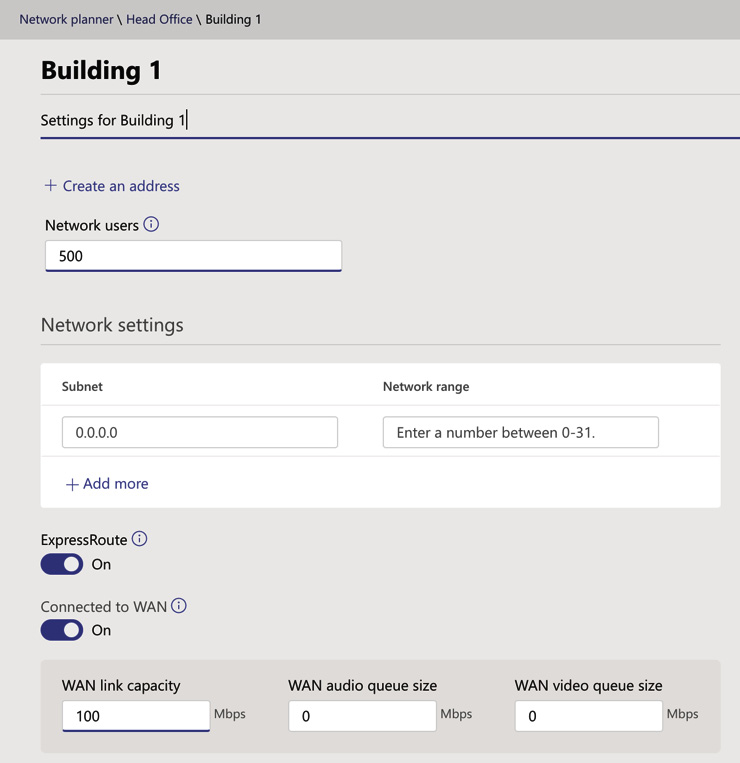
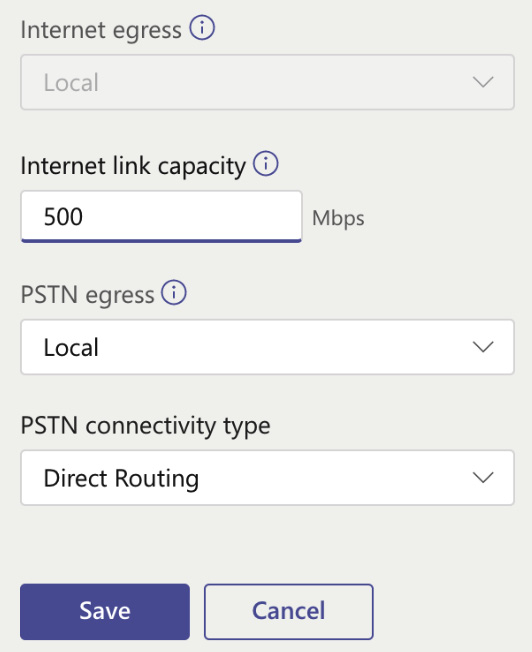
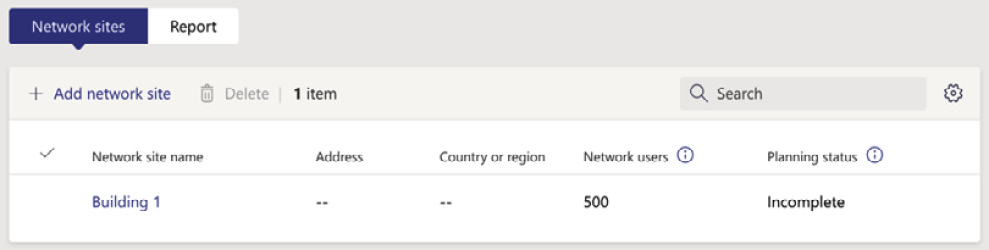
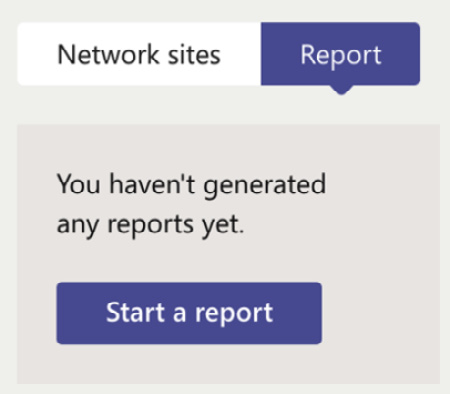
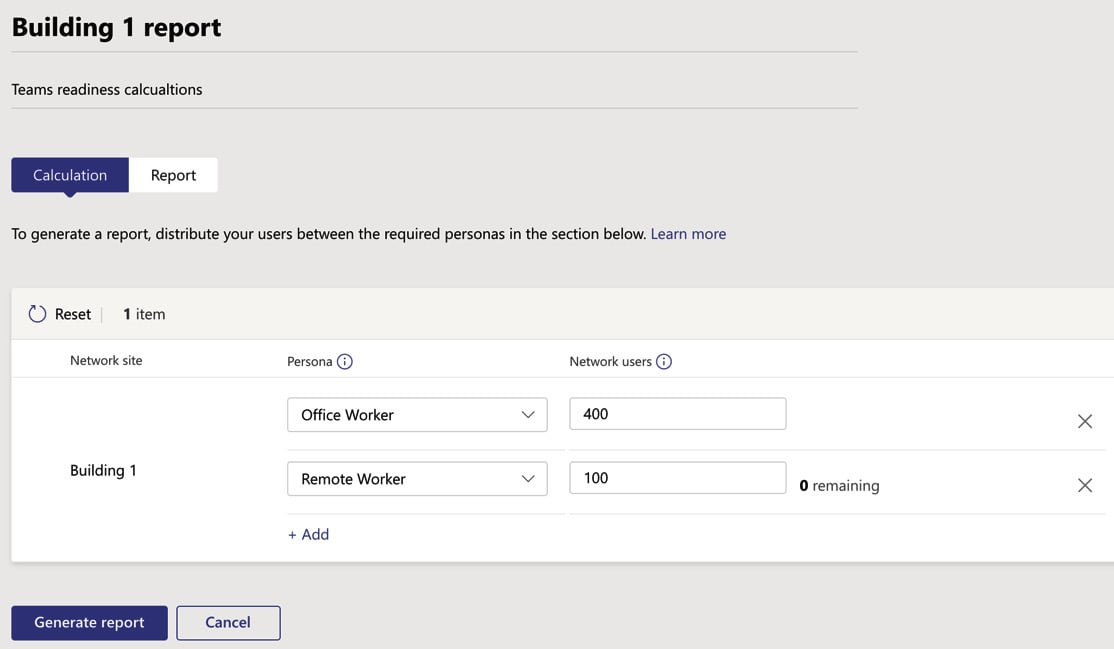
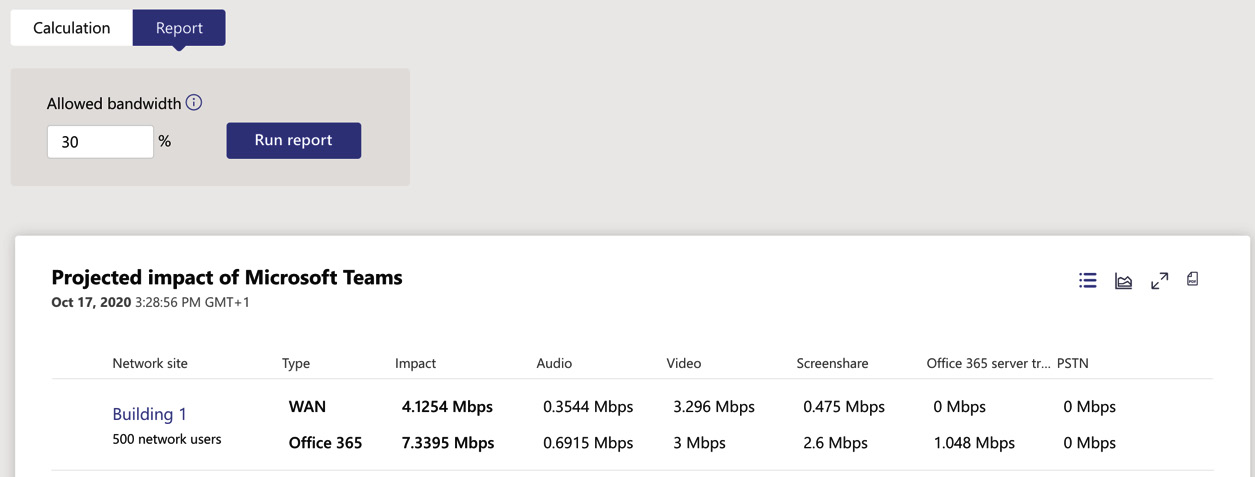
Chapter 1: Planning and Configuring Network Settings for Microsoft Teams
Chapter 2: Identifying Licensing Requirements for Microsoft Teams
Chapter 3: Planning and Configuring Security and Compliance Settings for Microsoft Teams
Chapter 4: Planning and Implementing Governance and Life Cycle Management for Microsoft Teams
Chapter 5: Configuring and Managing External and Guest Users
Chapter 6: Configuring and Managing Microsoft Teams Devices
Section 2: Manage Chat, Teams, Channels, and Apps in Microsoft Teams
Chapter 7: Creating and Managing Teams
Chapter 8: Planning and Managing Channels
Chapter 9: Managing Chat and Collaboration Experiences
Chapter 10: Managing Apps for Microsoft Teams
Section 3: Manage Calling and Meetings in Microsoft Teams
Chapter 11: Managing Meeting Experiences
Chapter 12: Managing Phone Numbers
Chapter 13: Managing Phone System for Microsoft Teams
Chapter 14: Monitoring and Reporting on a Microsoft Teams Environment
Chapter 15: Troubleshooting Audio, Video, and Client Issues
Section 4: Mock Exam and Assessments
Chapter 16: Mock Exam
Chapter 17: Mock Exam Answers
Chapter 18: Assessments
Other Books You May Enjoy
Customer Reviews