Book Image

OpenStack Trove Essentials

By : Alok Shrivastwa, Sunil Sarat, Doug Shelley, Amrith Kumar
Book Image

OpenStack Trove Essentials

By: Alok Shrivastwa, Sunil Sarat, Doug Shelley, Amrith Kumar

Overview of this book

OpenStack has become an extremely popular solution to build public and private clouds with. Database as a Service (DBaaS) enables the delivery of more agile database services at lower costs. Some other benefits of DBaaS are secure database deployments and compliance to standards and best practices. Trove is a DBaaS built on OpenStack and is becoming more popular by the day. Since Trove is one of the most recent projects of OpenStack, DBAs and system administrators can find it difficult to set up and run a DBaaS using OpenStack Trove. This book helps DBAs make that step. We start by introducing you to the concepts of DBaaS and how is it implemented using OpenStack Trove. Following this, we look at implementing OpenStack and deploying Trove. Moving on, you will learn to create guest images to be used with Trove. We then look at how to provision databases in self-service mode, and how to perform administration tasks such as backup and recovery, and fine-tuning databases. At the end of the book, we will examine some advanced features of Trove such as replication.
Table of Contents (15 chapters)
OpenStack Trove Essentials
Credits
About the Authors
About the Reviewer
www.PacktPub.com
Preface
Index

Uploading the Trove images


Once we have created the guest images, we now need to perform the Trove operations to upload the images and register them with the Trove system for it to be usable.

We will export the credentials as we have done in the past.

cd ~
export OS_TENANT_NAME=admin
export OS_AUTH_URL=http://172.22.6.246:5000/v2.0
export OS_USERNAME=admin
export OS_PASSWORD=adm1npwd

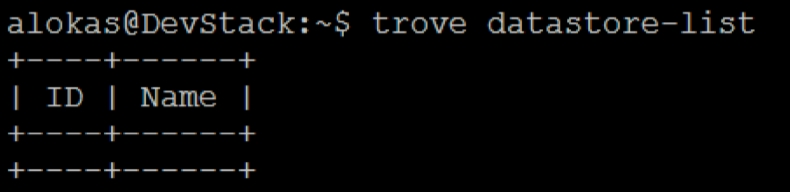
Once this is done, we will execute the command trove datastore-list. At this point in time, it will come up as empty as we have not registered any data stores.

We will upload our newly created image as the mysql datastore. This needs the following steps:

  1. Upload image to Glance.

  2. Create the Trove datastore using the trove-manage command:

    glance image-create --name mysql  \
    --disk-format qcow2 \
    --container-format bare --visibility public \
    --file /home/alokas/images/ubuntu_mysql/ubuntu_mysql.qcow2
    

We will note down the image ID, which in our case is 49412d90-2580-4e25-a463-f232a517657b.

The image is now uploaded....