
In this section, you will learn how to download and install PowerCLI 6.5 Release 1. First, we will list the requirements for PowerCLI 6.5 Release 1. After downloading PowerCLI from the VMware website, we will install PowerCLI on your system.
You can install VMware PowerCLI 6.5 Release 1, the version used for writing this book, on the following 64-bit operating systems:
Windows Server 2012 R2
Windows Server 2008 R2 Service Pack 1
Windows 10
Windows 8.1
Windows 7 Service Pack 1
VMware PowerCLI 6.5 Release 1 is compatible with the following PowerShell versions:
Microsoft PowerShell 3.0
Microsoft PowerShell 4.0
Microsoft PowerShell 5.0
Microsoft PowerShell 5.1
If you want to work with VMware PowerCLI 6.5 Release 1, make sure that the following software is present on your system:
Microsoft PowerShell 3.0, 4.0, 5.0, or 5.1
NET Framework 4.5, 4.5.x, 4.6, or 4.6.x
Before you can install PowerCLI, you have to download the PowerCLI installer from the VMware website. You will need a My VMware account to do this.
Perform the following steps to download PowerCLI:
Visit http://www.vmware.com/go/powercli . On this page, you will find a Resources section.

Click on the Download button to download PowerCLI.
You have to log in with a My VMware account. If you don't have a My VMware account, you can register for free.

After you log in, you will be taken to the VMware PowerCLI download page. Click on the Download Now button to start downloading PowerCLI.
Perform the following steps to install PowerCLI:
Run the PowerCLI installer that you just downloaded.
Click Yes in the User Account Control window to accept the Do you want to allow this app to make changes to your device? option.
If the PowerShell execution policy on your computer is not set to RemoteSigned, you will get a warning that tells you It is recommended that you set the execution policy to "RemoteSigned" in order to be able to execute scripts. After the installation of PowerCLI, I will show you how to set the execution policy. Click on Continue to continue to the installation of PowerCLI.

Click on Next > in the Welcome to the InstallShield Wizard for VMware PowerCLI window.

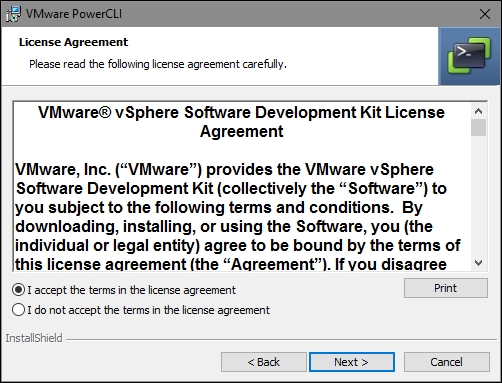
Select I accept the terms in the license agreement and click on Next >.
If you are not using vCloud Air, VMware vCloud Director, vSphere Update Manager, vRealize Operations Manager, or Horizon View, you can click on the little arrow to the left of a feature and select This feature will not be available. I recommend installing all of the features, to be able to run the scripts in all of the chapters in this book. If you want, you can change the installation directory by clicking on Change.... Click on Next >.

Click on Install to begin the installation.

Click on Finish to exit the installation wizard.

After installing PowerCLI, you will have a VMware PowerCLI icon on your desktop. If you installed PowerCLI on a 64-bit computer, you will also have a VMware PowerCLI (32-Bit) icon. Some PowerCLI commands only work in the 32-bit version of PowerCLI. So keep both versions.