

This recipe presents you with how to retrieve a user's profile from Google Plus, through the user's Google account. This recipe relies on Spring Social to abstract the authorization and the usage of the Google Plus API and tightens the user's Google connection with Spring Security to allow managing connections per logged user.
To run this recipe, create a web application using Spring Boot which will help with the development of the application. To abstract and ease the OAuth 2.0 grant type implementation and help with using Google Plus's API, this recipe also relies on the spring-social-google project and spring-security project.
Follow the steps that basically present you with how to register your application with Google and how to interact with the Google Plus API through the use of the Spring Social Google provider with Spring Security.
- Go to the Google Developers Console located at https://console.developers.google.com to start registering the application.
- You should see the following screen if you still do not have any project created:
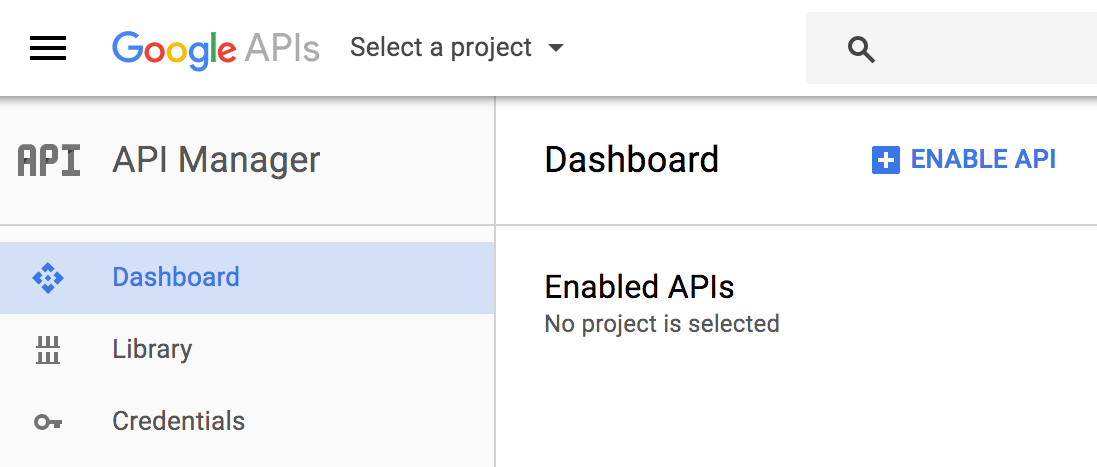
- To create a new application, click on
Select a projectand you will see the following screen:

- Therefore, click on the
+button to start registering your application and you will see the following interface:

- Define the name of your project. I have defined the name
social-google1but you can use any of your preference (but don't forget to change all references to this name throughout the recipe). Then, after setting the name, just click onCreateand you will be redirected to the dashboard of your new application as presented in the following screenshot:
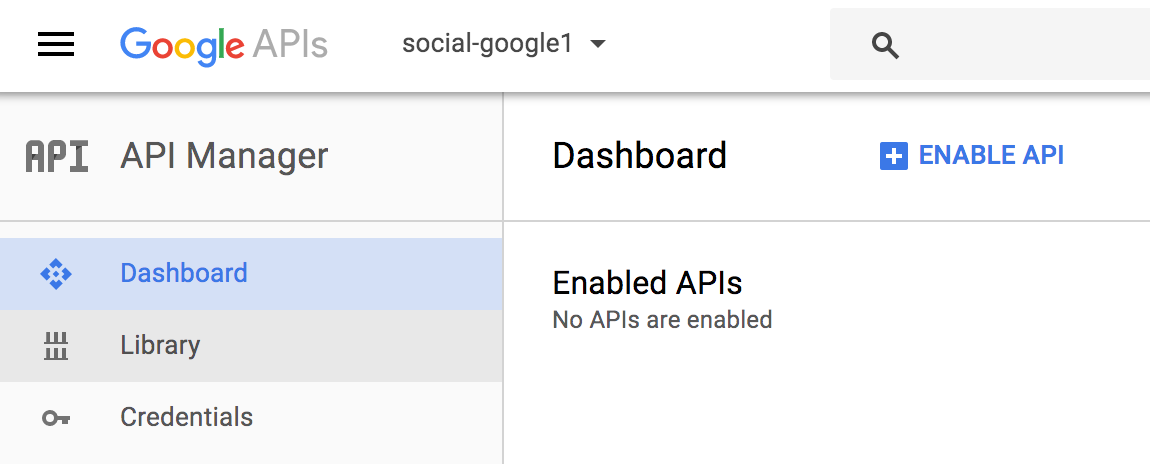
- Now, to be able to retrieve a user's profile, you must enable an API which in the case of this recipe will be the Google Plus API. Click on the
ENABLE APIlink or onLibraryat the left side of the dashboard presented in the previous screenshot to see the following Google API portfolio:
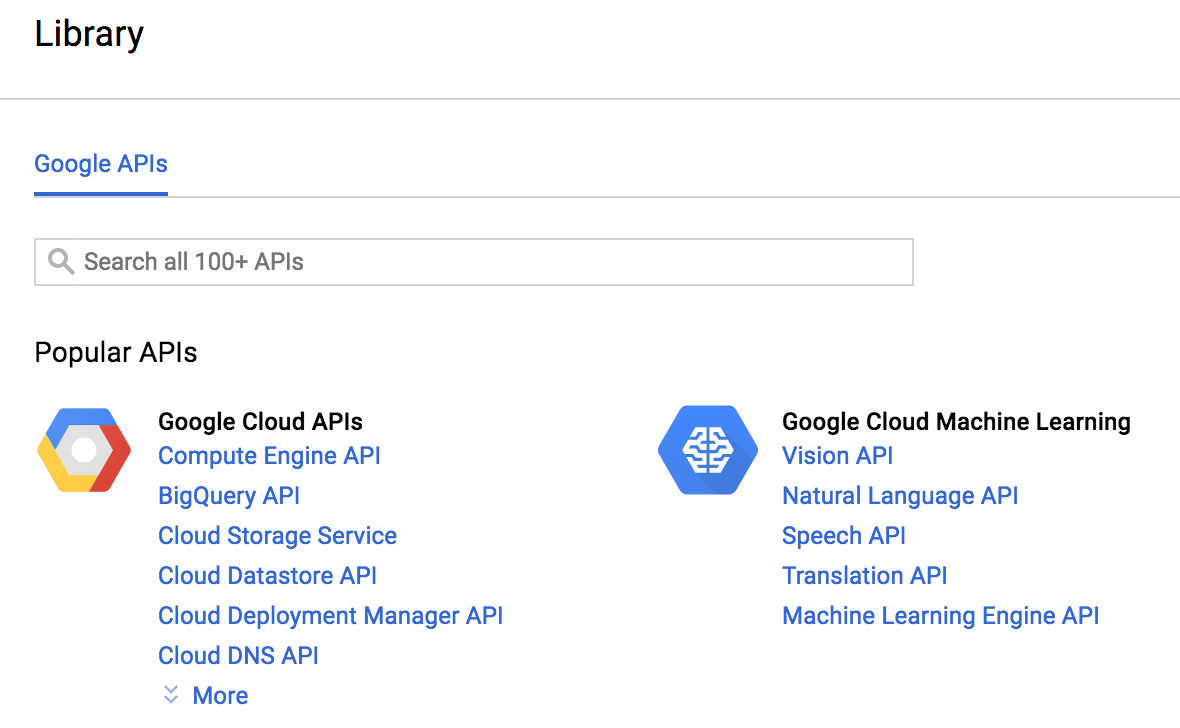
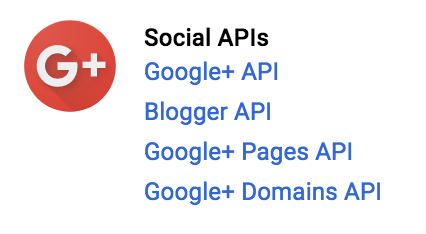
- Then select
Google+ APIby searching through theSearch allinput text, or by clicking on the link presented in the Libraries page as follows:
- Click on the
ENABLElink at the top of the page as presented in the following screenshot:

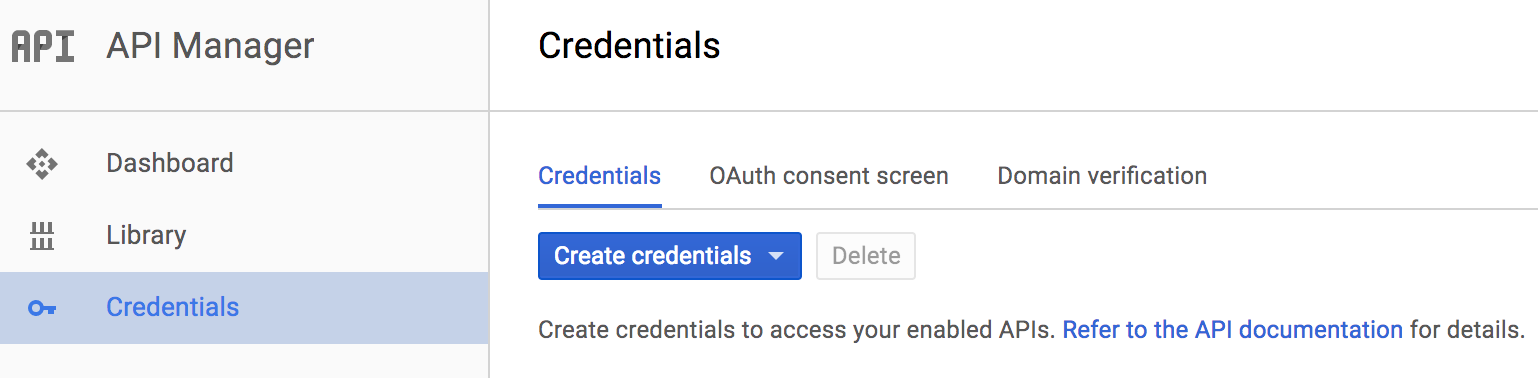
- After enabling the API, you need to create OAuth 2.0 credentials to be able to interact with the Google Plus API, so you must click on
Credentialsat the left side of the panel:
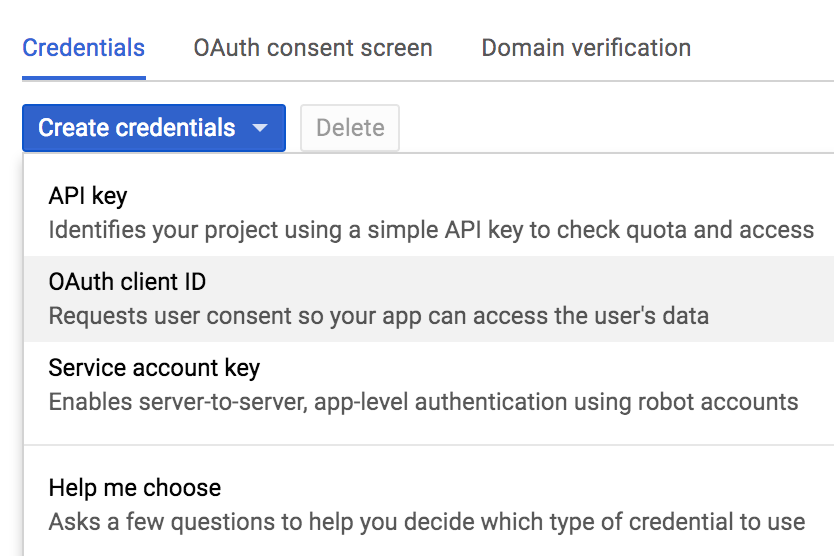
- Click on
Create credentialsand select the OAuth client ID as follows:
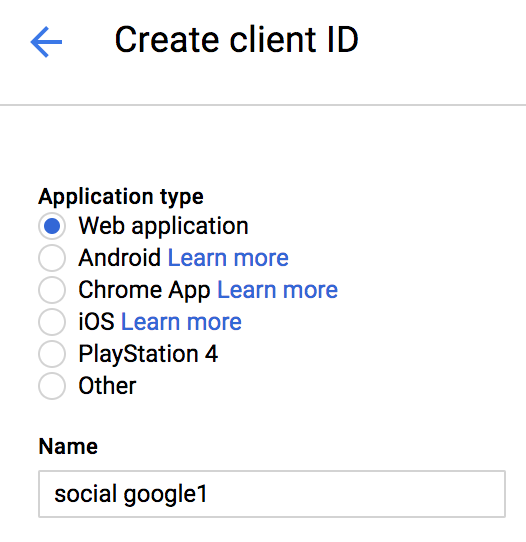
- Select the
Application Typewhich must beWeb applicationfor this recipe:
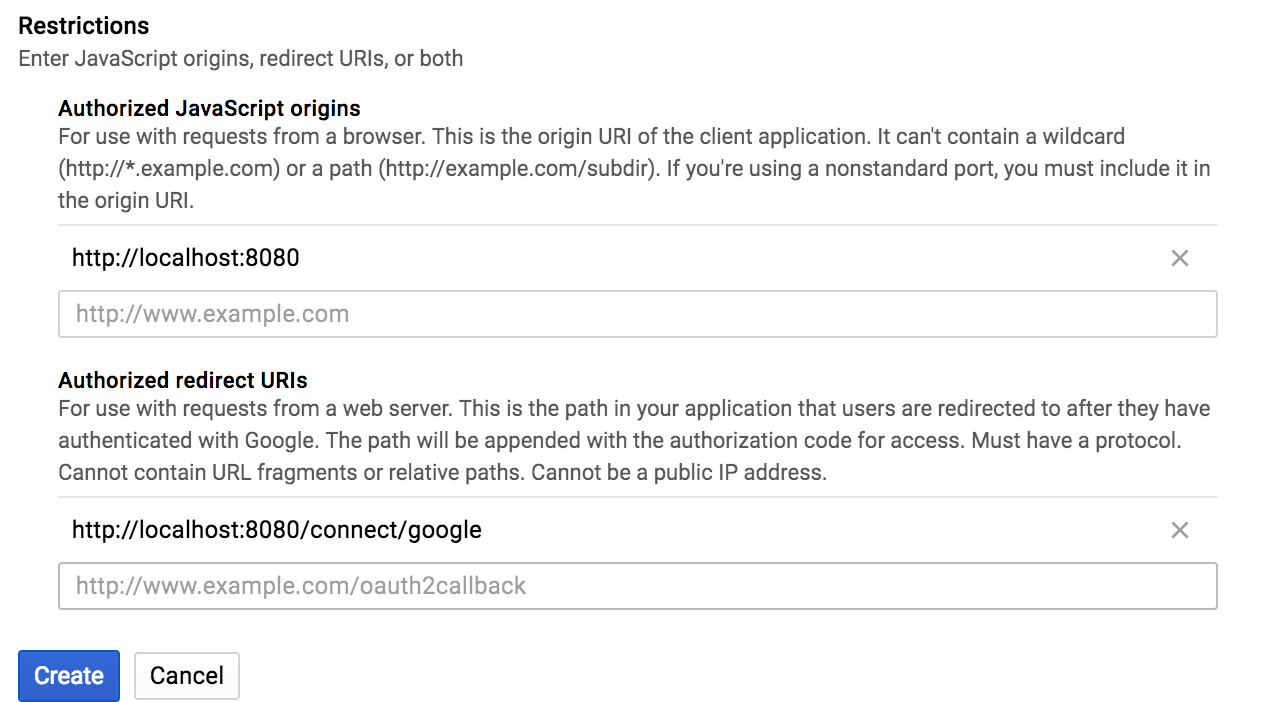
- Then enter the URL settings for JavaScript origins and Authorized redirect URIs, as presented in the following screenshot:
- Click on
Createand grab the client ID and client secret that will be prompted by Google as follows:
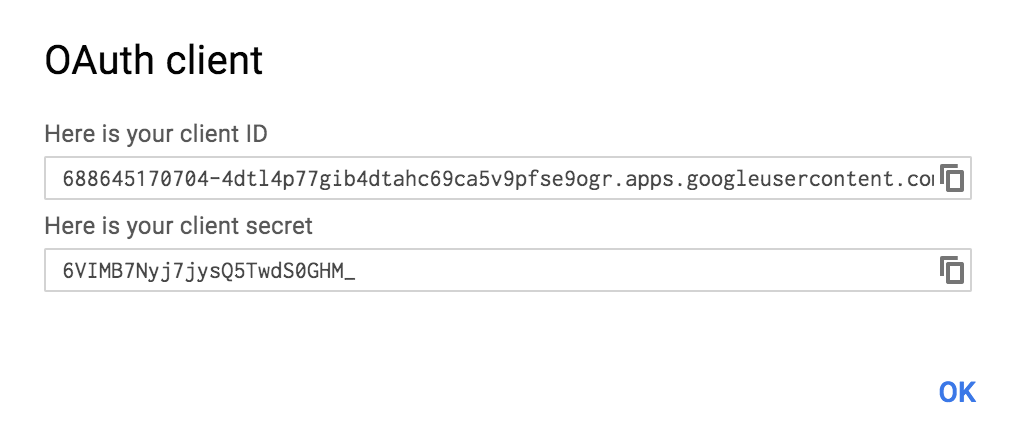
- Now, you have all that's needed to create a
social-google1project.
- Create the initial project using Spring Initializr as we did for other recipes in this book. Go to https://start.spring.io/ and define the following data:
- Set up the group as
com.packt.example. - Define the Artifact as
social-google1(you can use different names if you prefer, but do not forgot to change all the references tosocial-google1used throughout this recipe). - Add
Web,ThymeleafandSecurityas the dependencies for this project.
- Set up the group as
- Import the project to your IDE (if using Eclipse, import as a Maven Project).
- Open the
pom.xmlfile and add the following dependencies:
<dependency>
   <groupId>org.springframework.social</groupId>
   <artifactId>spring-social-google</artifactId>
   <version>1.0.0.RELEASE</version>
</dependency>
<dependency>
   <groupId>org.springframework.social</groupId>
   <artifactId>spring-social-security</artifactId>
</dependency>
- Create the class
GooglePropertieswithin the packagecom.packt.example.socialgoogle1.configand add the following content:
@ConfigurationProperties("spring.social.google")
public class GoogleProperties {
   private String appId;
   private String appSecret;

   public String getAppId() { return this.appId; }
   public void setAppId(String appId) { this.appId = appId; }
   public String getAppSecret() { return this.appSecret; }
   public void setAppSecret(String appSecret) { this.appSecret = appSecret; }
} - Now add the respective attributes within the file
application.propertieswhich maps to the attributes defined in theGooglePropertiesclass (change the credentials to those received when registering the application):
spring.social.google.appId=688645170704
spring.social.google.appSecret=OIRTUxhs
- Create the class
GoogleConfigurerAdapterinsidecom.packt.example.socialgoogle1.configwith the following content:
@Configuration @EnableSocial
@EnableConfigurationProperties(GoogleProperties.class)
public class GoogleConfigurerAdapter extends SocialConfigurerAdapter {
   @Autowired
   private GoogleProperties properties;
} - Now add the following method to configure the
ConnectionFactoryfor the Google provider (this method must be declared insideGoogleConfigurerAdapter):
@Override
public void addConnectionFactories(ConnectionFactoryConfigurer configurer,
   Environment environment) {
   GoogleConnectionFactory factory =  new GoogleConnectionFactory(
      this.properties.getAppId(), this.properties.getAppSecret());
   configurer.addConnectionFactory(factory);
} - Add the following method to declare the bean responsible for providing the (DSL) Domain Specific Language for Google API (when importing the
Scopeclass, import it fromorg.springframework.context.annotationpackage and theConnectionclass, you must import fromorg.springframework.social.connectpackage):
@Bean
@Scope(value = "request", proxyMode = ScopedProxyMode.INTERFACES)
public Google google(final ConnectionRepository repository) {
   final Connection<Google> connection = repository.findPrimaryConnection(Google.class);
   return connection != null ? connection.getApi() : null;
} - As per the documentation of Spring Social, we need to configure the
ConnectionRepositorybean using a Session scope, or in other words, aConnectionRepositorymust be created on a per user basis. To do so, add the following two method declarations insideGoogleConfigurerAdapter:
@Override
public UsersConnectionRepository getUsersConnectionRepository(
         ConnectionFactoryLocator connectionFactoryLocator) {
   return new InMemoryUsersConnectionRepository(connectionFactoryLocator);
}

@Override
public UserIdSource getUserIdSource() {
   return new AuthenticationNameUserIdSource();
} - Now, as the class
AuthenticationNameUserIdSourceretrieves the logged user from the Spring Security context, you need to configure Spring Security, defining how to protect the application as well as declaring how to authenticate users. Create the classSecurityConfigurationwithin the packagecom.packt.example.socialgoogle1.security, containing the following initial code:
@EnableWebSecurity
public class SecurityConfiguration extends WebSecurityConfigurerAdapter {
} - Then add the following method inside
SecurityConfigurationto define what should be protected, what does not need to be protected, and how the authentication must be performed (which is defined to use form basis authentication):
@Override
protected void configure(HttpSecurity http) throws Exception {
   http.authorizeRequests()
         .antMatchers("/connect/google?*").permitAll()
         .anyRequest().authenticated().and()
         .formLogin().and()
         .logout().permitAll().and()
         .csrf().disable();
}- And to declare some predefined users, add the following method to
SecurityConfiguration.
@Override
protected void configure(AuthenticationManagerBuilder auth) throws Exception {
   auth.inMemoryAuthentication()
         .withUser("adolfo").password("123").authorities("USER")
         .and()
         .withUser("jujuba").password("123").authorities("USER");
}- Therefore, create the main controller that decides when to redirect a user to the provider's authentication and authorization page and which retrieves the user's profile by interacting with the Google Plus API. Create the class
GooglePlusControllerinside thecom.packt.example.socialgoogle1package as presented in the following code:
@Controller
public class GooglePlusController {
   @Autowired
   private Google google;
   @Autowired
   private ConnectionRepository connectionRepository;

   @GetMapping
   public String profile(Model model) {
         if (connectionRepository
               .findPrimaryConnection(Google.class) == null) {
               return "redirect:/connect/google";
         }

         String name = google.plusOperations()
               .getGoogleProfile()
               .getDisplayName();
         model.addAttribute("name", name);

         return "profile";
   }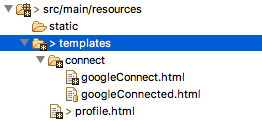
}- Now let's start creating all the views, primarily defining
profile.htmlinside thetemplatesdirectory, which resides within thesrc/main/resourcesproject directory. Add the following content toprofile.html:
<!DOCTYPE html>
<html xmlns:th="http://www.thymeleaf.org">
<head>
<title>LinkedIn integration</title>
</head>
<body>
   <h3>
         Hello, <span th:text="${name}">User</span>!
   </h3>
   <br />
</body>
</html>- Create the
googleConnect.htmlandgoogleConnected.htmlfiles insidetemplates/connectas presented in the following screenshot:
<html>
<head>
<title>Social Google+</title>
</head>
<body>
   <h2>Connect to Google+ to see your profile</h2>

   <form action="/connect/google" method="POST">
         <input type="hidden" name="scope"
           value="https://www.googleapis.com/auth/plus.me" />
         <div class="formInfo">
           Click the button to share your profile with
           <b>google plus</b>
         </div>
         <p>
           <button type="submit">Connect to Google</button>
         </p>
   </form>
</body>
</html> - Add the following content to
googleConnected.html:
<html>
   <head><title>Social Google Plus</title></head>
   <body>
         <h2>Connected to Google</h2>
         <p>Click <a href="/">here</a> to see your profile.</p>
   </body>
</html>- Now the application is ready to be executed. Start the application and go to
http://localhost:8080to start the authorization process to interact with the Google Plus API.
An important thing that we did for this recipe was to bind the application users to their respective connection with the OAuth 2.0 Provider (Google in this case). It's important because by doing so, we have a connection per user, unlike the other recipes using Spring Social. But instead of allowing users to register themselves to the social-google1 application, we are using an in-memory model using pre-defined user credentials, as presented in the following code:
auth.inMemoryAuthentication()
   .withUser("adolfo").password("123").authorities("USER")
   .and()
   .withUser("jujuba").password("123").authorities("USER");
So, when running the application and pointing your browser to http://localhost:8080, you must be prompted by an authentication form, as follows.
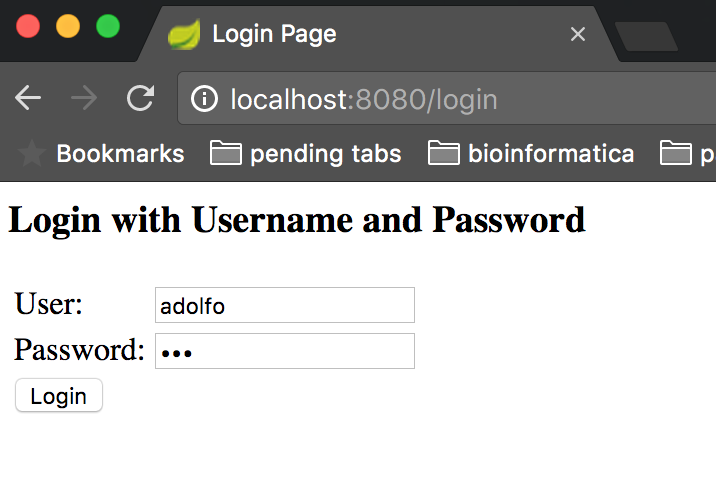
Enter one of the credentials we declared within the SecurityConfiguration class and click on the Login button, which will lead you to the following page:

This is the page where you might choose to connect with Google by clicking on Connect to Google, which will redirect you to Google's authentication and authorization form as presented in the following screenshot:
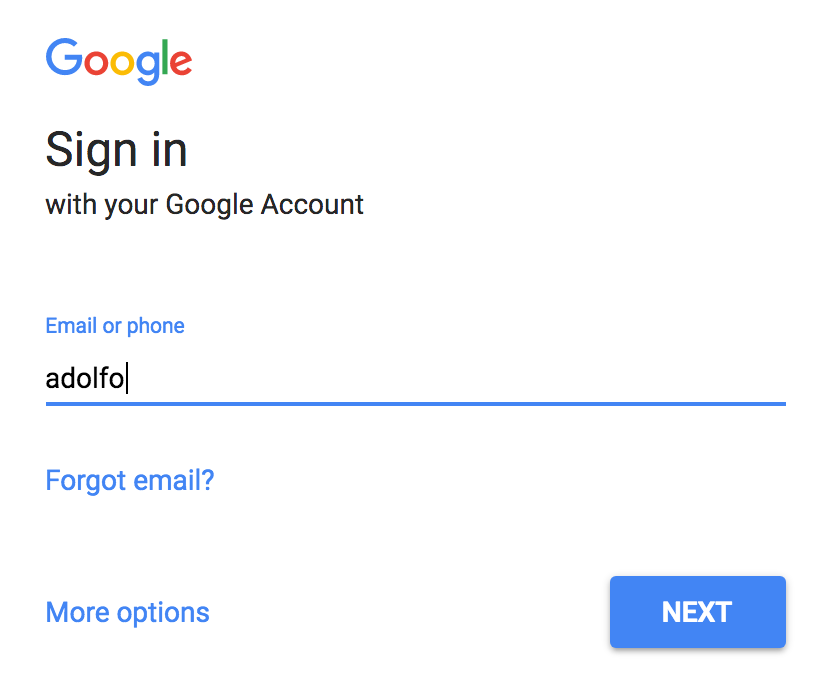
Authenticate yourself and grant all the requested permissions and you will be redirected back to the connected page:
Click on the link here and you will be redirected to the profile's HTML view which will retrieve your name from the Google Plus API. Now, if you go to http://localhost:8080/logout, you will be logged out, as you might expect, and if you try to log in with another user you will have to start a new connection flow proving that you have a connection per logged user.
For this recipe, we did not configure the base URL, which must be done to avoid issues when running your application behind a proxy. To do so, you might add the following bean declaration inside GoogleConfigurerAdapter:
@Bean
public ConnectController connectController(
      ConnectionFactoryLocator locator,
      ConnectionRepository repository) {

      ConnectController controller =
            new ConnectController(locator, repository);
      controller.setApplicationUrl("http://localhost:8080");
      return controller;
}
Do not forget to define the same redirect URL for the OAuth 2.0 Provider and to make all the communications through TLS/SSL.
To improve security configurations, you might use a database to store all users and respective credentials being held in a cryptographically manner (these features are provided by Spring Security and can be read about in the official documents at https://projects.spring.io/spring-security/).