
The Proxmox installation process is guided by a fully graphical interface through various prompts. In this recipe, we are going to follow through creating our first Proxmox node.
Power up and boot the physical node using the installation disk or the USB media we created in the preceding recipe. The following screenshot is how the screen looks after the boot:

At the main installation window after the booting process press Enter to start the installation.
On the End User License Agreement (EULA) screen click on Agree.
In this step, we have chosen the drive to install the hypervisor on. From Proxmox VE 3.4, a new feature to change the filesystem has been added. After selecting Target Harddisk from the drop-down menu, select Options to open the Filesystem selection dialog box. The following screenshot shows the drive selection screen with the Filesystem dialog box open:

From the Filesystem drop-down menu, select the desired filesystem. Select the desired filesystem size in hdsize. In version 3.3, support for the ext3, ext4, and ZFS filesystems have been added. Add additional information, such as the swapsize, maxroot, minfree, and maxvz values as required or leave them blank to continue with default, then click on Next. The following table shows the functions of these four options. These values are usually alternatives to each other, meaning if values are entered for one of these options, values for other options are automatically calculated:
Option
Function
swapsize
This defines the size of a swap partition. There are complex formulas to calculate this value. However, it is generally left as the default value.
maxroot
This refers to the maximum size the root partition should be.
minfree
This refers to the minimum free space to allocate for a pve partition.
maxvz
This refers to the maximum space to allocate to locally store VMs. The default path for local VM storage is
/var/lib/vz.The following screenshot shows the filesystem that is supported after clicking on the drop-down menu:

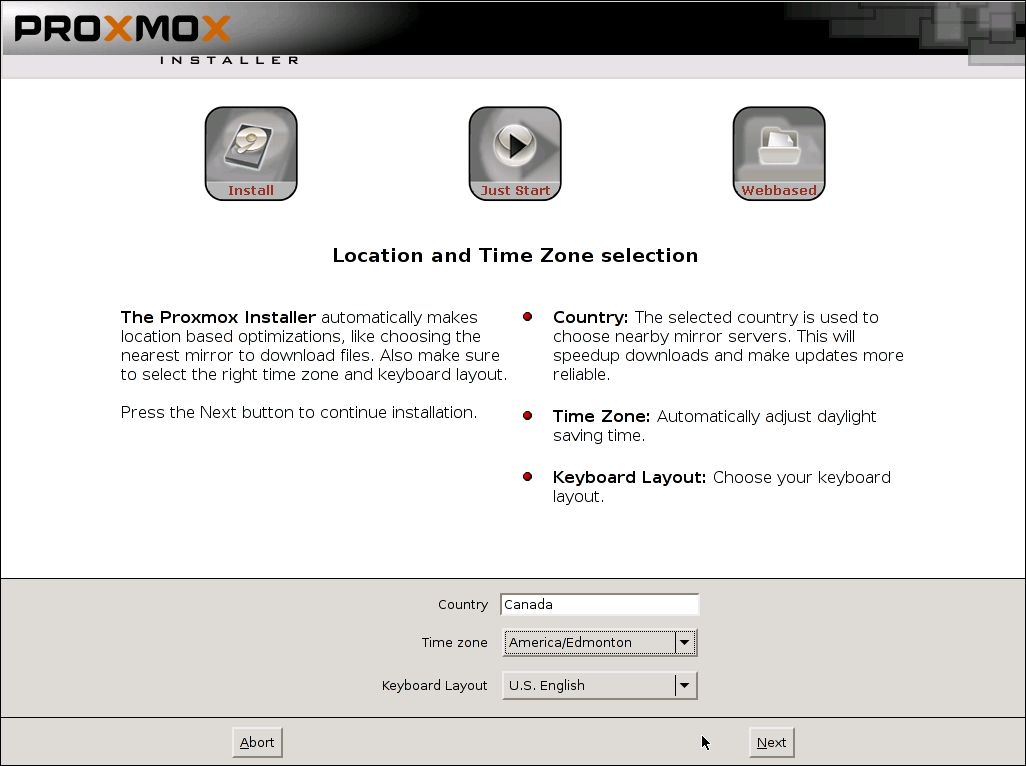
After selecting the drive for installation, we now have to select localization information, such as Country, Time Zone, and Keyboard Layout based on the desired language. Then, click on Next. The following screenshot displays the localization screen:
Type in and confirm the password for the root login. Then, enter an e-mail address where all the Proxmox cluster notifications will go to. Click on Next.
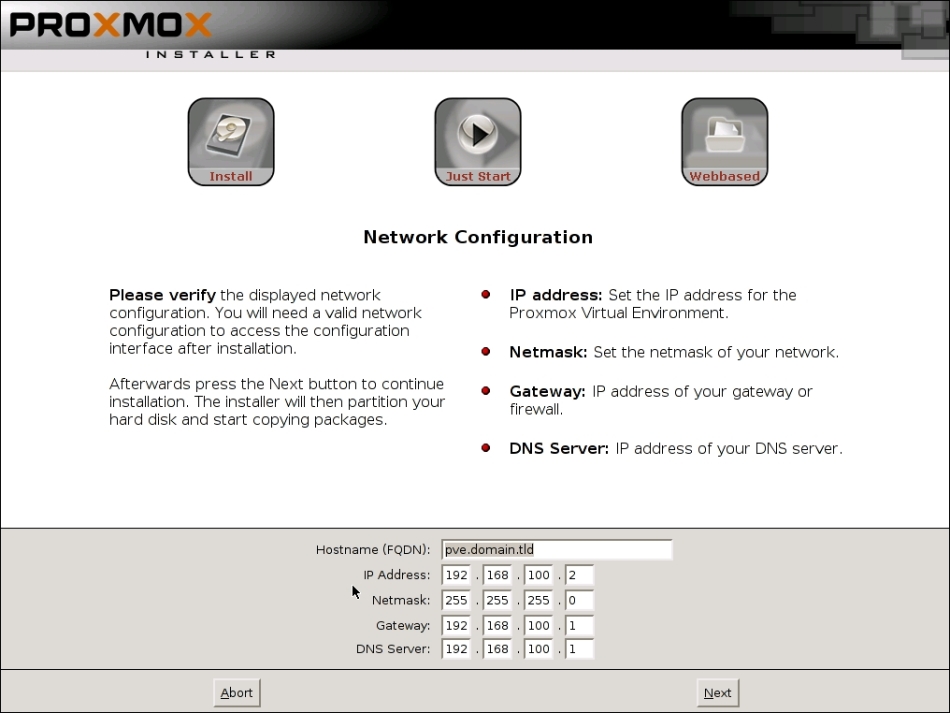
In this step, we need to enter the hostname and network information, such as IP Address, Gateway, DNS Server, and so on. Enter the necessary information for your environment, then click on Next. The following screenshot shows the network information screen:
At this point, all the necessary information has been collected and the main installation has been started. After the installation is completed, eject the installation disk or the USB media, then click on Reboot.
Follow steps 1 to 7 to set up the second node. A minimum of two nodes are required to form a Proxmox cluster. More information on cluster configurations is available in Chapter 3, Cluster and VM Management.