
Now that we know what software we need in order to get Vagrant running on our machine, let's start installing VirtualBox and Vagrant itself.
VirtualBox (https://www.virtualbox.org/) is an open source tool sponsored by Oracle that lets you create, manage, and use virtual machines on your own computer.
VirtualBox is a graphical program with a command-line interface that lets you visually create virtual machines, allocate resources, load external media such as operating system CDs, and view the screen of the virtual machine. Vagrant wraps on top of this and provides an intuitive command-line interface along with the integration of additional tools (including integrations with provisioners and also HashiCorp Atlas (formerly, Vagrant Cloud) that allow you to find and distribute base server images and share access to your Vagrant environments), so that we don't need to worry about how VirtualBox works or what to do with it; Vagrant takes care of this for us.
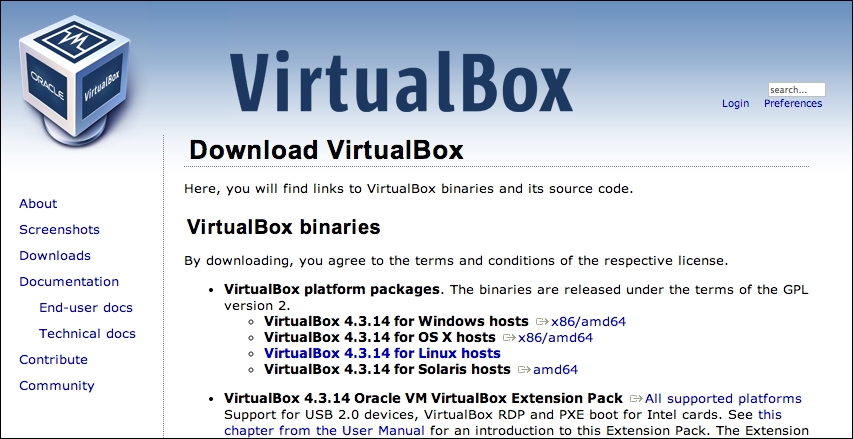
The first stage is to download the installer from the VirtualBox downloads page (https://www.virtualbox.org/wiki/Downloads), as shown in the following screenshot. We need to select the option that is appropriate for our computer (OS X, Windows, Linux, or Solaris):
Note
At the time of writing this, Vagrant supports versions 4.0.x through 4.3.x of VirtualBox; earlier versions are not supported.
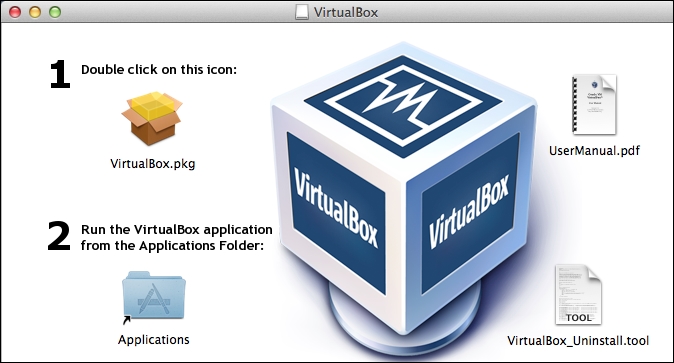
Once downloaded, let's open it and run the installer. On OS X, this involves clicking on the VirtualBox.pkg icon, as shown in the following screenshot. On Windows, simply opening the installer opens the installation wizard. On Linux, there are packages available that can be installed through your chosen package manager, see https://www.virtualbox.org/wiki/Linux_Downloads for more information.
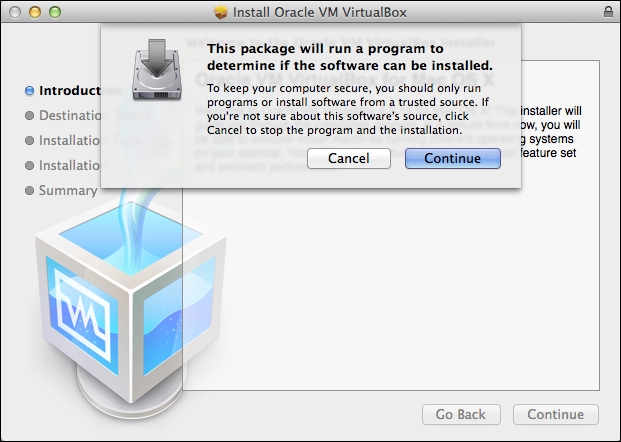
Before the installer runs, it first checks whether the computer is capable of having VirtualBox installed. We need to click on Continue to begin the installation process, as shown in the following screenshot. While this process will vary from OS X to Windows to Linux, the process is very similar across all platforms. There are fully detailed installation instructions for all platforms on the VirtualBox website (https://www.virtualbox.org/manual/ch02.html).
The first step in the process provides us with an introduction to the installation process and reminds us as to what we are actually installing:

Next, the installer informs us as to how much space it will use on our computer, and provides us with the option to customize the installation if we want to Change Install Location..., and install the software in another location (perhaps another disk drive if our disk gets full).
Let's leave the default install location as it is, and click on the Install button to install VirtualBox on our computer:

After being prompted to provide administrative privileges, the installer then automatically installs VirtualBox for us:

Once the installation has finished, we are shown a confirmation screen with the option of clicking on Close to close the installer:

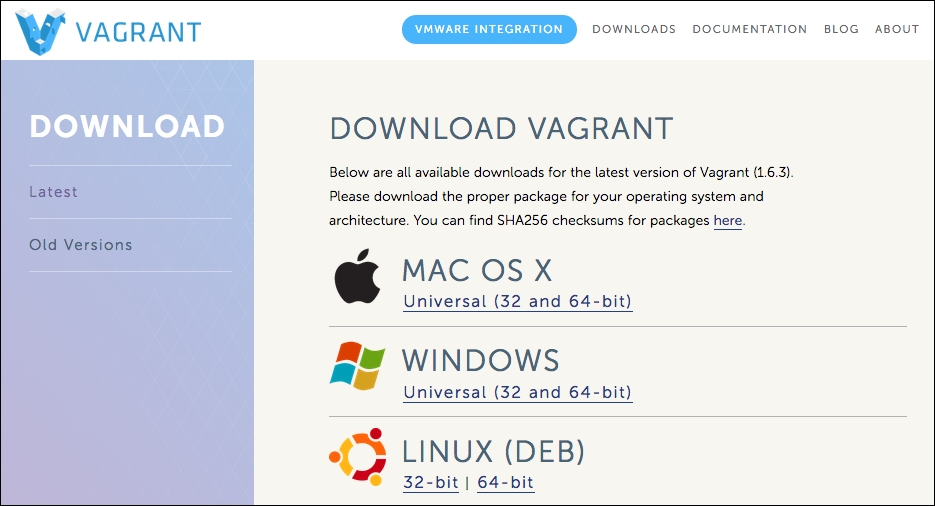
Now that we have the prerequisites installed on our computer, we can actually install Vagrant itself. This process is similar to that of installing VirtualBox. First, let's download the relevant installer from the Vagrant download page (http://www.vagrantup.com/downloads.html):
Let's open the installer and start the process. Again, on OS X, the first step is to double-click on the Vagrant.pkg icon:

We now need to follow the installation steps that are provided; this is very similar to the earlier steps for VirtualBox, and for most of the software packages in general. You might be prompted to provide your computer's administrative user privileges for the software to be installed.
Let's verify that Vagrant has been successfully installed. We can do this by opening a terminal window (cmd on Windows) and running the vagrant command:

The preceding screenshot shows that we have successfully installed Vagrant, and we are able to run it.
Running the vagrant command on its own lists a range of common subcommands, which we can run within Vagrant, as well as instructions on how to access the help information on Vagrant and any of its subcommands. We can access the help information on Vagrant and its subcommands by adding the h flag, -h, to the end of the command when we run it.