
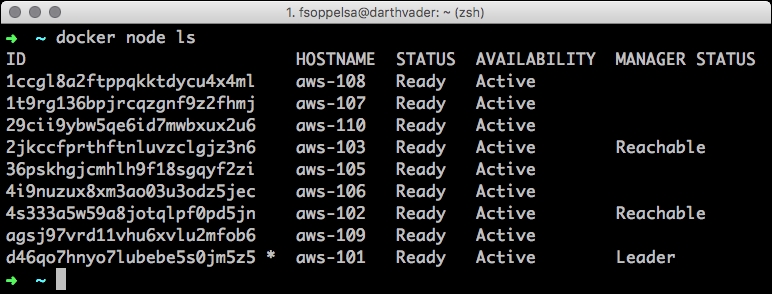
We can now install a Swarm with our favorite method, as shown in the previous chapters. We'll have aws-101 to aws-103 as managers, and the rest of nodes except aws-104, workers. This cluster can be expanded even further. For practical things, we'll keep it at 10-nodes size.
We now add a dedicated spark overlay VxLAN network:
docker network create --driver overlay --subnet 10.0.0.0/24 spark
We now connect to any Docker host and create a 75G sized volume to be used to save some persistent Spark data:
docker volume create -d flocker -o size=75G -o profile=bronze --
    name=spark
The option to discuss here is profile. This is a sort of flavor of storage (speed, mostly). As explained in the link https://docs.clusterhq.com/en/latest/flocker-features/aws-configuration.html#aws-dataset-backend, ClusterHQ maintains three available profiles for AWS EBS:
Gold: EBS Provisioned IOPS / API named io1. Configured for maximum IOPS for its size - 30 IOPS...