Book Image

Hands-On Networking with Azure

By : Mohamed Waly
Book Image

Hands-On Networking with Azure

By: Mohamed Waly

Overview of this book

Microsoft Azure networking is one of the most valuable and important offerings in Azure. No matter what solution you are building for the cloud, you'll fi nd a compelling use for it. This book will get you up to speed quickly on Microsoft Azure Networking by teaching you how to use different networking services. By reading this book, you will develop a strong networking foundation for Azure virtual machines and for expanding your on-premise environment to Azure. Hands-On Networking with Azure starts with an introduction to Microsoft Azure networking and creating Azure Virtual Networks with subnets of different types within them. The book helps you understand the architecture of Azure networks. You will then learn the best practices for designing both Windows- and Linux-based Azure VM networks. You will also learn to expand your networks into Azure and how to use Azure DNS. Moreover, you will master best practices for dealing with Azure Load Balancer and the solutions they offer in different scenarios. Finally, we will demonstrate how the Azure Application Gateway works, offering various layer-7 load balancing capabilities for applications. By the end of this book, you will be able to architect your networking solutions for Azure.
Table of Contents (15 chapters)
Title Page
Dedication
Packt Upsell
Contributors
Preface
Index

Hands-on with Azure Load Balancers


Within this section, you will be working with Azure Load Balancers.

Creating a public Azure Load Balancer

Creating a public Azure Load Balancer is not a complicated process; you only need to follow the following steps:

  1. Navigate to the Azure portal and search for load balancer, as shown in the following screenshot:

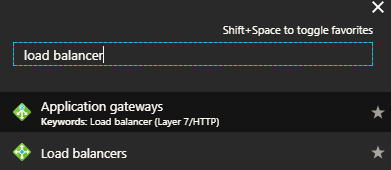
Figure 6.1: Searching for load balancers

  1. A new blade will be opened, wherein all of the created load balancers should be displayed and from which you can create new ones. So, to create a new one, you need to click on Add, as shown in the following screenshot:

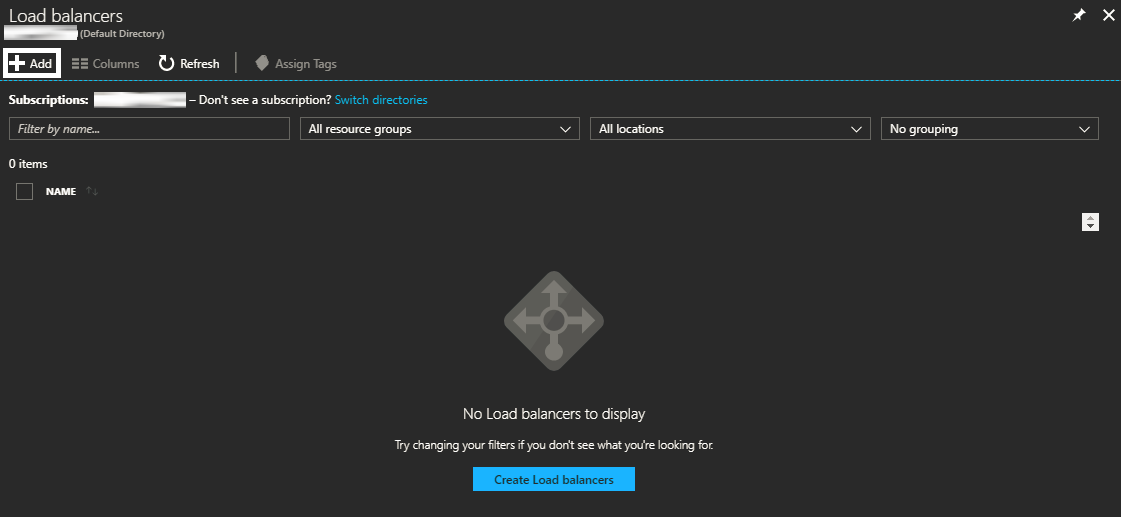
Figure 6.2: Load balancers blade

  1. Once you have clicked on Add, a new blade will be opened, in which you have to specify the following:
    • Name: The name of the load balancer
    • Type: Whether it is Internal or Public
    • Public IP address: Specify the public IP address that will be used for the load balancer, by either selecting a pre-created one or creating a new one associated to the load balancer
    • Add a public...