

Now that your machine is prepared, we can create our first project using the play command.
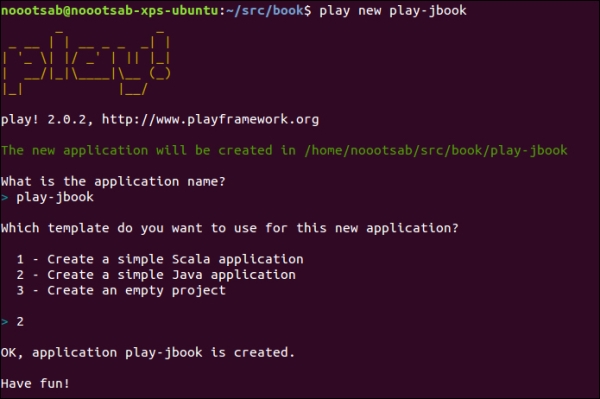
As we have just seen, Play! Framework 2 comes with a handy command-line tool, which is the easiest and fastest way to create a new project. The following screenshot shows how to create a project with Java stubs:
Tip
Downloading the example code
You can download the example code files for all the Packt books you have purchased from your account at http://www.packtpub.com. If you have purchased this book elsewhere, you can visit http://www.packtpub.com/support and register to have the files e-mailed directly to you.
As we can see from the previous screenshot of the console, in order to create a brand new application in a directory, we just have to use the play! command-line tool with a parameter (named new) followed by the name of the new application (play-jbook).
The tool will ask us to specify whether our application is a Scala or Java application, or even an empty project. In the first two cases, the structure of the application will be created along with the source files for the chosen language. In the third case, only the structure will be created—without sample code though.
Note
By the way, the last option has been removed in the Play! 2.1 release. Thus only the first two options remain now.
Let's have a very quick overview of the created structure (we'll go into further details later on in this book).
At first, a new directory will be created with the name of the application, that is, play-jbook. This will be the root of our project, so the whole structure is inside this directory and looks like the following screenshot:
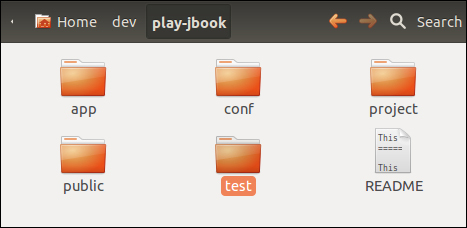
Let's describe each folder briefly:
app: This is the root of all the server-side source files, whatever type they are (Java, Scala, server-side templates, compiled scripts, and so on). At creation, only two subfolders will be created:controllersandviews.conf: This folder is dedicated to all of the files meant to configure the application itself, external services, or whatever the application could need at runtime.project: As SBT is used behind the curtains, theprojectfolder is meant to contain all of the necessary files to configure this tool.public: This last folder will simply contain all of the external files that can be accessed by the clients, such as stylesheets, images, and JavaScript source files. A dedicated folder has been created for each type as well.test: This last folder will contain all all test files with some examples provided.