
The first step on our journey is to get PostCSS installed—this runs from Node.js; we can use any one of several task runner plugins to install it. For the purpose of the exercises throughout this book, we will use Gulp; if you prefer, alternatives such as Grunt or Broccoli can be used.
Note
When using Node.js, make sure you use the Node.js command prompt, and not node.exe; the exercises will not work when using the latter!
Let's make a start with installing Node and Gulp:
We first need to install Node.js; this is available at http://nodejs.org. Make sure you select the right version that is appropriate for your platform:

When installing, accept all defaults; this will be sufficient for the exercises throughout this book.
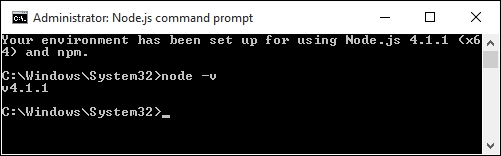
Next, bring up a Node.js command prompt, enter the following command, and press Enter:
node –vThe output shown is the version of Node that is installed; this is a quick check to ensure Node.js has indeed been installed correctly:
Now that Node is installed, we need to create a
package.jsonfile to store our dependencies for projects. Run this command at the command prompt, and press Enter:npm initNode will prompt for information when creating the
package.jsonfile; enter the details as shown in the screenshot, or press Enter to accept the given default (shown in brackets, after each question):
We now have Node configured and an empty package.json file in place, so let's add our dependencies. We will start by adding Gulp first:
Revert back to the Node.js command prompt (or bring up a new one if you closed off the previous session).
Go ahead and change the working directory to
c:\wamp\www\postcss.At the command prompt, enter the following command, then press Enter. This installs Gulp globally and makes it available for use:
npm install --global gulpOnce done, we need to install Gulp for use in our project area—go ahead and run this command, which will add an entry to the
package.jsonfile we created earlier in step 3 and step 4:npm install --save-dev gulp
Once completed, Gulp is now ready for use; we can go ahead and install PostCSS.
Note
A small point on the use of --save-dev: this installs any dependencies required to develop using a specific plugin; if we simply need the dependencies for running the plugin (in a production environment), then we can simply use --save instead.
We're at the interesting stage now—installing PostCSS. PostCSS is available from https://github.com/postcss/postcss, and can be installed into Node using a Gulp plugin. Let's do that now:
We'll start by reverting back to the Node.js command prompt session we've just used (or a new one, if the previous one is closed).
At the prompt, go ahead and enter this command, then press Enter:
npm install --save-dev gulp-postcssIf all is well, we should see something akin to this screenshot:

On its own, PostCSS doesn't do anything; to make it more useful, we are going to install three plugins. We will explore using plugins in greater detail later in the book, but for now, don't worry too much about what is happening:
Enter these commands one by one on the Node.js command prompt, pressing Enter after each one:
npm install --save-dev autoprefixerLet's check our
package.jsonfile; if all is well, we should see something akin to this screenshot:
Tip
To make it easier to view JSON files in Sublime Text, try installing and activating a custom theme, such as MonokaiJSON Plus, available to install from https://github.com/ColibriApps/MonokaiJsonPlus.
PostCSS is now installed for use, but if we try to use it, we probably won't get very far, as it needs to be configured for use! Let's take a look at doing that now, by creating a simple example that will add vendor prefixes to some sample CSS rules, and automatically minify the results.