-
Book Overview & Buying
-
Table Of Contents

Vue.js 2 and Bootstrap 4 Web Development
By :
Vue.js 2 and Bootstrap 4 Web Development
By:
Overview of this book
In this book, we will build a full stack web application right from scratch up to its deployment.
We will start by building a small introduction application and then proceed to the creation of a fully functional, dynamic responsive web application called ProFitOro. In this application, we will build a Pomodoro timer combined with office workouts. Besides the Pomodoro timer and ProFitOro workouts will enable authentication and collaborative content management. We will explore topics such as Vue reactive data binding, reusable components, routing, and Vuex store along with its state, actions, mutations, and getters. We will create Vue applications using both webpack and Nuxt.js templates while exploring cool hot Nuxt.js features such as code splitting and server-side rendering. We will use Jest to test this application, and we will even revive some trigonometry from our secondary school!
While developing the app, you will go through the new grid system of Bootstrap 4 along with Vue.js’ directives. We will connect Vuex store to the Firebase real-time database, data storage, and authentication APIs and use this data later inside the application’s reactive components. Finally, we will quickly deploy our application using the Firebase hosting mechanism.
Table of Contents (12 chapters)
Preface

 Free Chapter
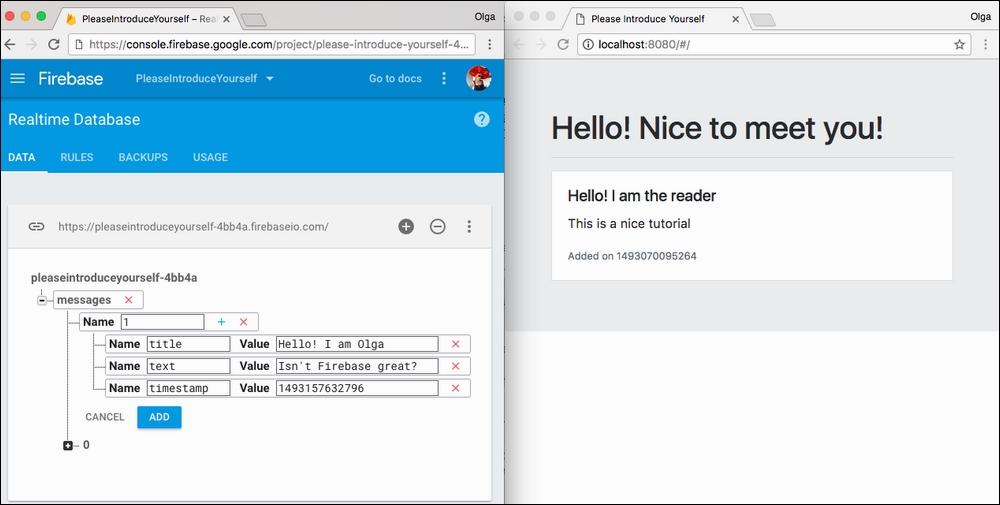
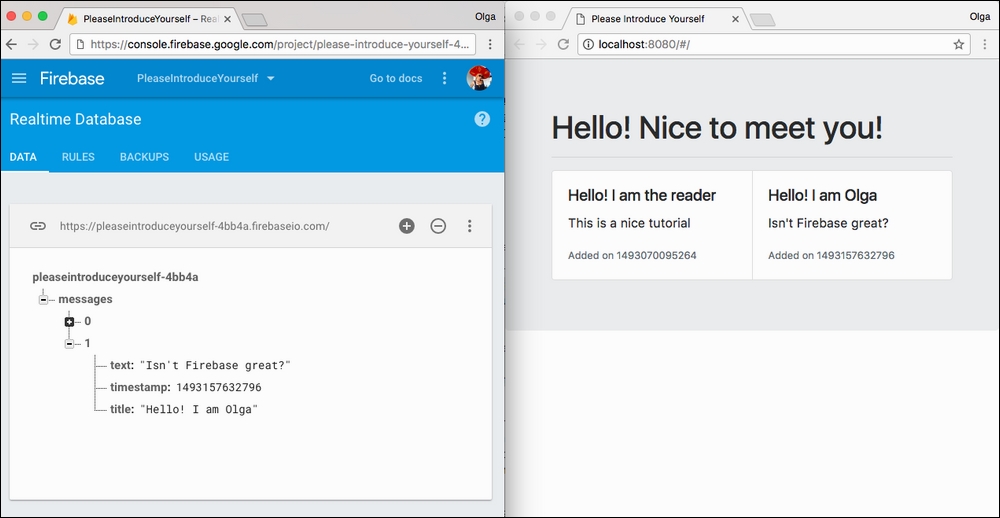
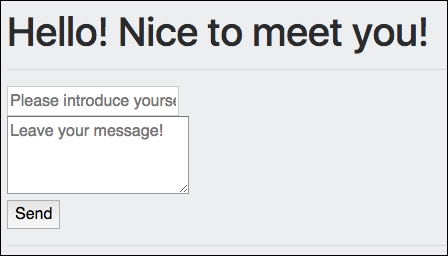
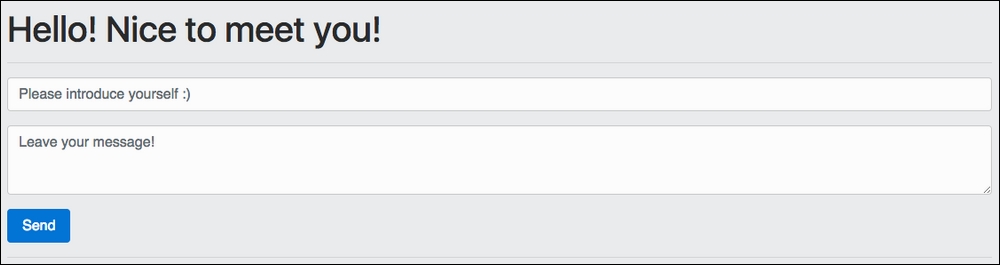
1. Please Introduce Yourself – Tutorial
2. Under the Hood – Tutorial Explained
3. Let's Get Started
4. Let It Pomodoro!
5. Configuring Your Pomodoro
6. Please Authenticate!
7. Adding a Menu and Routing Functionality Using vue-router and Nuxt.js
8. Let's Collaborate – Adding New Workouts Using Firebase Data Storage and Vue.js
9. Test Test and Test
10. Deploying Using Firebase
Index