


The setup we have here is perfectly sufficient for moving on with the rest of the chapters. You now have a fully functioning Raspberry Pi running and now have the capability to run a fully functioning web application on it.
Yet, for those who prefer programming on their laptop (and most people do), it would make sense to be able to remotely access and program on the Raspberry Pi using our computer of choice.
Fortunately for us, it's really easy to do this. Sometimes, I even prefer remotely programming my Pi from my laptop because it's much easier and more convenient to do that.
To access our Pi, we are going to use SSH (secure shell) to access its shell from any computer on the network:
- First things first, make sure your Pi is connected to the same network as your computer. If you are using a wired router, connect the Pi through it using a LAN cable:

If you already have a wireless network running, connect your Pi to the network by clicking on the wireless network icon on the desktop:
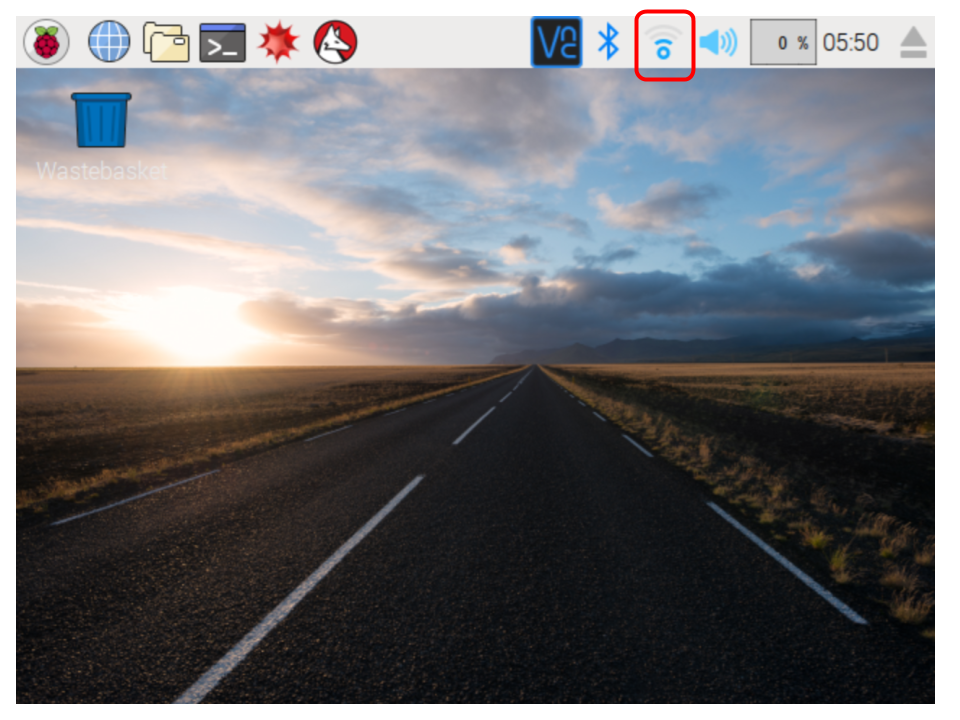
Select your wireless network and connect to it.
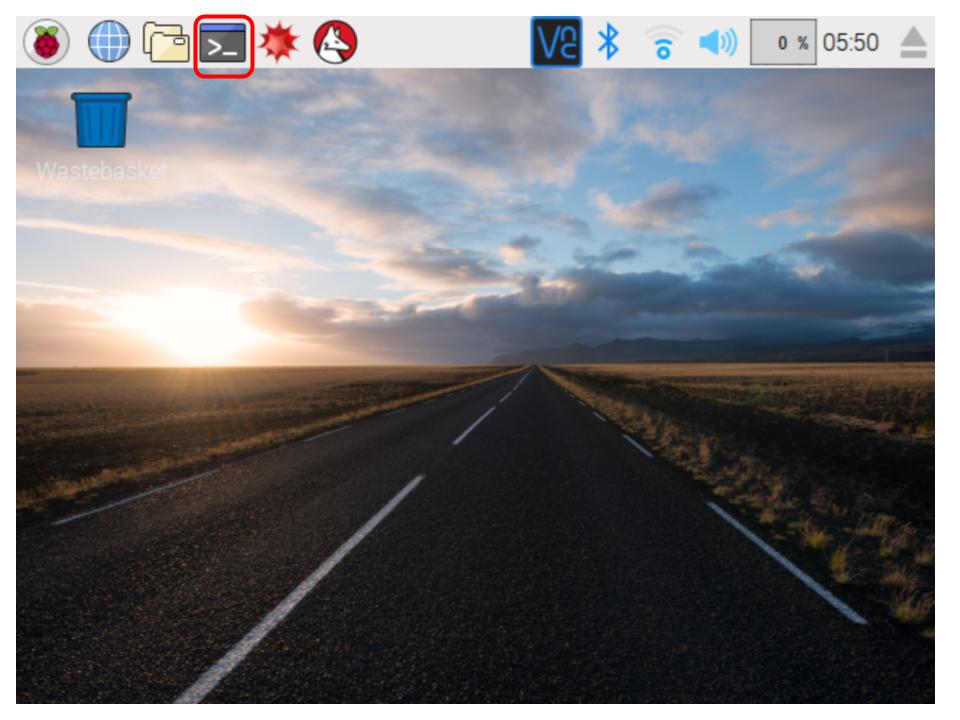
- The next step is to find the private IP address of your Pi. Open the Terminal application by clicking on the icon, as shown in the following screenshot:
Execute the ifconfig command in the Terminal window. The ifconfig command, if executed with no other arguments, will display the status of all network interfaces on the device. You should get an output that looks like this:
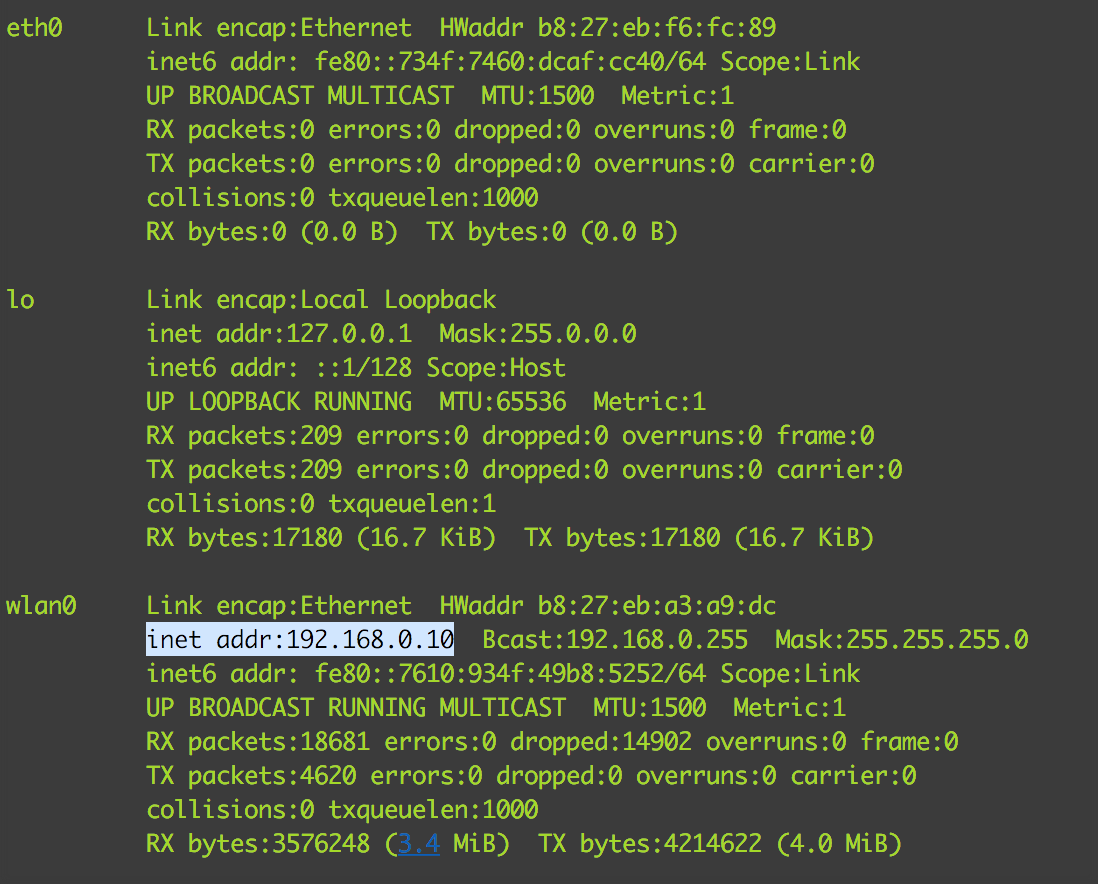
Your private IP address can be found by looking at the inet addr field (as highlighted in the preceding figure). Depending on the interface you are connected to, this address can appear either under wlan0 (if you are connected using Wi-Fi) or eth0 (if you connect with a LAN cable). My IP address, in this case, is 192.168.0.10.
- We need to now enable the SSH server on our Pi. This is the service that allows us to access our Pi's command line remotely. To do this, open the system configuration by running the following command:
sudo raspi-config
You should see a GUI-like configuration screen, as follows:
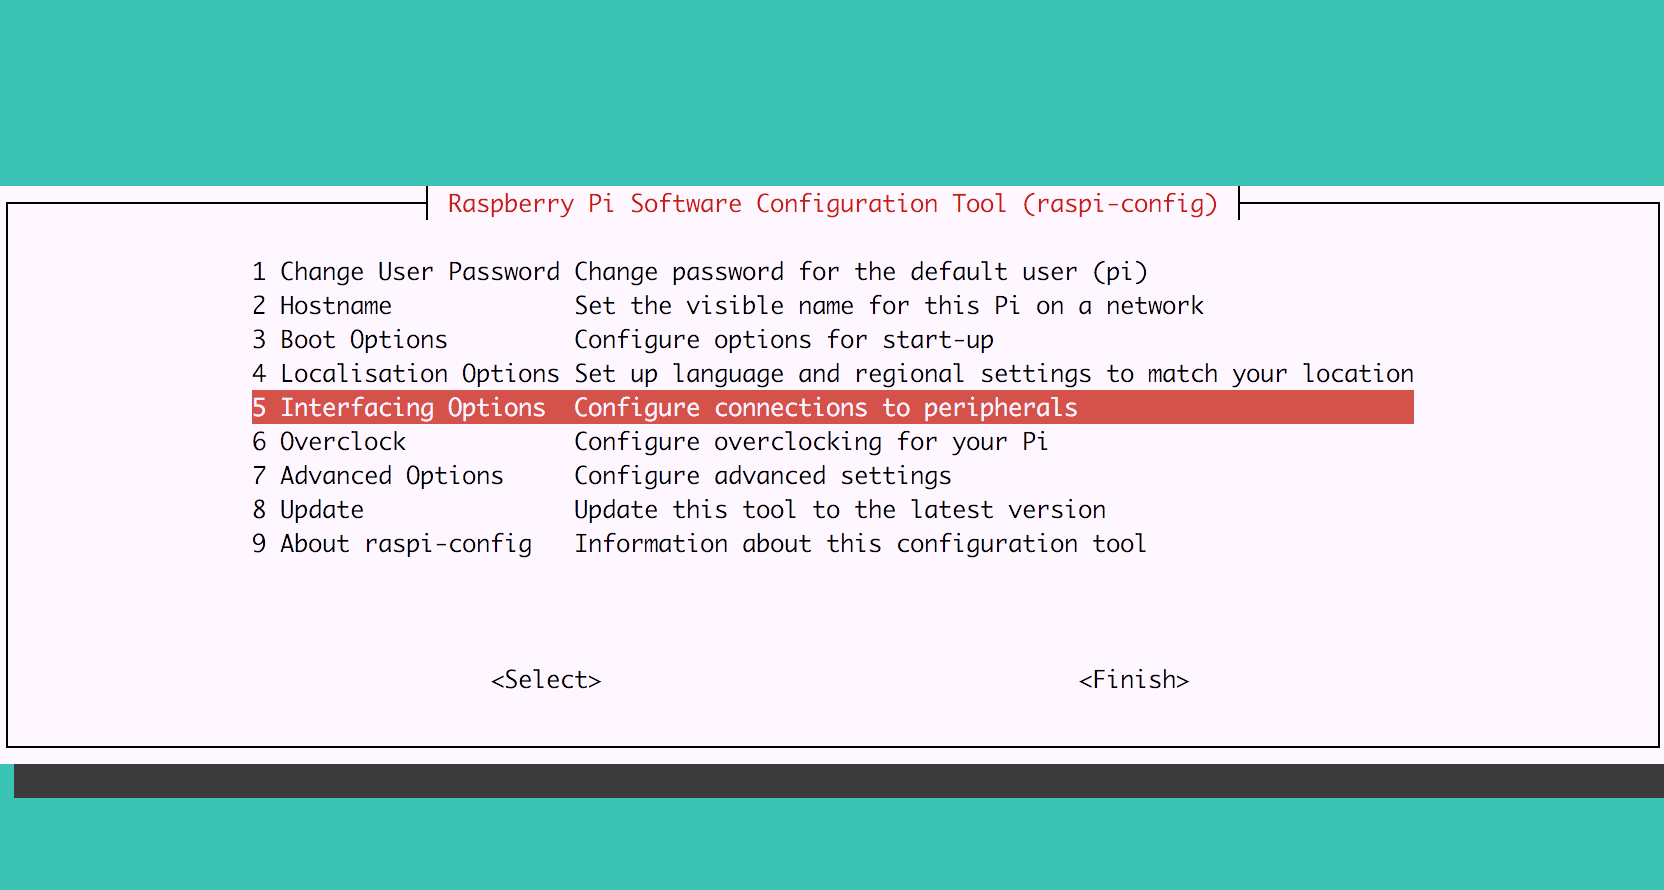
Go to the Interfacing Options section, and then go to P2 SSH.
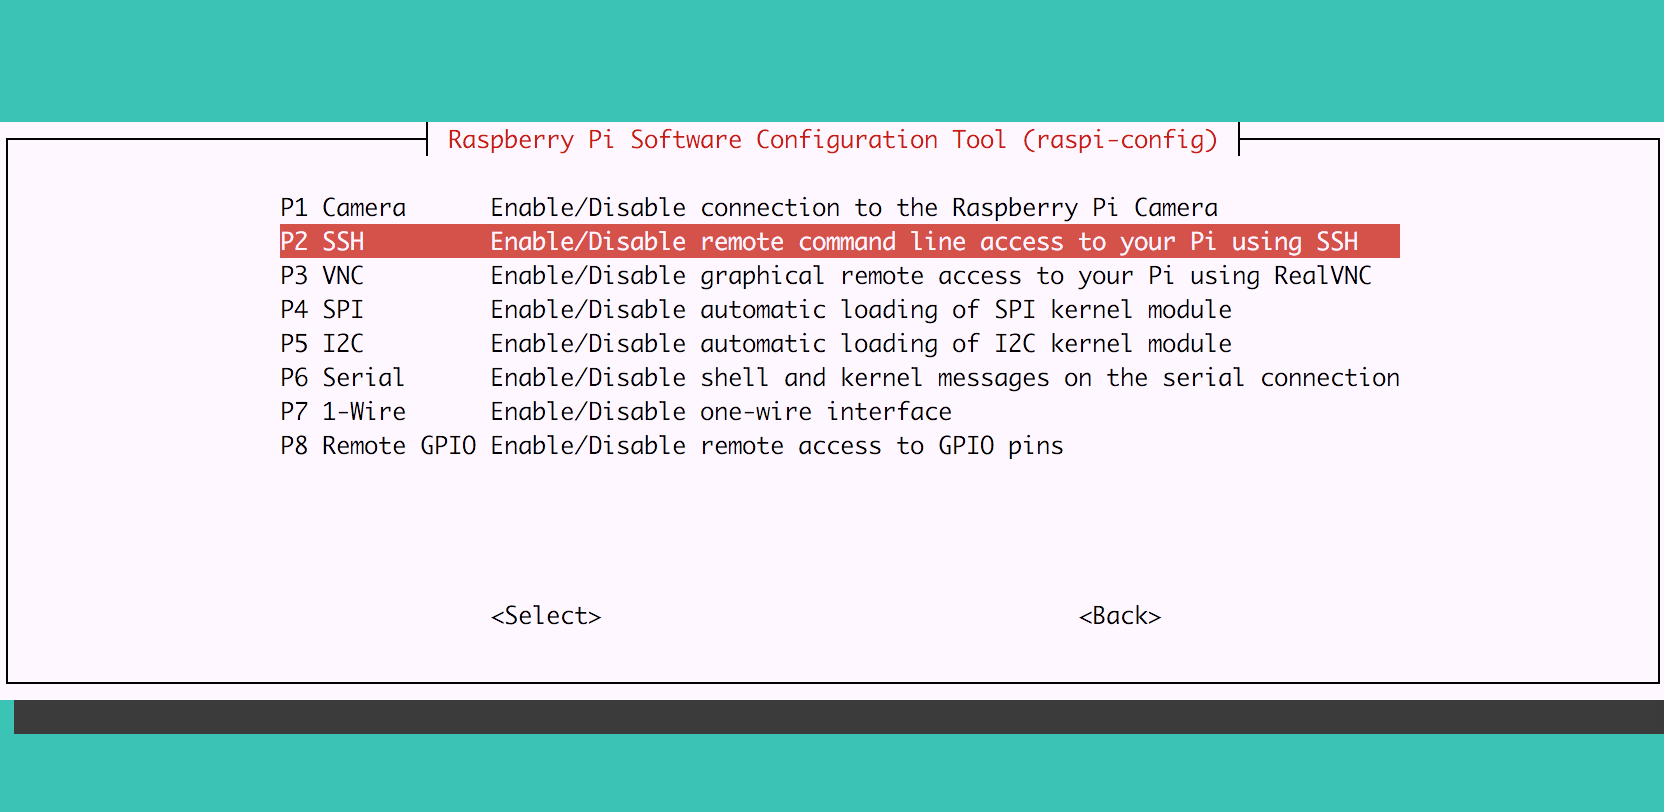
You will then need to give a confirmation to start the SSH server.

- All that's left is to finally connect to the Raspberry Pi using our laptops or desktops.
If you are working on a Windows machine, you will need to download and install PuTTY (http://www.putty.org/), which is a free SSH client for Windows. Enter the IP address of the Raspberry Pi, which we obtained in the previous step, with the port as 22 (the default SSH port).
If you are using a Unix system (Mac or Linux), you can ssh into the Pi by entering the following command:
ssh [email protected]
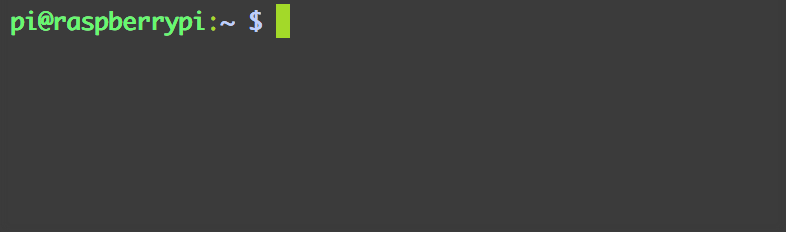
In both cases, you will be asked for a password. The default username for the Raspbian OS after installation is pi, with the default password being raspberry. If you are able to establish an SSH session with the Pi, you should see its Command Prompt:
You can now remotely access your Raspberry Pi device from any computer on the network. Awesome!
What's even more awesome is that there is no need to connect any peripheral device to the Pi anymore. That means no mouse, no keyboard, and no monitor required! All you need is the power supply, and with SSH, you're good to go!
As I stated earlier, you need not go through the hassle of remotely accessing the Pi from your own computer. The Pi is a perfectly good standalone computer on its own. Many of your favorite text editors can also be run on the Pi, which means that you can write and execute code on the same Raspberry Pi device.


