Book Image

Firebase Cookbook

By : Houssem Yahiaoui
Book Image

Firebase Cookbook

By: Houssem Yahiaoui

Overview of this book

Do you feel tired just thinking or even hearing about backend technologies, authentication or the tedious task of deployment? Firebase is here to change the way you develop and make your app a first-class citizen of the cloud. This books takes a solution based approach by providing you recipes that would help you understand the features of Firebase and implement them in your existing web or mobile applications. We start-off by creating our first Firebase application and integrating its services into different platforms and environments for mobile as well as web applications. Then we deep dive into Real-time Database and Firebase Storage that allows your users to access data across various devices with realtive ease. With each chapter you will gradually create the building blocks of your application from securing your data with Firebase Rules to authenticating your users with O-Auth. Moving along we would explore modern application development techniques such as creating serverless applications with Firebase Cloud Functions or turning your traditional applications into progressive apps with Service workers. Finally you will learn how to create cross-platform mobile apps, integrate Firebase in native platforms, and learn how to monetize your mobile applications using Admob for Android and iOS.
Table of Contents (15 chapters)
14
Firebase Cloud FireStore

Integrating Firebase in Android applications

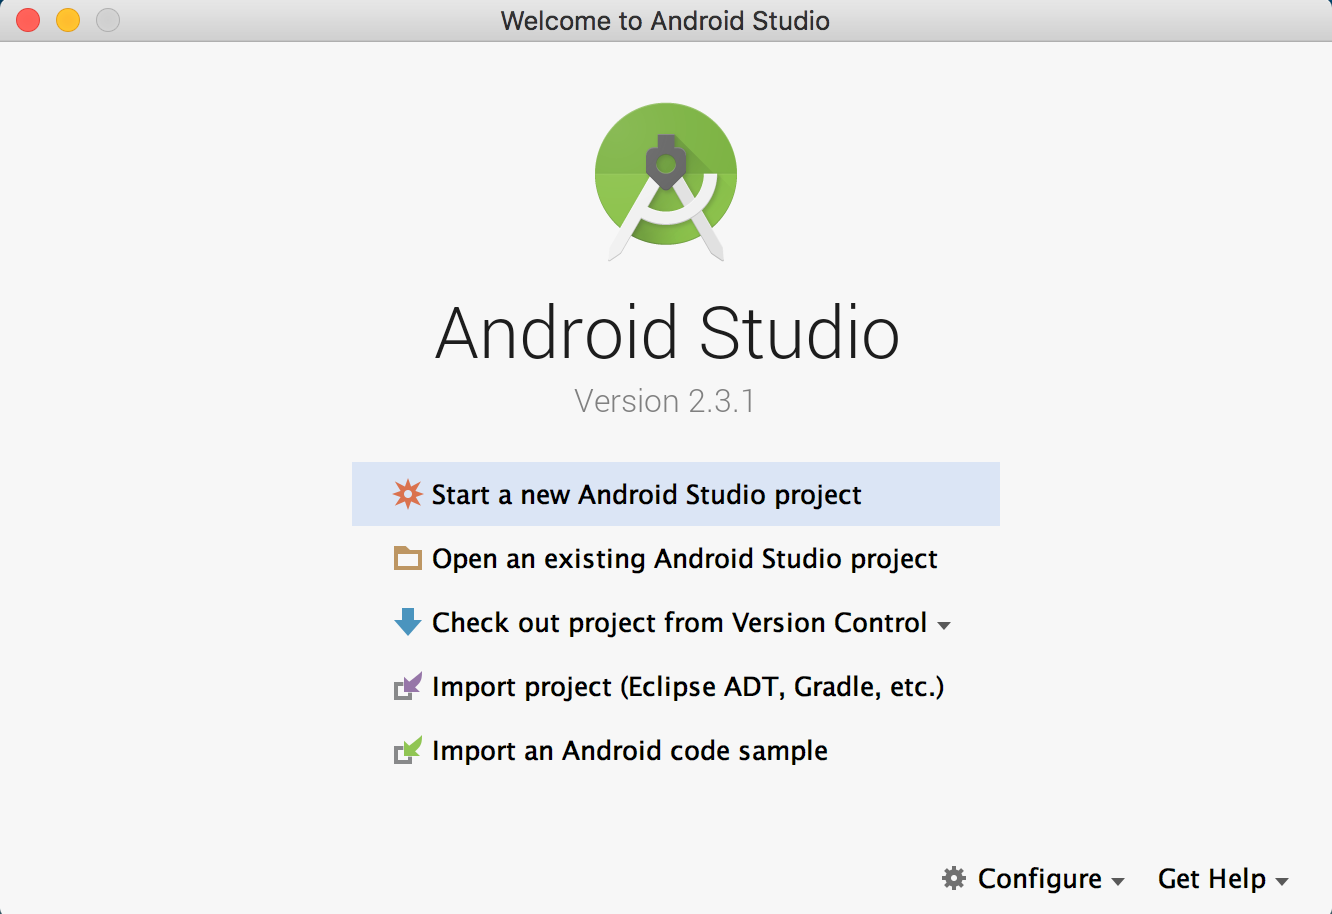
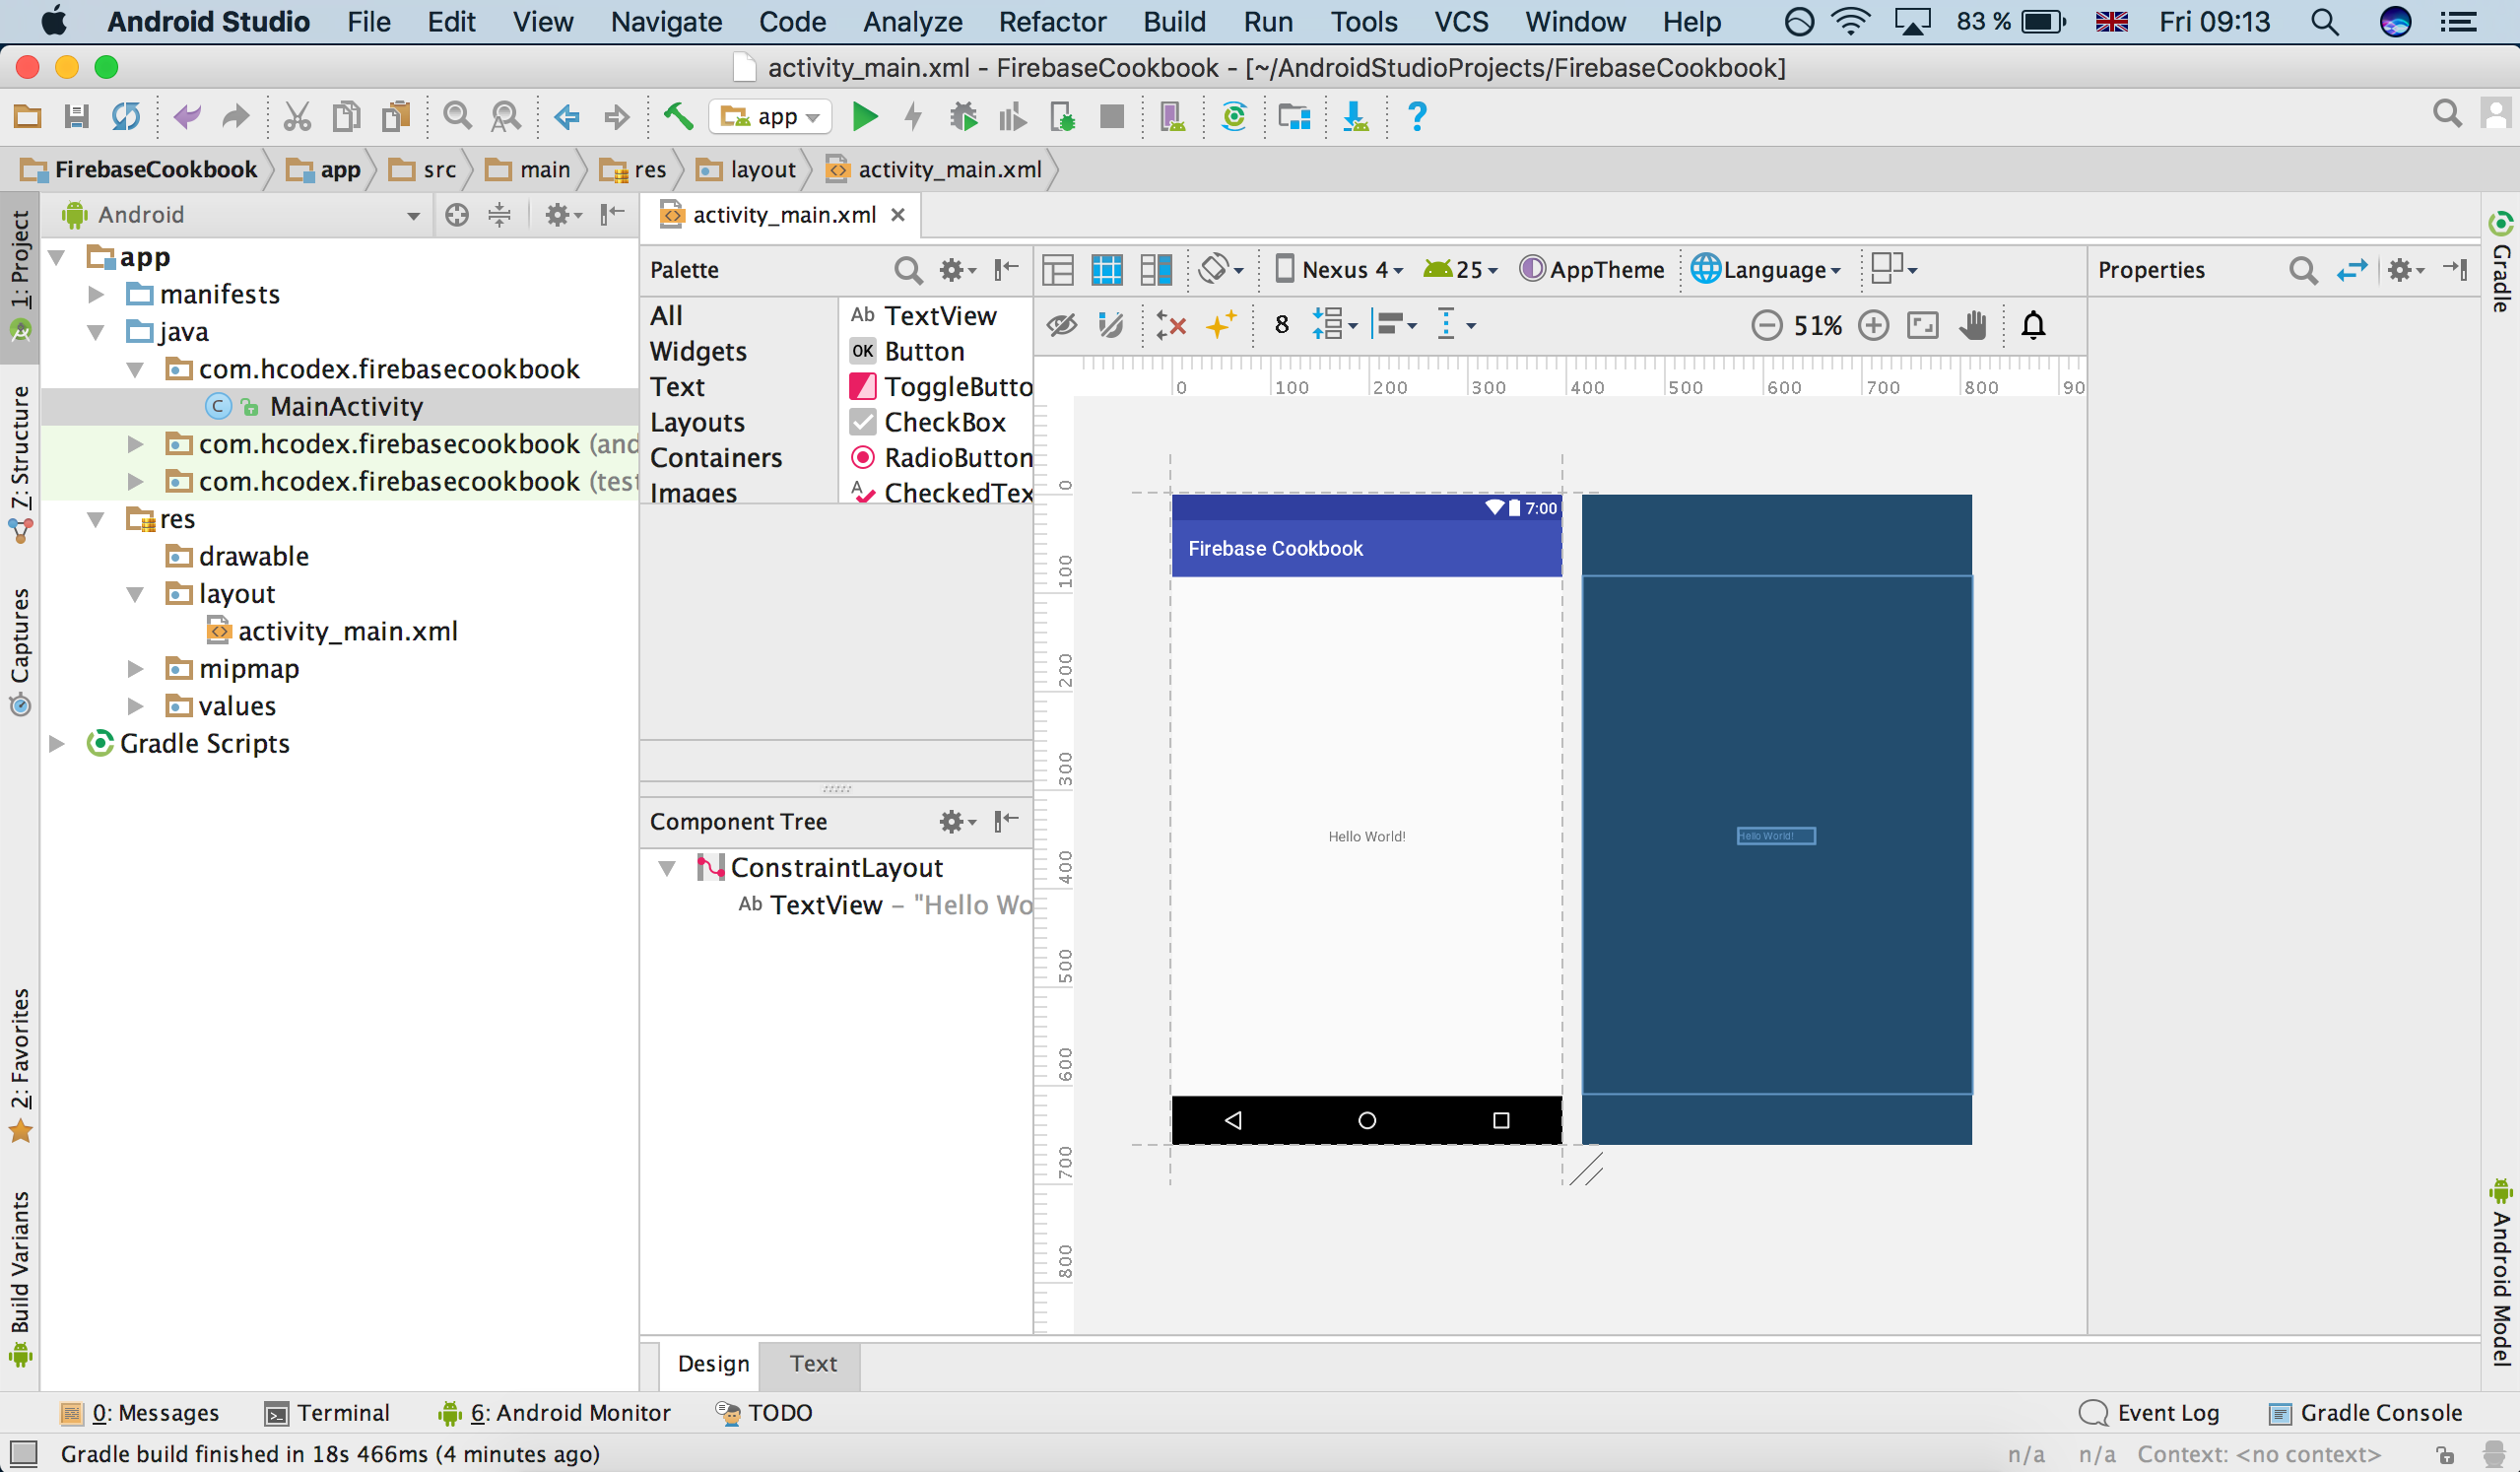
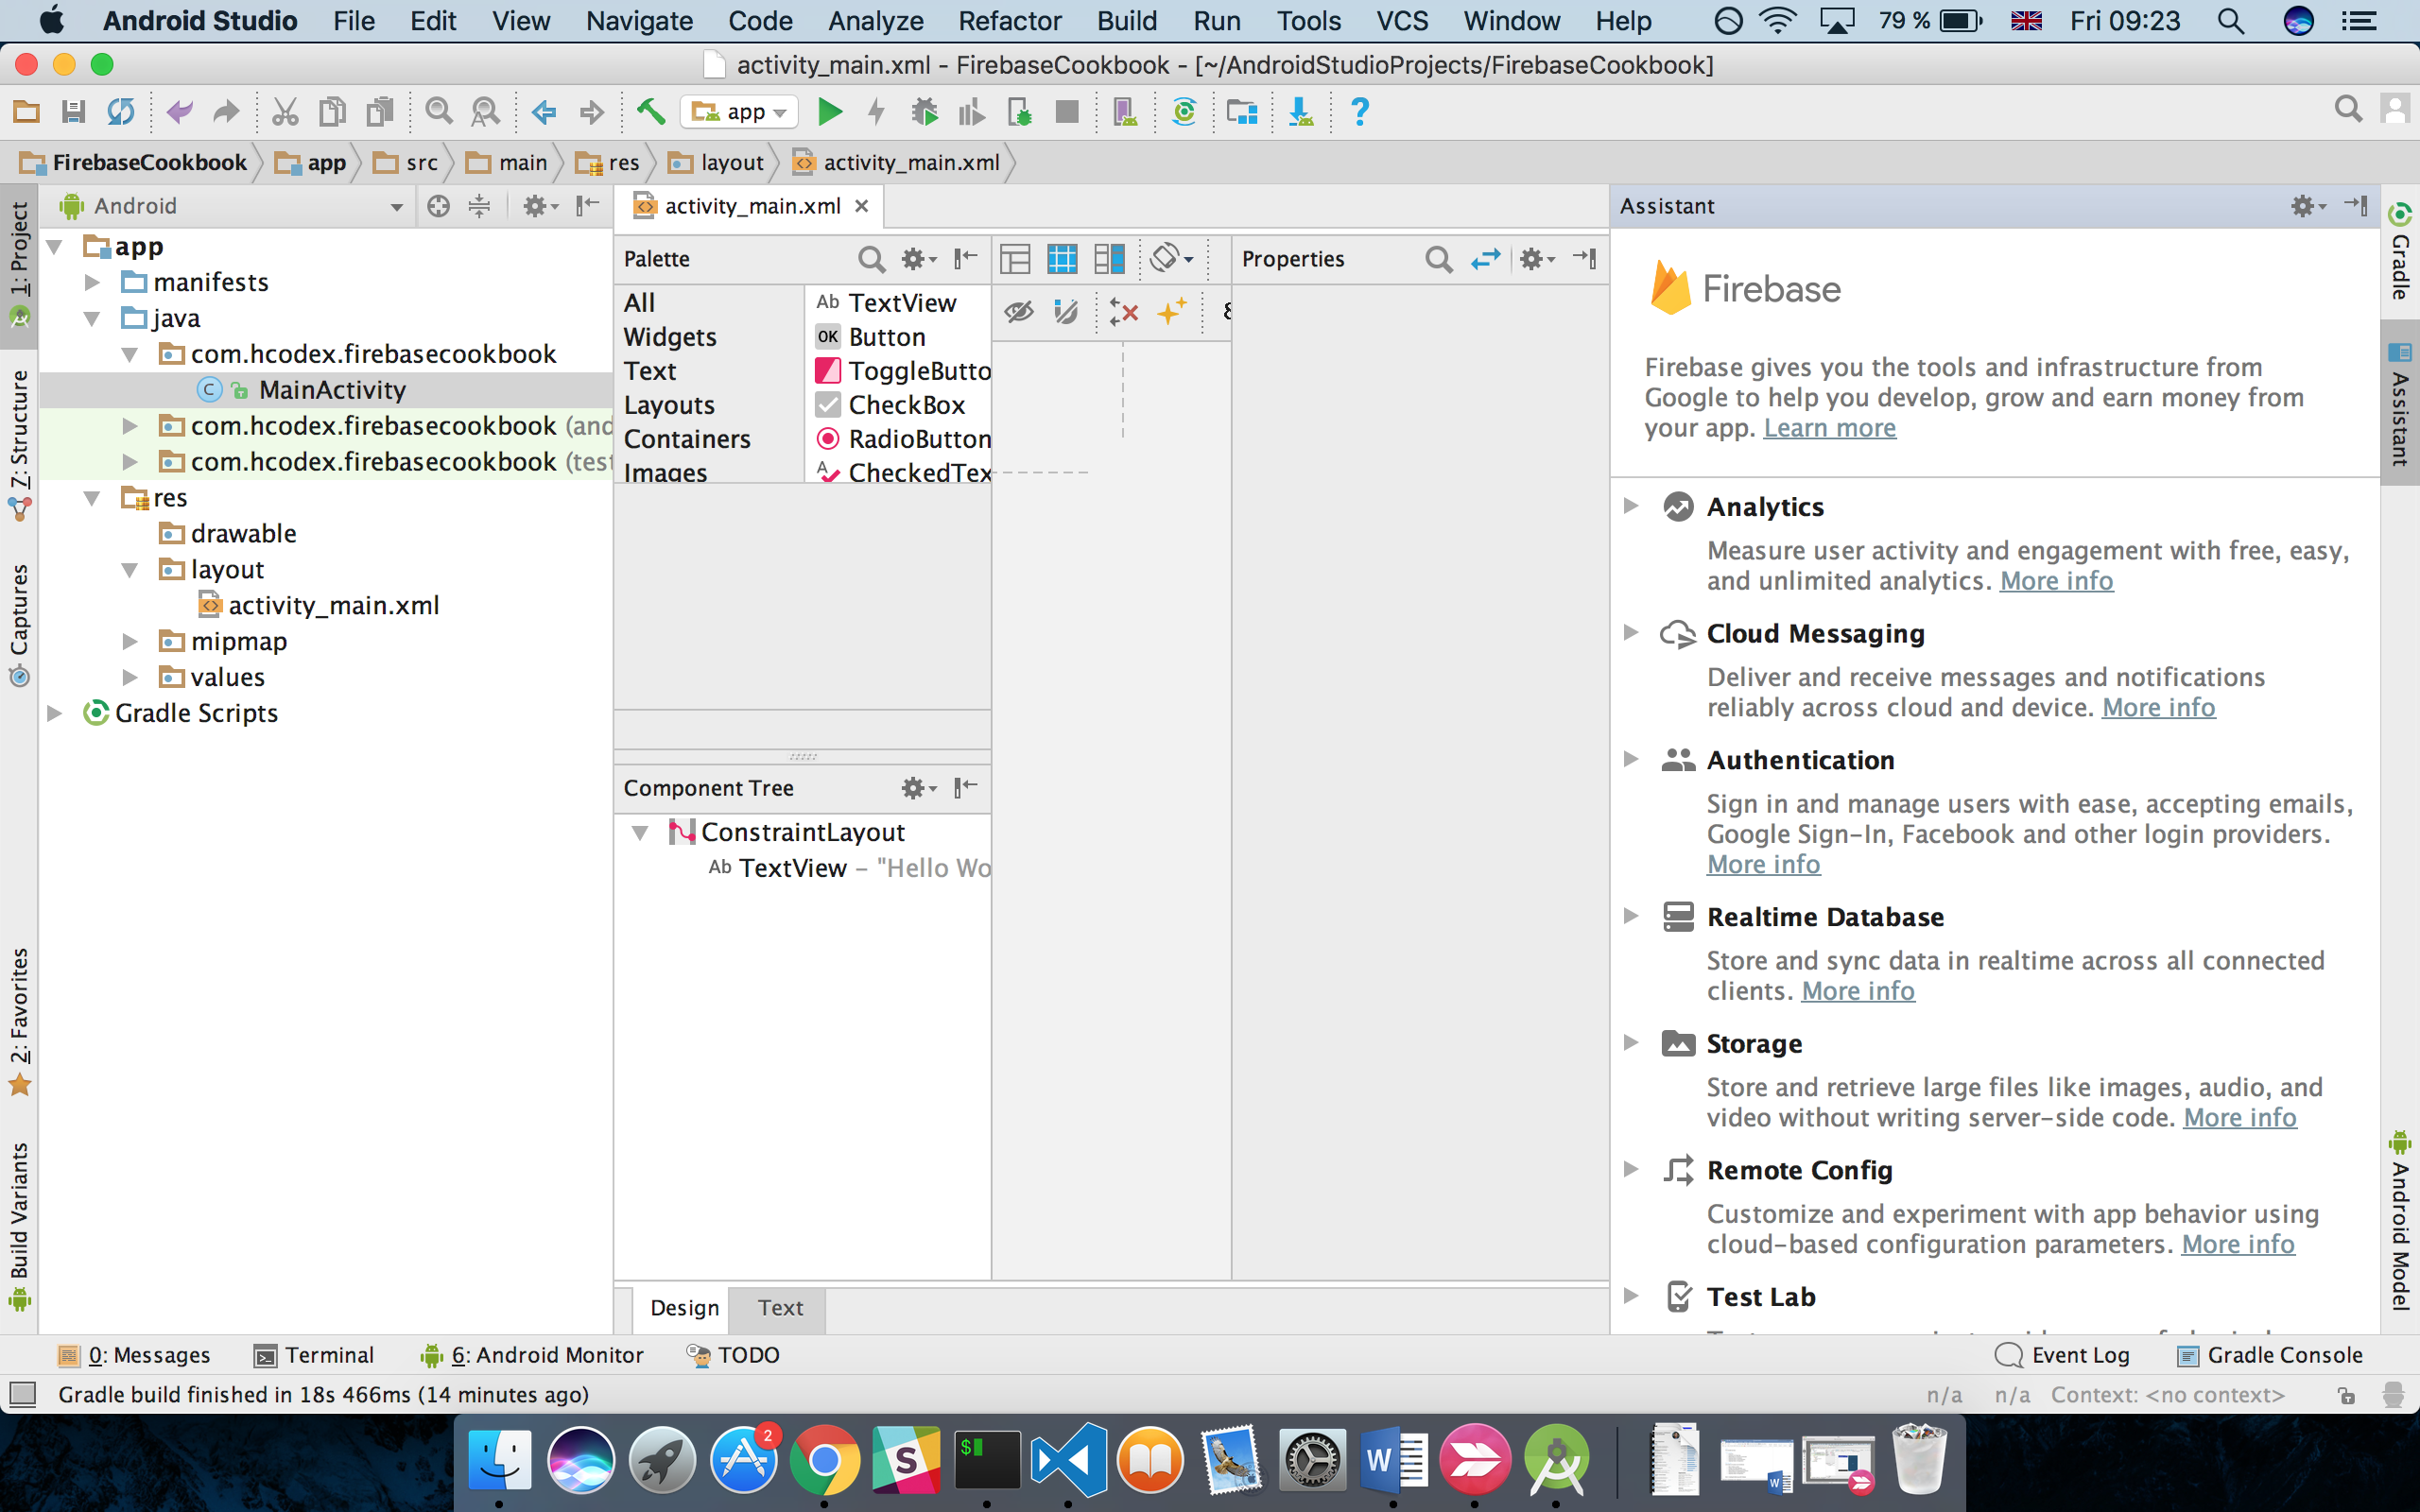
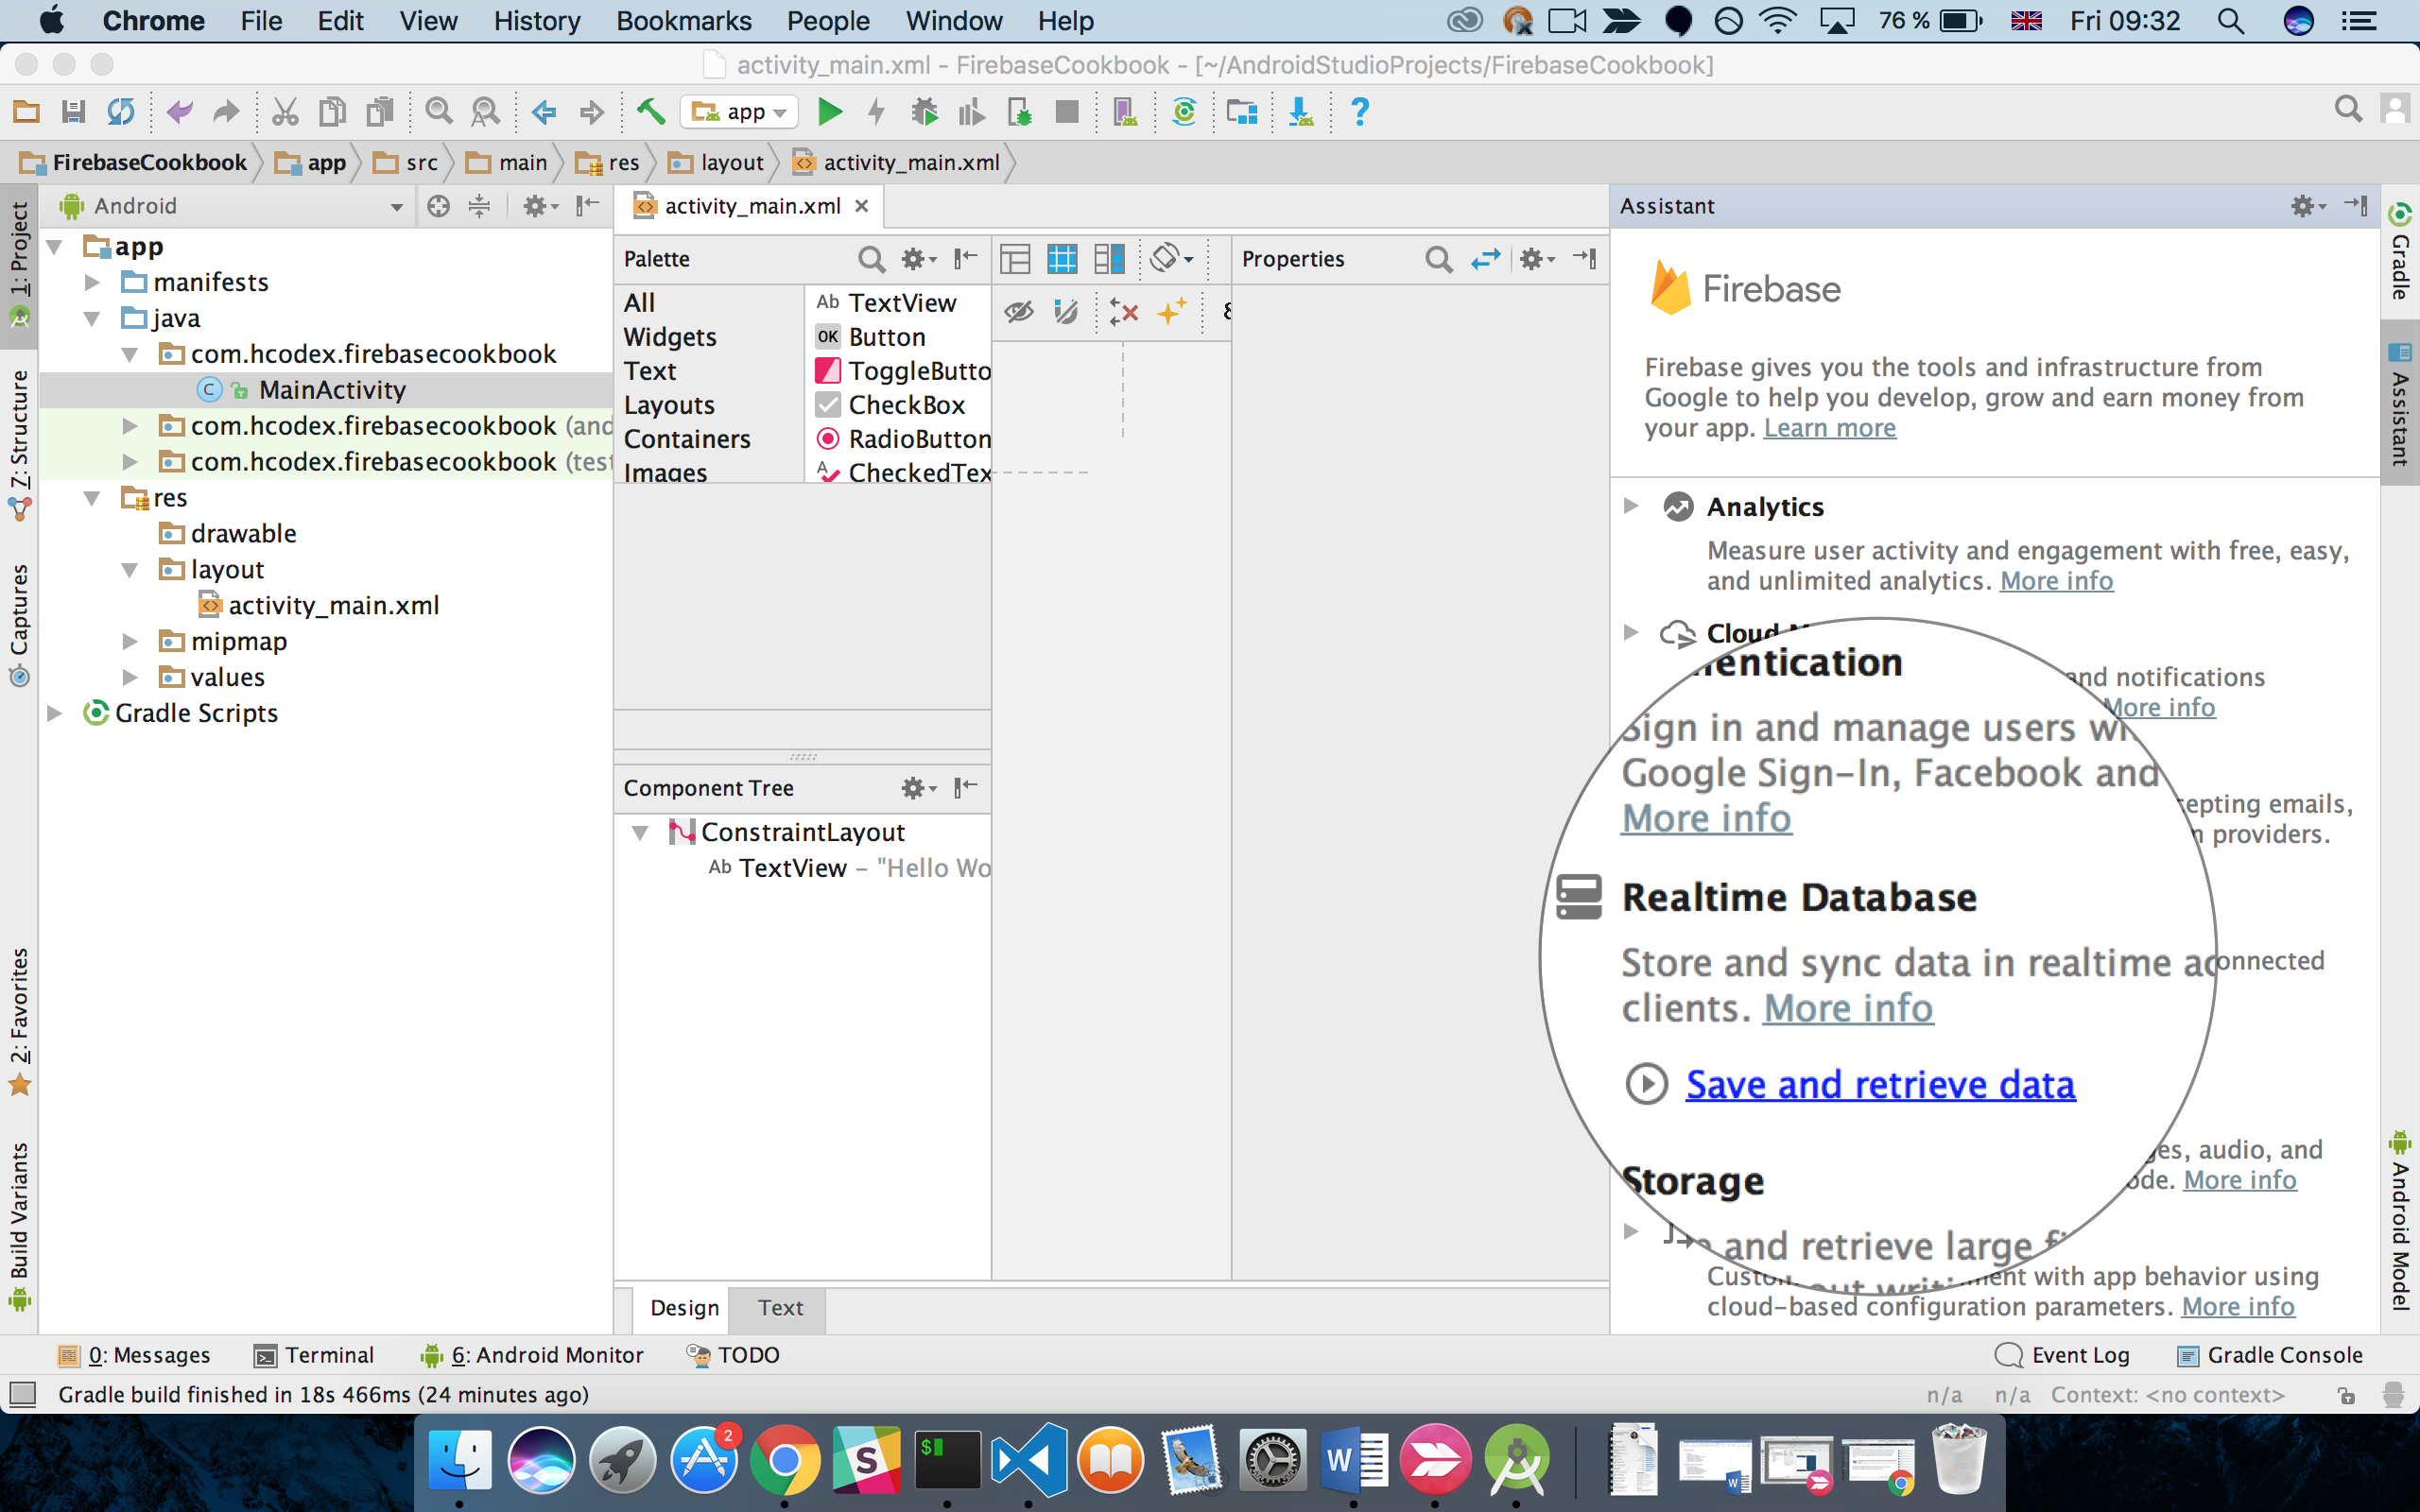
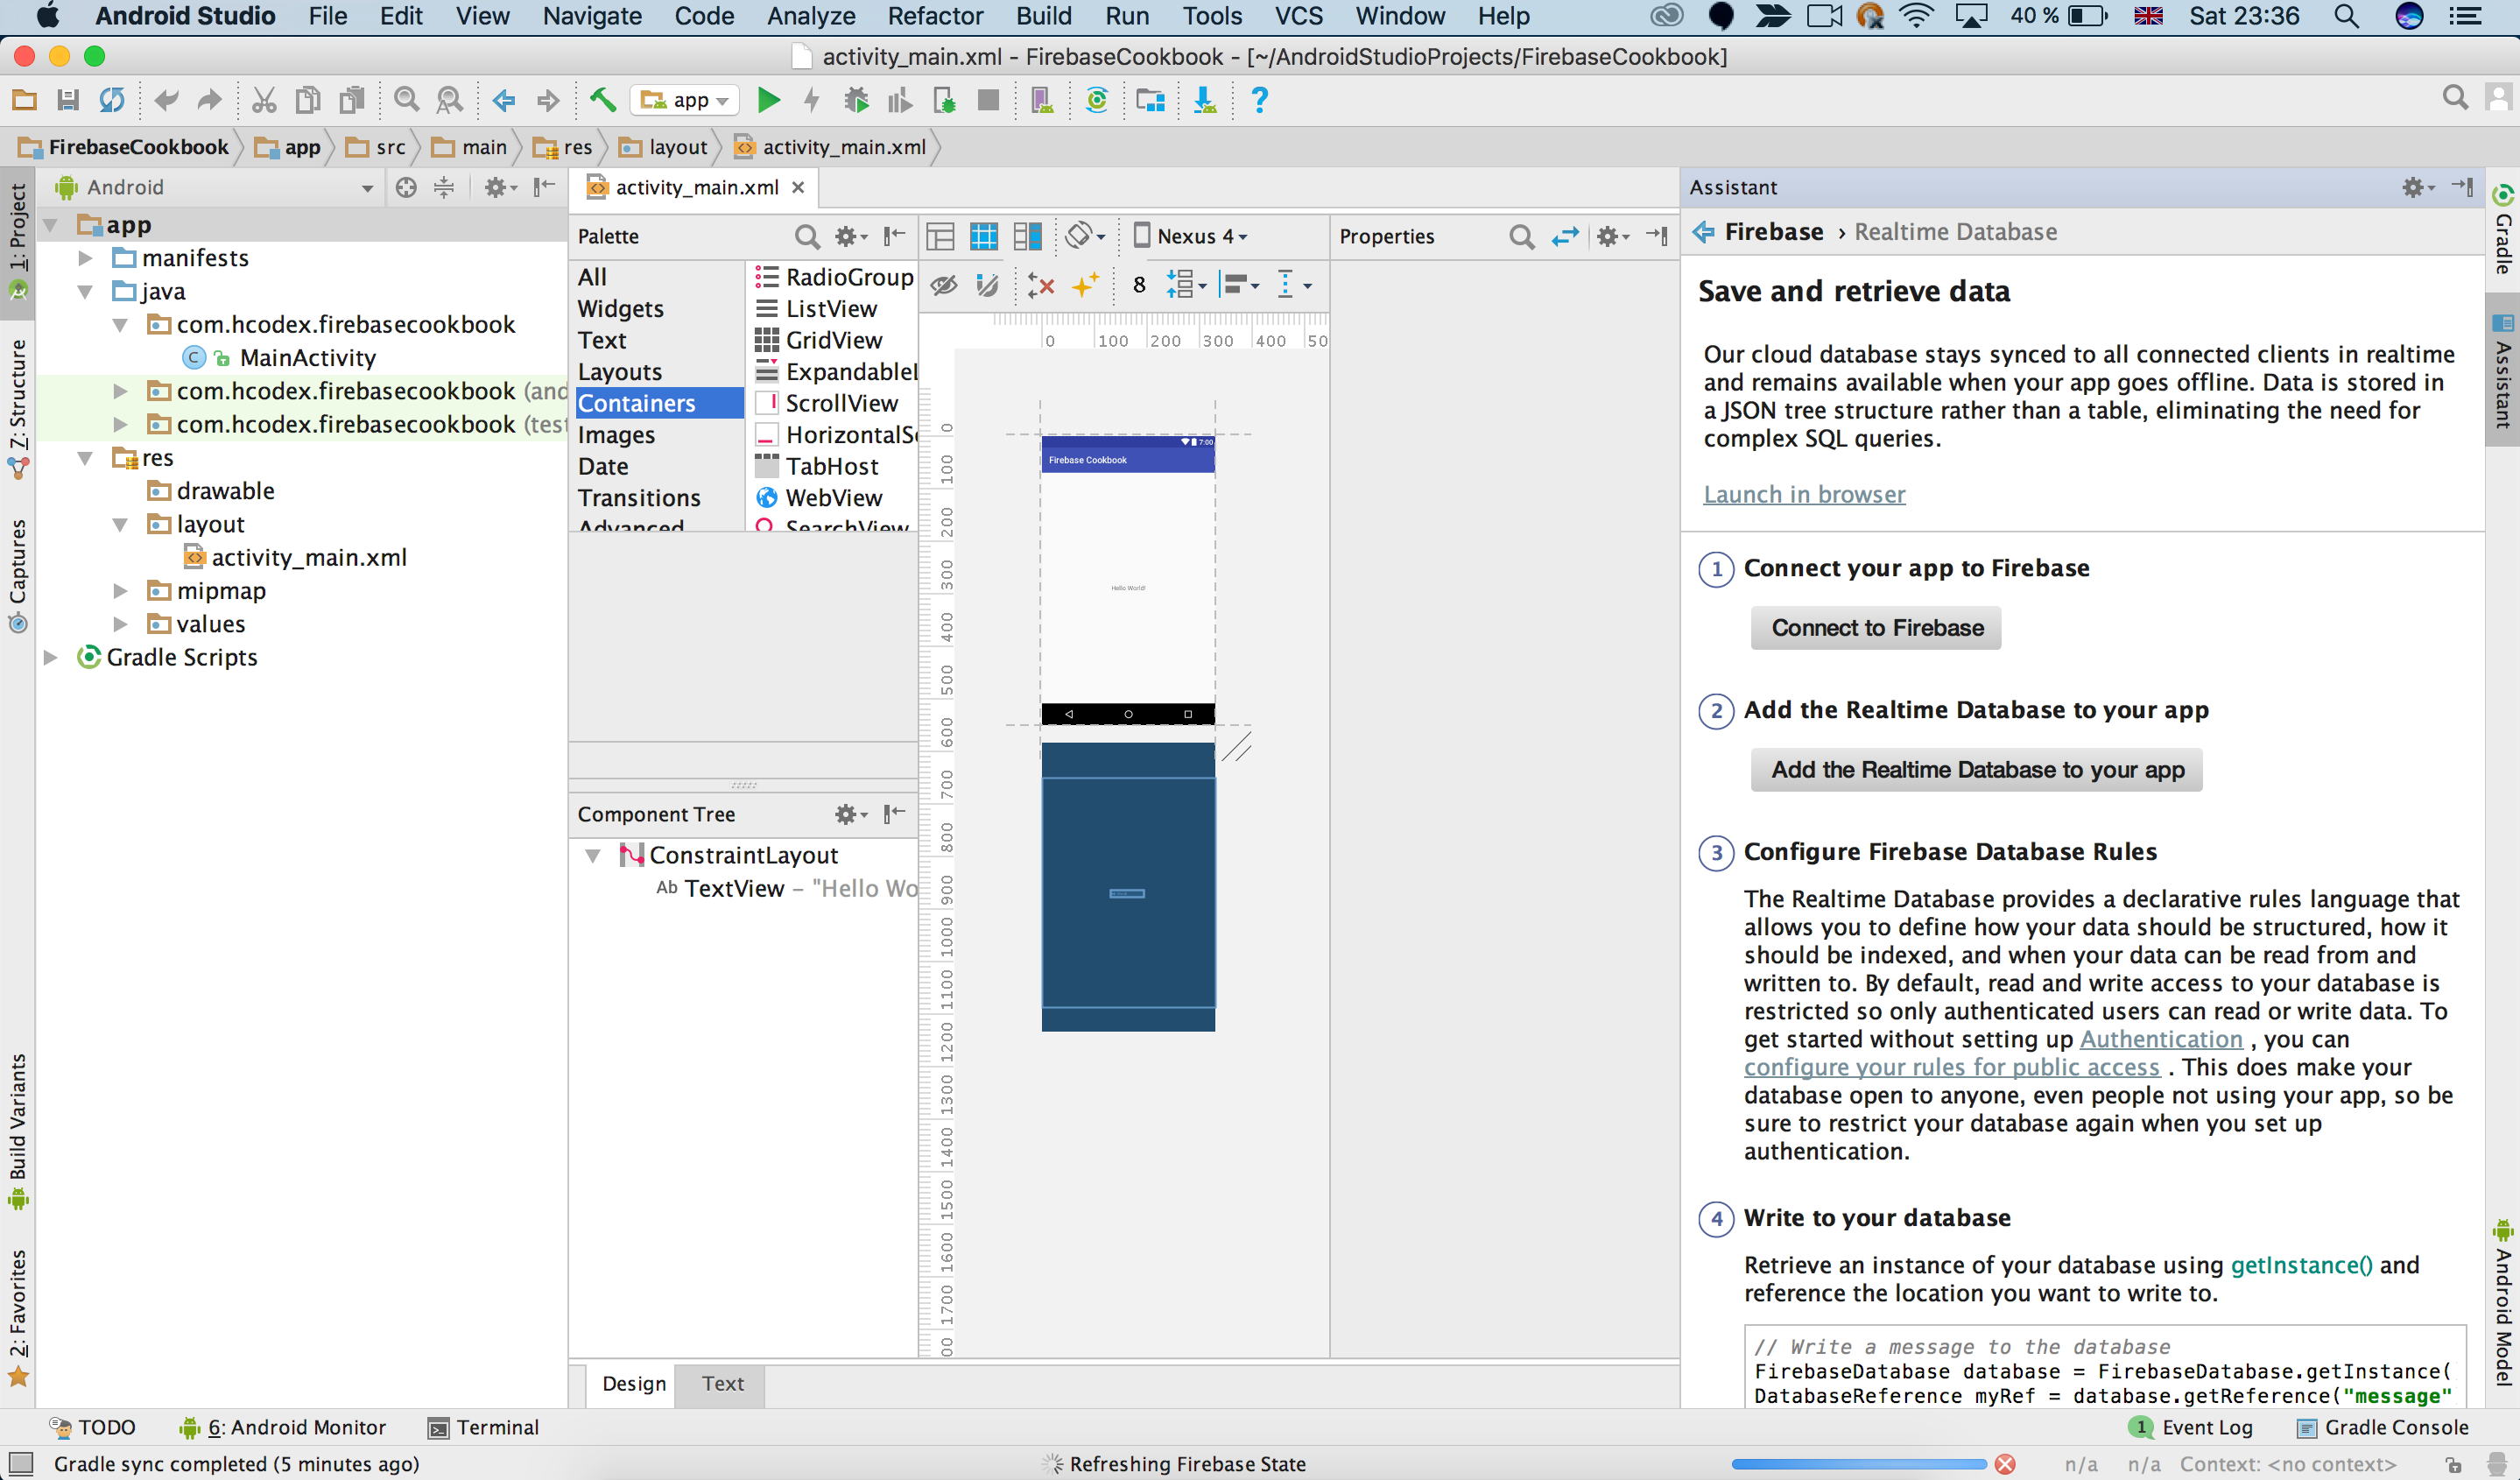
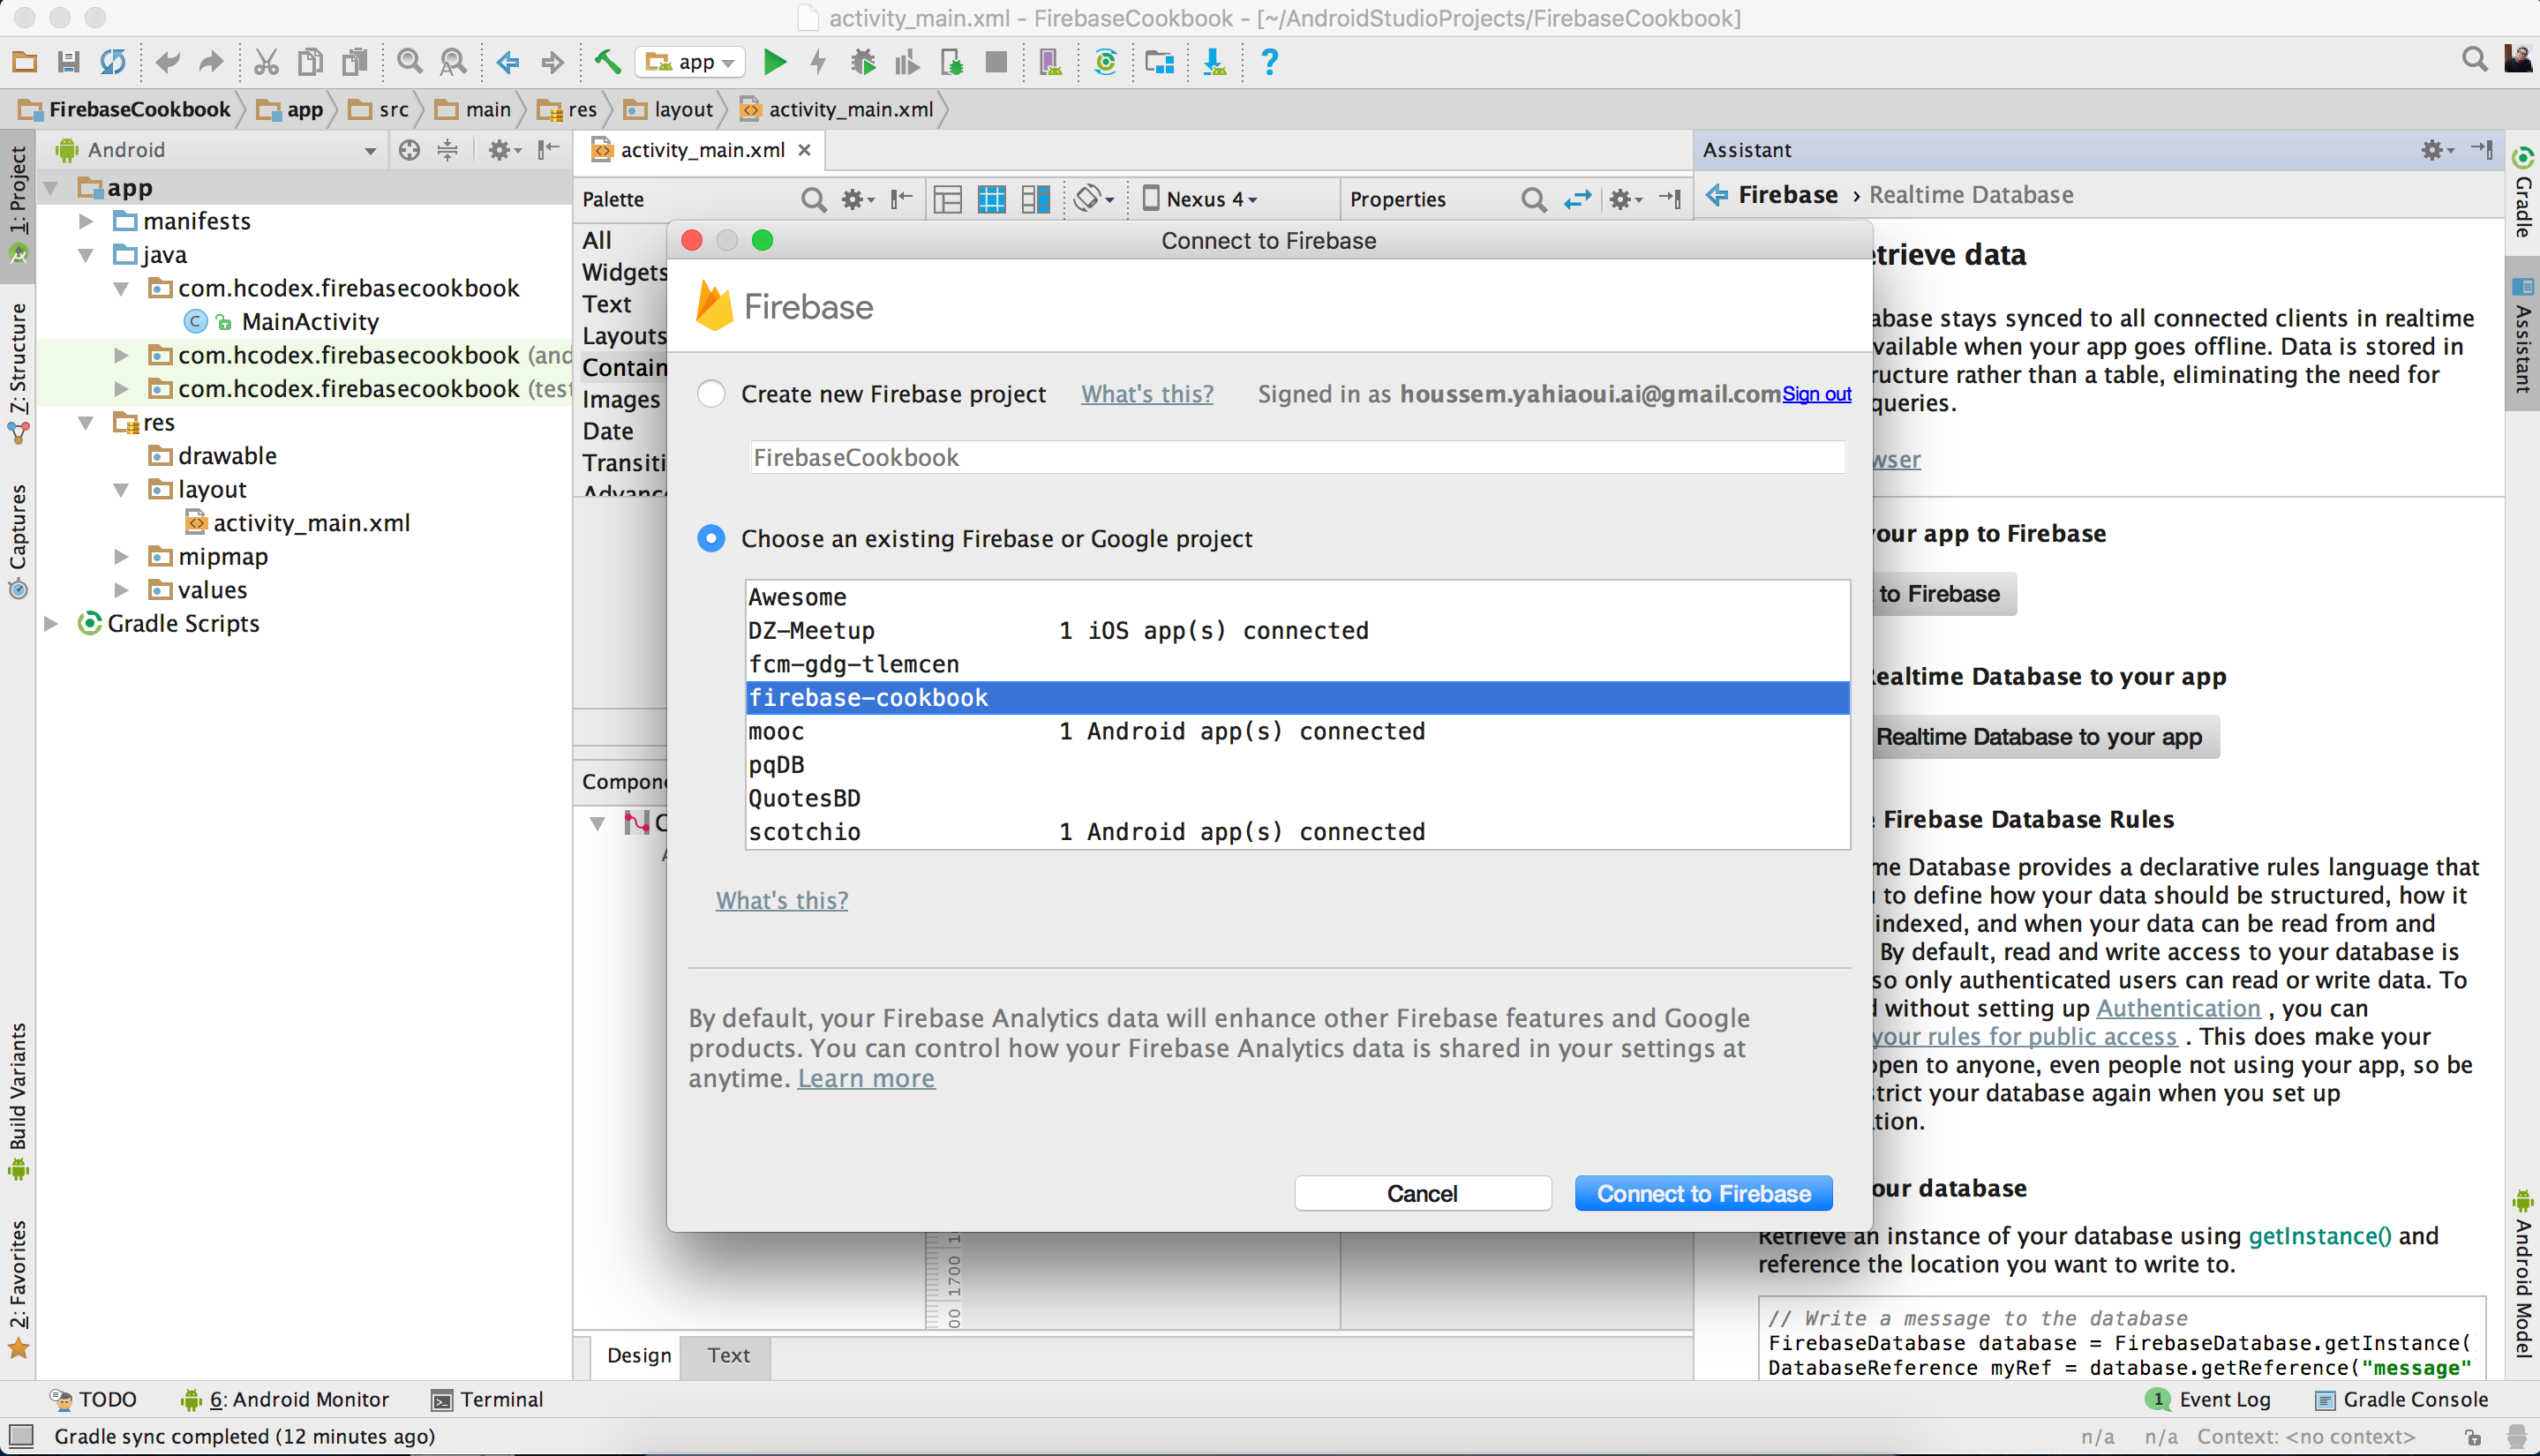
With Android Studio 2.0 and up, the Android Studio IDE becomes more Firebase friendly and the process of integrating Firebase's different components is nothing but a pleasing experience.

Getting ready 

In order to create a Firebase Android-ready application, you need to make sure that Android Studio is present on your development machine. You can download the suitable version that suits your development machine operating system at https://developer.android.com/studio/index.html.

How to do it...

After successfully downloading the Android Studio, launch it and you will be greeted with the following screen (Figure 8):

Figure 8: Android Studio welcome screen

Now, let's create a new application. The process is straightforward, and is as follows:

  1. When you fill in the application name, application type, and suitable used SDK, your Android application development workflow will look something like this (Figure 9):
Figure 9: Android Studio after application launch
  1. Now the fun can begin. Head directly to the Android Studio menu bar. Click on the Tools menu option and you will see a menu item that includes many options including Firebase (Figure 10):
Figure 10: Integrating Firebase in our Android application
  1. After clicking on it, go to the right side, to the Assistant section. There you will find the Firebase section, with all the goods that it can offer (Figure 11):
Figure 11: Android Firebase integration - part one

In this section, you will see all that Firebase has to offer--there are different sections and areas as we talked about previously. Firebase is a set of services, which means that each part is a service in itself. This also means that you're free to select whatever service you want to include. For the sake of this chapter, we're taking the Realtime Database as the option to finalize the integration process.

The integration process used in this example is applicable to all sorts of Firebase services in the exact same way.
  1. After clicking on the Realtime Database option you will get a submenu with a simple explanation or description as to what the service actually does (Figure 12):
Figure 12: Android Firebase integration - part two
  1. Now, simply click on the Save and retrieve data link option and you will start a new process that will combine both authenticating as well as download and install the Firebase component in your application (Figure 13):
Figure 13: Firebase project integration - part three

You will need to configure your project by following the previous instructions. Next, you will need to authenticate and use the Gmail account related to your Firebase project.

  1. Once you have clicked on the link, you will need to select the Google account linked to your project. In doing so, you will need to authorize Android Studio to use your Google account. Then, whenever you approve those authorization rules, you will be redirected to the following page (Figure 14):
Figure 14: Firebase project integration - part four

Congratulations! Android Studio is now fully connected to your Google account. By now, you will see a new model popping up in your Android Studio. As mentioned previously, you will need to either select or create a new Firebase project. In our case, we have already created our awesome project, so we will only need to select it and hit the Connect to Firebase button (Figure 15).

Figure 15: Firebase project integration - part five

Now, Android Studio will take some seconds to connect to your project and configure your awesome application. Then you will get the following lovely green button from heaven, indicating that everything went smoothly (Figure 16).

Figure 16: Firebase project integration - part six

Congratulations! Your application is now fully connected and well prepared to host your Firebase logic; all you need to do next is to integrate the service you want the most and simply work with it. We will see all that and more starting from Chapter 11, Integrating Firebase with Android/iOS Natively.