
If you're on Windows, this is the installation section for you. If you're on Linux or macOS, the previous section was for you; you can skip this one. Our goal here is to install MongoDB on our machines, which will let us create a local MongoDB database server. We'll be able to connect to that server with Node.js, and we'll be able to read and write data to the database. This will be fantastic for the Todo API, which will be responsible for reading and writing various Todo-related information.
To get started, we'll grab the MongoDB installer by going over to mongodb.com. Here we can click on the big green Download button; also, we can see several options on this page:

We'll use Community Server and for Windows. If you go to the Version drop down, none of the versions there will look right for you. The top one is what we want: Windows Server 08 R2 64-bit and later with SSL support. Let's start to download this. It is slightly big; just a tad over 100 MB, so it will take a moment for the download to begin.
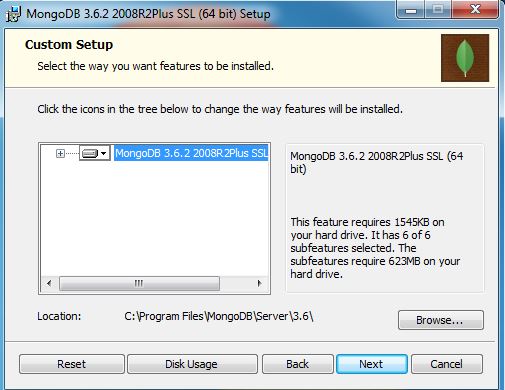
I'll start it up. It's one of those basic installers, where you click on Next a few times and you agree to a license agreement. Click on the Custom option for a second, although we will be following through with the Complete option. When you click on Custom, it will show you where on your machine it's going to be installed, and this is important. Here, you can see that for me it's on C:\Program Files\MongoDB\Server, then in the 3.2 directory:
This is going to be important because we'll need to navigate into this directory in order to start up the MongoDB server. I will go back though, and I will be using the Complete option, which installs everything we need. Now we can actually start the installation process. Usually, you have to click on Yes, verifying that you want to install the software. I'll go ahead and do that, and then we are done.
Now once it's installed, we'll navigate into Command Prompt and boot up a server. The first thing we need to do is to navigate into that Program Files directory. I'm in Command Prompt. I recommend that you use Command Prompt and not Git Bash. Git Bash will not work for starting up the MongoDB server. I'll navigate to the root of my machine using cd/, and then we can start navigating to that path using the following command:
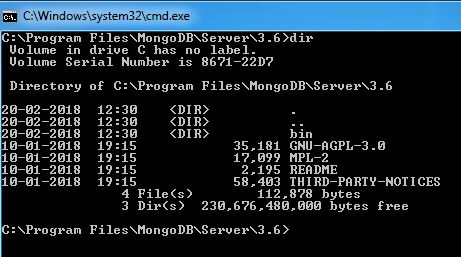
cd Program Files/MongoDB/Server/3.2This is the directory where MongoDB was installed. I can use dir to print out the contents of this directory, and what we care about here is the bin directory:
We can navigate into bin using cd bin, and print its contents out using dir. Also, this directory contains a whole bunch of executables that we'll use to do things such as starting up our server and connecting to it:

The first executable we'll run is this mongod.exe file. This will start our local MongoDB database. Before we can go ahead and run this EXE, there is one more thing we need to do. Over in the generic File Explorer, we need to create a directory where all of our data can be stored. To do this, I'll put mine in my user directory by going to the C:/Users/Andrew directory. I'll make a new folder, and I'll call this folder mongo-data. Now, the mongo-data directory is where all of our data will actually be stored. This is the path that we need to specify when we run the mongod.exe command; we need to tell Mongo where to store the data.
Over in Command Prompt, we can now start this command. I'll run mongod.exe, passing in as the dbpath argument, the path to that folder we just created. In my case, it's /Users/Andrew/mongo-data. Now if your username is different, which it obviously is, or you put the folder in a different directory, you'll need to specify the absolute path to the mongo-data folder. Once you have that though, you can start up the server by running the following command:
mongod.exe --dbpath /Users/Andrew/mongo-dataYou'll get a long list of output:

The only thing you need to care about is that, at the very bottom, you should see waiting for connections on port 27017. If you see this, then you are good to go. But now that the server is up, let's connect to it and issue some commands to create and read some data.
To do this, we'll open up a second Command Prompt window and navigate into that same bin directory using cd/Program Files/MongoDB/Server/3.2/bin. From here, we'll run mongo.exe. Note that we're not running the mongod command; we're running mongo.exe. This will connect to our local MongoDB database, and it will put us in sort of a Command Prompt view of our database. We'll be able to issue various Mongo commands to manipulate the data, kind of like we can run Node from Command Prompt to run various JavaScript statements right inside the console. When we run this, we're going to connect to the database. Over in the first console window, you can see that connection accepted shows up. We do have a new connection. In the first console window now, we can run some commands to create and read data. Now I don't expect you to take away anything from these commands. We'll not talk about the ins and outs of MongoDB just yet. All I want to do is to make sure that when you run them, it works as expected.
To get started, let's create a new Todo from the console. This can be done via db.Todos, and on this Todos collection, we'll call the .insertmethod.Also, we'll callinsertwith one argument, an object; this object can have any properties we want to add to the record. For example, I want to set atextproperty. This is the thing I actually need to do. Inside quotes, I can put something. I'll go withCreate new Node course:
db.Todos.insert({text: 'Create new Node course'})Now when I run this command, it will actually make the insert into our database and we should get a writeResult object back, with an nInserted property set to 1. This means that one record was inserted.
Now that we have one Todo in our database, we can try to fetch it using db.Todos once again. This time, instead of calling insert to add a record, we'll call find with no arguments provided. This will return every single Todo inside of our database:
db.Todos.find()When I run this command, We get an object-looking thing where we have a text property set to Create new Node course. We also have an _id property. The _id property is MongoDB's unique identifier, and this is the property that they use to give your document; in this case, a Todo, a unique identifier. We'll be talking more about _id and about all of the commands we just ran, a little later. For now, we can close this using Ctrl + C. We've successfully disconnected from Mongo, and now we can also close the second Command Prompt window.
Before we move on, there is one more thing I want to do. We'll be installing a program called Robomongo—a GUI for MongoDB. It will let you connect to your local database as well as real databases, which we'll be talking about later. Also, it'll let you view all the data, manipulate it and do anything you could do inside a database GUI. It's really useful; sometimes you just need to dive into a database to see exactly what the data looks like.
In order to get this started, we'll head over to a new tab and go to robomongo.org:

Here we can grab the installer by going to Download. We'll download the latest version, and I'm on Windows. I want the installer, not the portable version, so I'll click on the first link here:

This is going to start a really small download, just 17 MB, and we can click on Next a few times through this one to get Robomongo installed on our machines.
I'll start the process, confirming installation and clicking on Next just a couple of times. There's no need to do anything custom inside the settings. We'll run the installer with all of the default settings applied. Now we can actually run the program by finishing all the steps in the installer. When you run Robomongo, you'll be greeted with a MongoDB Connections screen:
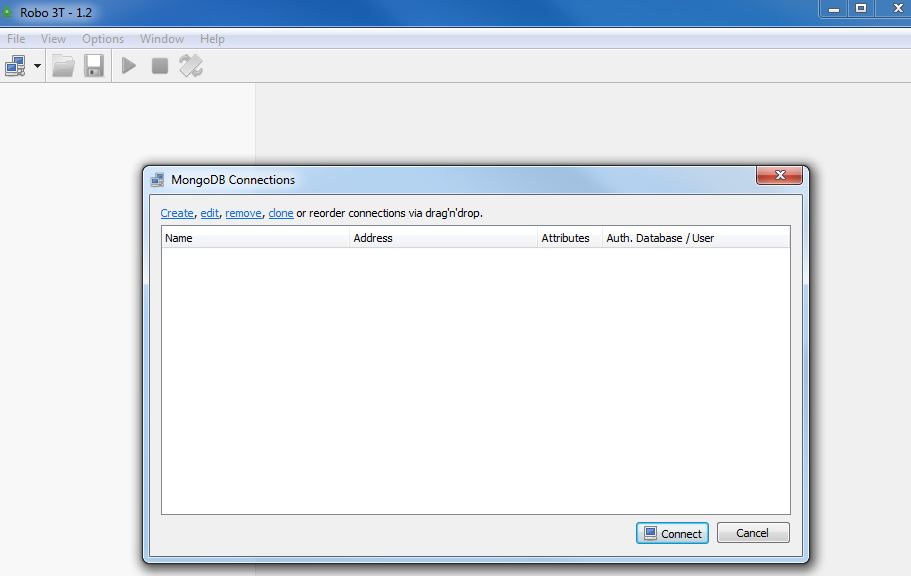
This screen lets you configure all of the connections for Robomongo. You might have a local connection for your local database, and you might have a connection to a real URL where your actual production data is stored. We'll get into all that later.
For now, we'll click on Create. By default, your localhostaddressand your27017portdo not need to be changed:
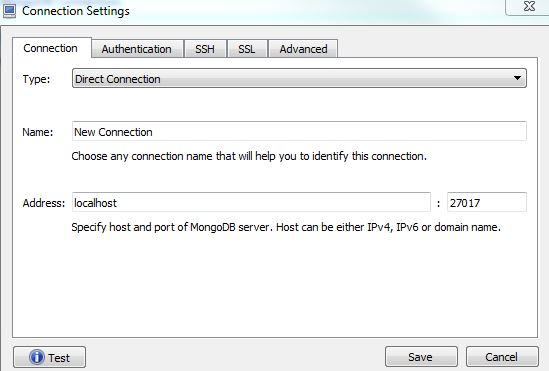
All I'm going to do is to change the name so that it's a little easier to identify. I'll go with Local Mongo Database. Now, we can save our new connection and actually connect to the database by simply double-clicking on it. When we do that, we get a little tree view of our database. We have this test database; this is the one that's created by default, which we can expand. Then we can expand our Collections folder and see the Todos collection. This is the collection we created inside the console. I'll right-click on this and go to View Documents. When I view the documents, I actually get to view the individual records:

Here, I see my _id and text properties that have Create new Node course sitting in the above image.
If you are seeing this, then this means that you have a local Mongo server running, and it also means that you've successfully inserted data into it.