Book Image

React Router Quick Start Guide

By : Sagar Ganatra
Book Image

React Router Quick Start Guide

By: Sagar Ganatra

Overview of this book

React Router is the routing library for React, and it can be used in both React Web and React Native applications. This book is a simple way to get started with React Router and harness its full power for your applications. The book starts with an introduction to React Router and teaches you how to create your first route using the React component. You will then learn about configuring your routes, passing parameters, and creating nested routes. You will be introduced to various components in React-Router and learn different configuration options available for these components. You will then see how to use the Redirect and Switch components. For even greater ?exibility, you will learn about BrowserRouter, HashRouter, NativeRouter, and StaticRouter. By the end of the book, you will have set up a project with React Router and make routing configuration work in a server-side rendered React application, a mobile application built with React Native and also understand how Redux and React-Router can be used in the same application.
Table of Contents (10 chapters)

Getting started with React-Router

Let's create a React application and then add React-Router as a dependency.

To create a React application, we will use the create-react-app CLI. The create-react-app CLI makes it easier to create an application that already works. The CLI creates a project scaffold so that you can start using the latest JavaScript features, and also provides scripts to build applications for a production environment. There are various React and React-Router starter kits available; however, using create-react-app helps in demonstrating how React-Router can be added to an existing bare-bones React application.

The first step is to install create-react-app globally using NPM, as follows:

npm install -g create-react-app

The CLI requires the node version to be greater than or equal to 6, and the npm version to be greater than 5.2.0.

Once the CLI has been installed, we will create a new application using the create-react-app command, as seen here:

create-react-app react-router-demo-app

The following output is displayed when create-react-app completes the installation of packages:

Inside that directory, you can run several commands:
npm start
Starts the development server.

npm run build
Bundles the app into static files for production.

npm test
Starts the test runner.

npm run eject
Removes this tool and copies build dependencies, configuration
files
and scripts into the app directory. If you do this, you can't
go back!
We suggest that you begin by typing:
cd react-router-demo-app
npm start

If you used the yarn package manager (https://yarnpkg.com/en/), the npm commands in the preceding snippet would be replaced with yarn.

The react-router-demo-app directory is created during installation (if it doesn't already exist). Inside the directory, the following project structure is created:

/react-router-demo-app
|--node_modules
|--public
| |--favicon.ico
| |--index.html
| |--manifest.json
|--src
| |--App.css
| |--App.js
| |--App.test.js
| |--index.css
| |--index.js
| |--logo.svg
| |--registerServiceWorker.js
|--package-lock.json
|--package.json
|--README.md

The CLI installs all the necessary dependencies, such as Babel, to transpile ES6 code to ES5, thus enabling you to leverage the latest JavaScript features. It also creates a build pipeline configuration with the help of webpack. Post-installation, no additional configuration is required to start or build the app. As noted in the preceding output, you can start the app using the npm start command and build a production-ready app using npm build.

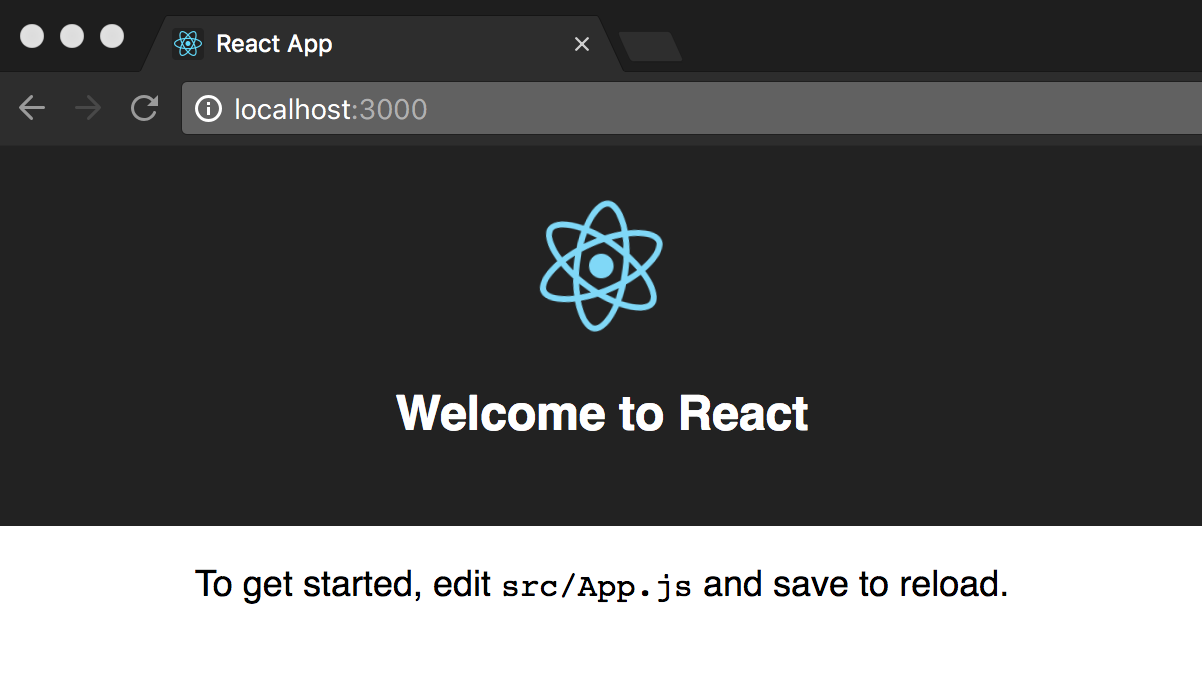
On running npm start, the application is compiled and will open a browser window with a Welcome to React message displayed, as shown here:

In the index.js file, the ReactDOM reference is used to render the application's root component as follows:

ReactDOM.render(<App />, document.getElementById('root'));

The <App> component marks the beginning of the tree that will get rendered when the application starts.

Adding the React-Router library

Now that we have our sample application up and running, let's add React-Router library as a dependency using npm:

npm install --save react-router-dom

This command will download and add react-router-dom to the /node_modules directory. The package.json file now includes this as a dependency:

"dependencies": {
"react": "^16.4.0",
"react-dom": "^16.4.0",
"react-router-dom": "^4.3.0",
"react-scripts": "1.1.4"
}
At the time of writing this book, version 4.3.0 of react-router-dom was available. You can try the alpha and beta builds by mentioning react-router-dom@next when including the library using npm.

Defining application routes

The react-router-dom package includes a <BrowserRouter> component, which is used as a wrapper before adding routes in the application. To use React-Router in the React Native application, the react-router-native package is used. This will be discussed in detail in later chapters. The <BrowserRouter> component is an implementation of the router interface that makes use of HTML5's history API to keep the UI in sync with the URL path.

The first step is to wrap the application's root component with <BrowserRouter>, as shown here:

import { BrowserRouter } from 'react-router-dom';

ReactDOM.render(
<BrowserRouter>
<App />
</BrowserRouter>,
document.getElementById('root')
);

Wrapping your application inside <BrowserRouter> will create an instance of history for our <App> component, giving all of its child components access to props from the native browser history API. This allows components to match against URL paths and render the appropriate page component.

History is a JavaScript library that lets you manage history stack navigation and helps in persisting state between sessions.

Routing in React-Router isn't actually routing—it's conditional rendering of components based on the pattern that matches with the current URL path. To define a route, we need two pieces of information: the URL path to match with and the component to render. Let's create two components, HomeComponent and DashboardComponent, that render at /home and /dashboard respectively.

In src/components/home/home.component.js:

import React from 'react';

export const HomeComponent = () => (
<div>
Inside Home route
</div>
);

And in src/components/dashboard/dashboard.component.js:

import React from 'react';

export const DashboardComponent = () => (
<div className="dashboard">
Inside Dashboard route
</div>
);

The import statement is required since we are returning JSX from the preceding components.

The next step is to define a route using the Route component (from 'react-router-dom'). The Route component accepts several props, but for the purpose of this example, we will use path and component.

In App.js:

class App extends Component {
render() {
return (
<div className="container">
<Route
path="/home"
component={HomeComponent}
/>
<Route
path="/dashboard"
component={DashboardComponent}
/>
</div>
);
}
}

export default App;

Here, we're defining routes within the 'render' method of the <App> component. Each <Route> component has a path prop, which mentions the URL path to match, and a component prop, mentioning the component to render once the path matches the URL.

In the preceding example, the component was created without extending React's component class. If a component, created by extending React's component class, is provided as a value to the component prop, then the component's lifecycle methods, componentWillMount and componentWillUnmount, are called every time that <Route> renders the component.

When you run the app (npm start) and visit localhost:3000/home, HomeComponent is rendered and the message Inside Home Component is displayed. Similarly, DashboardComponent is rendered when you visit localhost:3000/dashboard.

<BrowserRouter> creates a History object, which it uses to keep track of the current location and re-render the site whenever it changes. <BrowserRouter> makes the History object available to its descendent child components through React's context. A Route component that does not have <BrowserRouter> as its parent will fail to work.

Also, it's a requirement that <BrowserRouter> has only one child element. In the following snippet, <BrowserRouter> is given two child elements:

<BrowserRouter>
<Route
path="/home"
component={HomeComponent} />
<Route
path="/dashboard"
component={DashboardComponent} />
</BrowserRouter>

The preceding code will result in an error, such as A <Router> may have only one child element. To resolve this, you could either move these routes into a component and provide the component reference, or wrap the <Route> components in the preceding snippet inside another element, such as div or React Fragment.

A React fragment is used to group a list of children without adding extra nodes to the DOM. A fragment is used when the component returns multiple elements.

Apart from BrowserRouter, there are other types of routers in the React-Router library: HashRouter, MemoryRouter, and StaticRouter. These are discussed in later chapters.