-
Book Overview & Buying

-
Table Of Contents

Professional JavaScript
By :
Professional JavaScript
By:
Overview of this book
In depth knowledge of JavaScript makes it easier to learn a variety of other frameworks, including React, Angular, and related tools and libraries. This book is designed to help you cover the core JavaScript concepts you need to build modern applications.
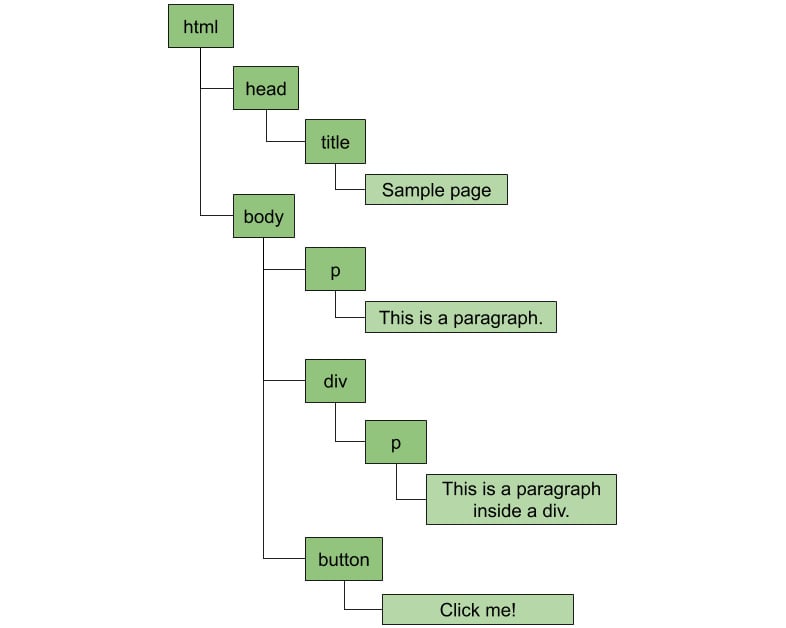
You'll start by learning how to represent an HTML document in the Document Object Model (DOM). Then, you'll combine your knowledge of the DOM and Node.js to create a web scraper for practical situations. As you read through further lessons, you'll create a Node.js-based RESTful API using the Express library for Node.js. You'll also understand how modular designs can be used for better reusability and collaboration with multiple developers on a single project. Later lessons will guide you through building unit tests, which ensure that the core functionality of your program is not affected over time. The book will also demonstrate how constructors, async/await, and events can load your applications quickly and efficiently. Finally, you'll gain useful insights into functional programming concepts such as immutability, pure functions, and higher-order functions.
By the end of this book, you'll have the skills you need to tackle any real-world JavaScript development problem using a modern JavaScript approach, both for the client and server sides.
Table of Contents (12 chapters)
Preface

 Free Chapter
1. JavaScript, HTML, and the DOM
2. Node.js and npm
3. Node.js APIs and Web Scraping
4. RESTful APIs with Node.js
5. Modular JavaScript
6. Code Quality
7. Advanced JavaScript
8. Asynchronous Programming
9. Event-Driven Programming and Built-In Modules
10. Functional Programming with JavaScript
Appendix