When importing an old project that was created via the Vue-CLI, it is possible to automatically add Vuex through the vue ui interface without any effort at all. We will learn how to add the Vuex library to the old project, so we can continue developing the recipe.
In the following steps, we will add the Vuex with the vue ui interface:
- In the project folder, open the vue ui by executing the following command on Terminal (macOS or Linux) or Command Prompt/PowerShell (Windows):
> vue ui
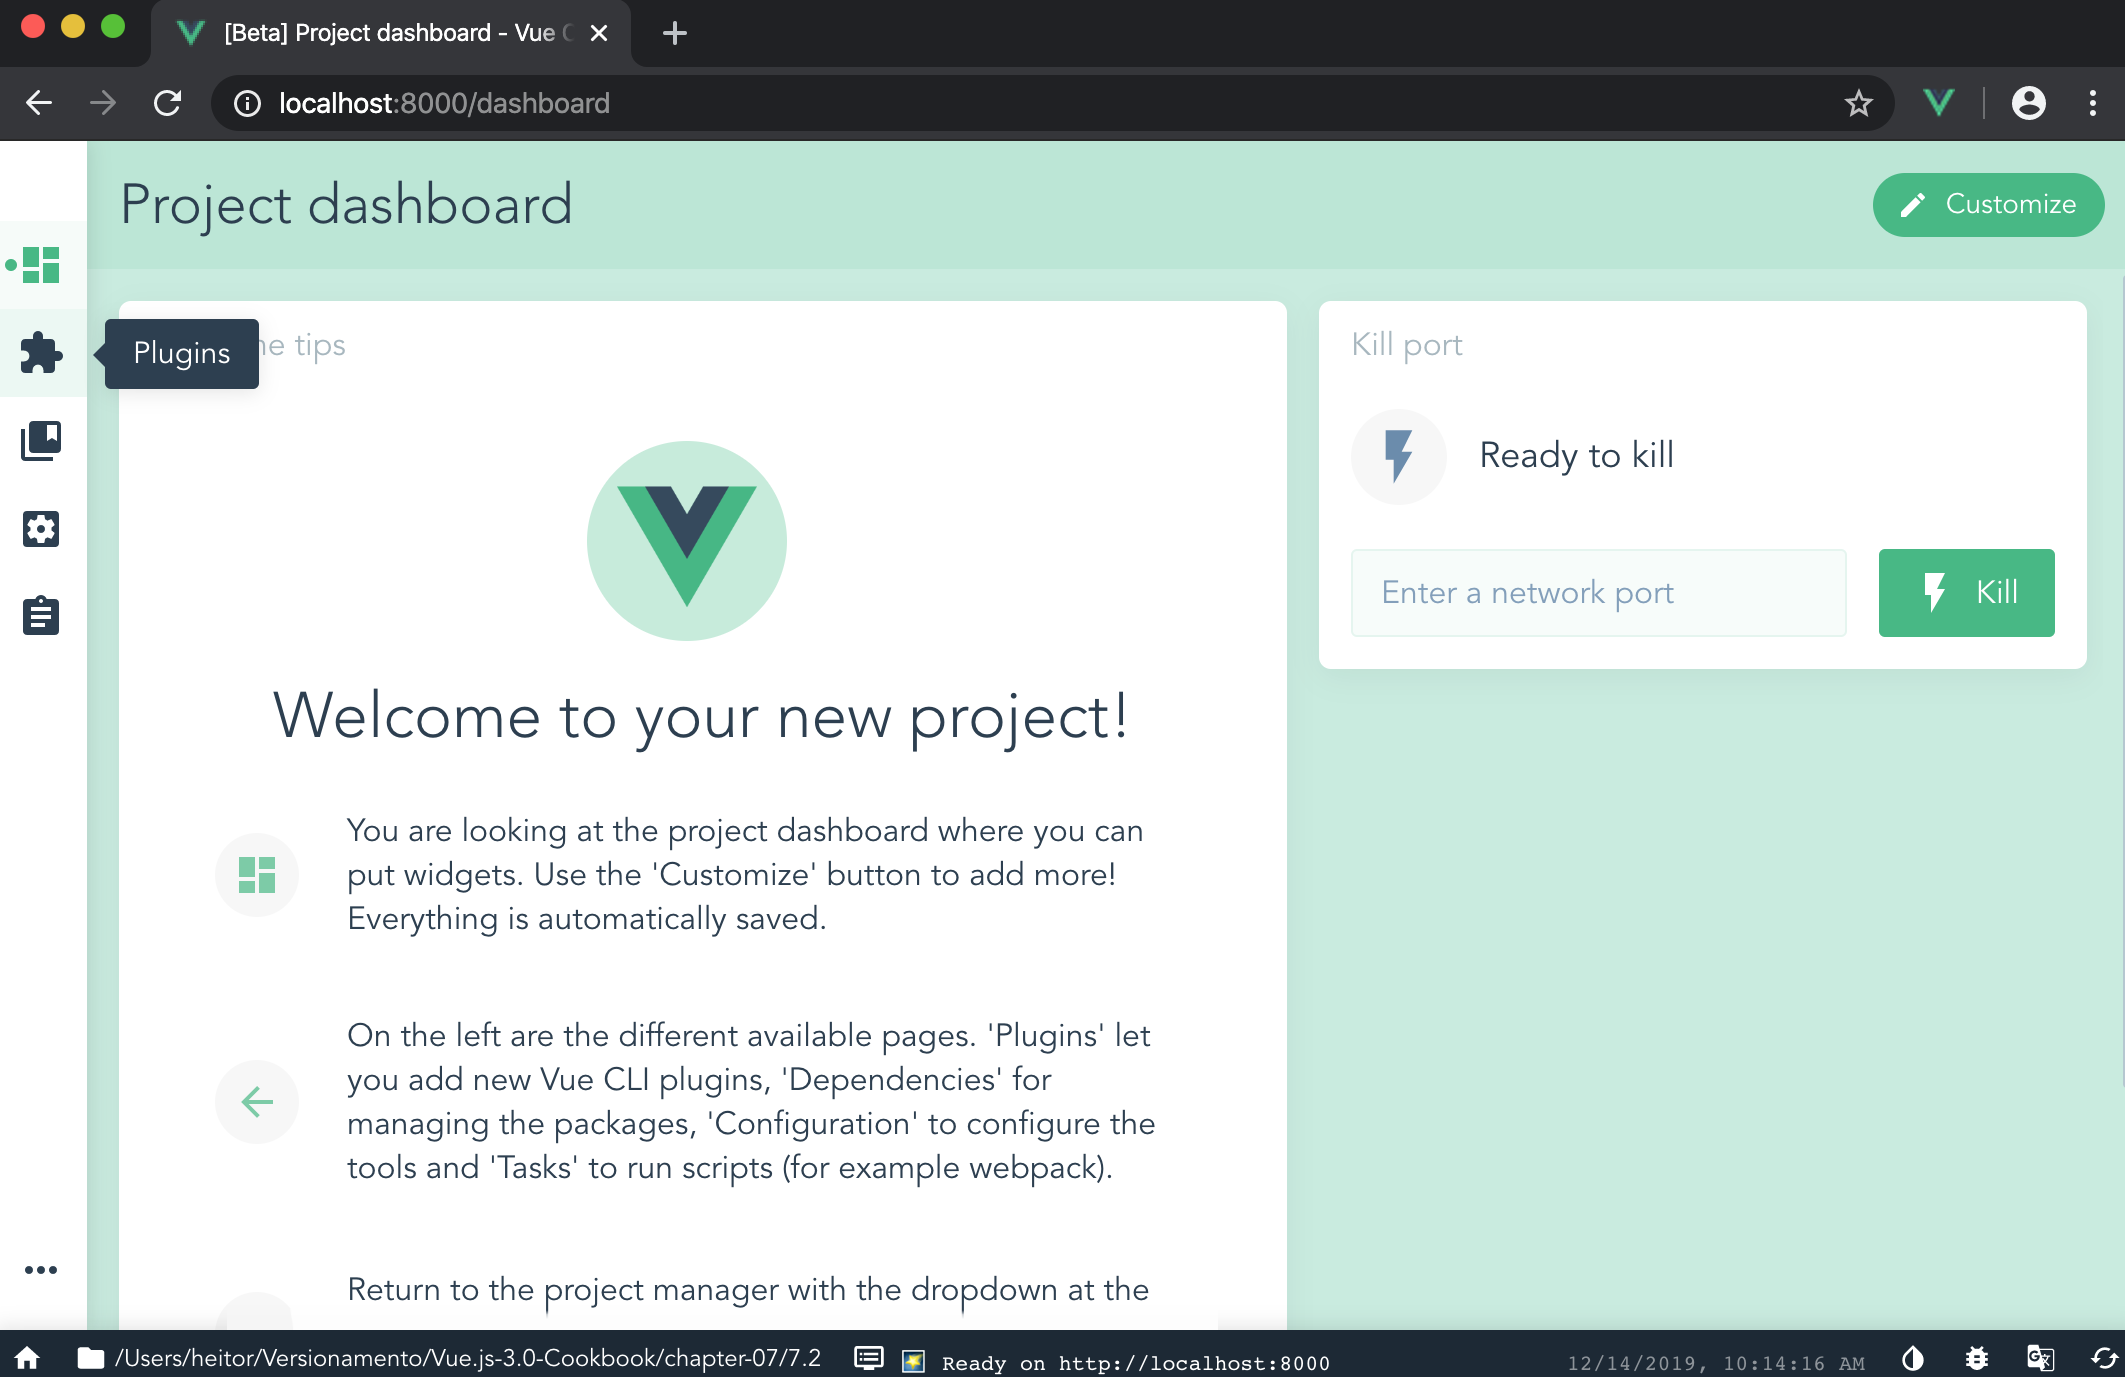
- Select the correct project that you are working on. In the right sidebar, click on the Plugins menu icon:

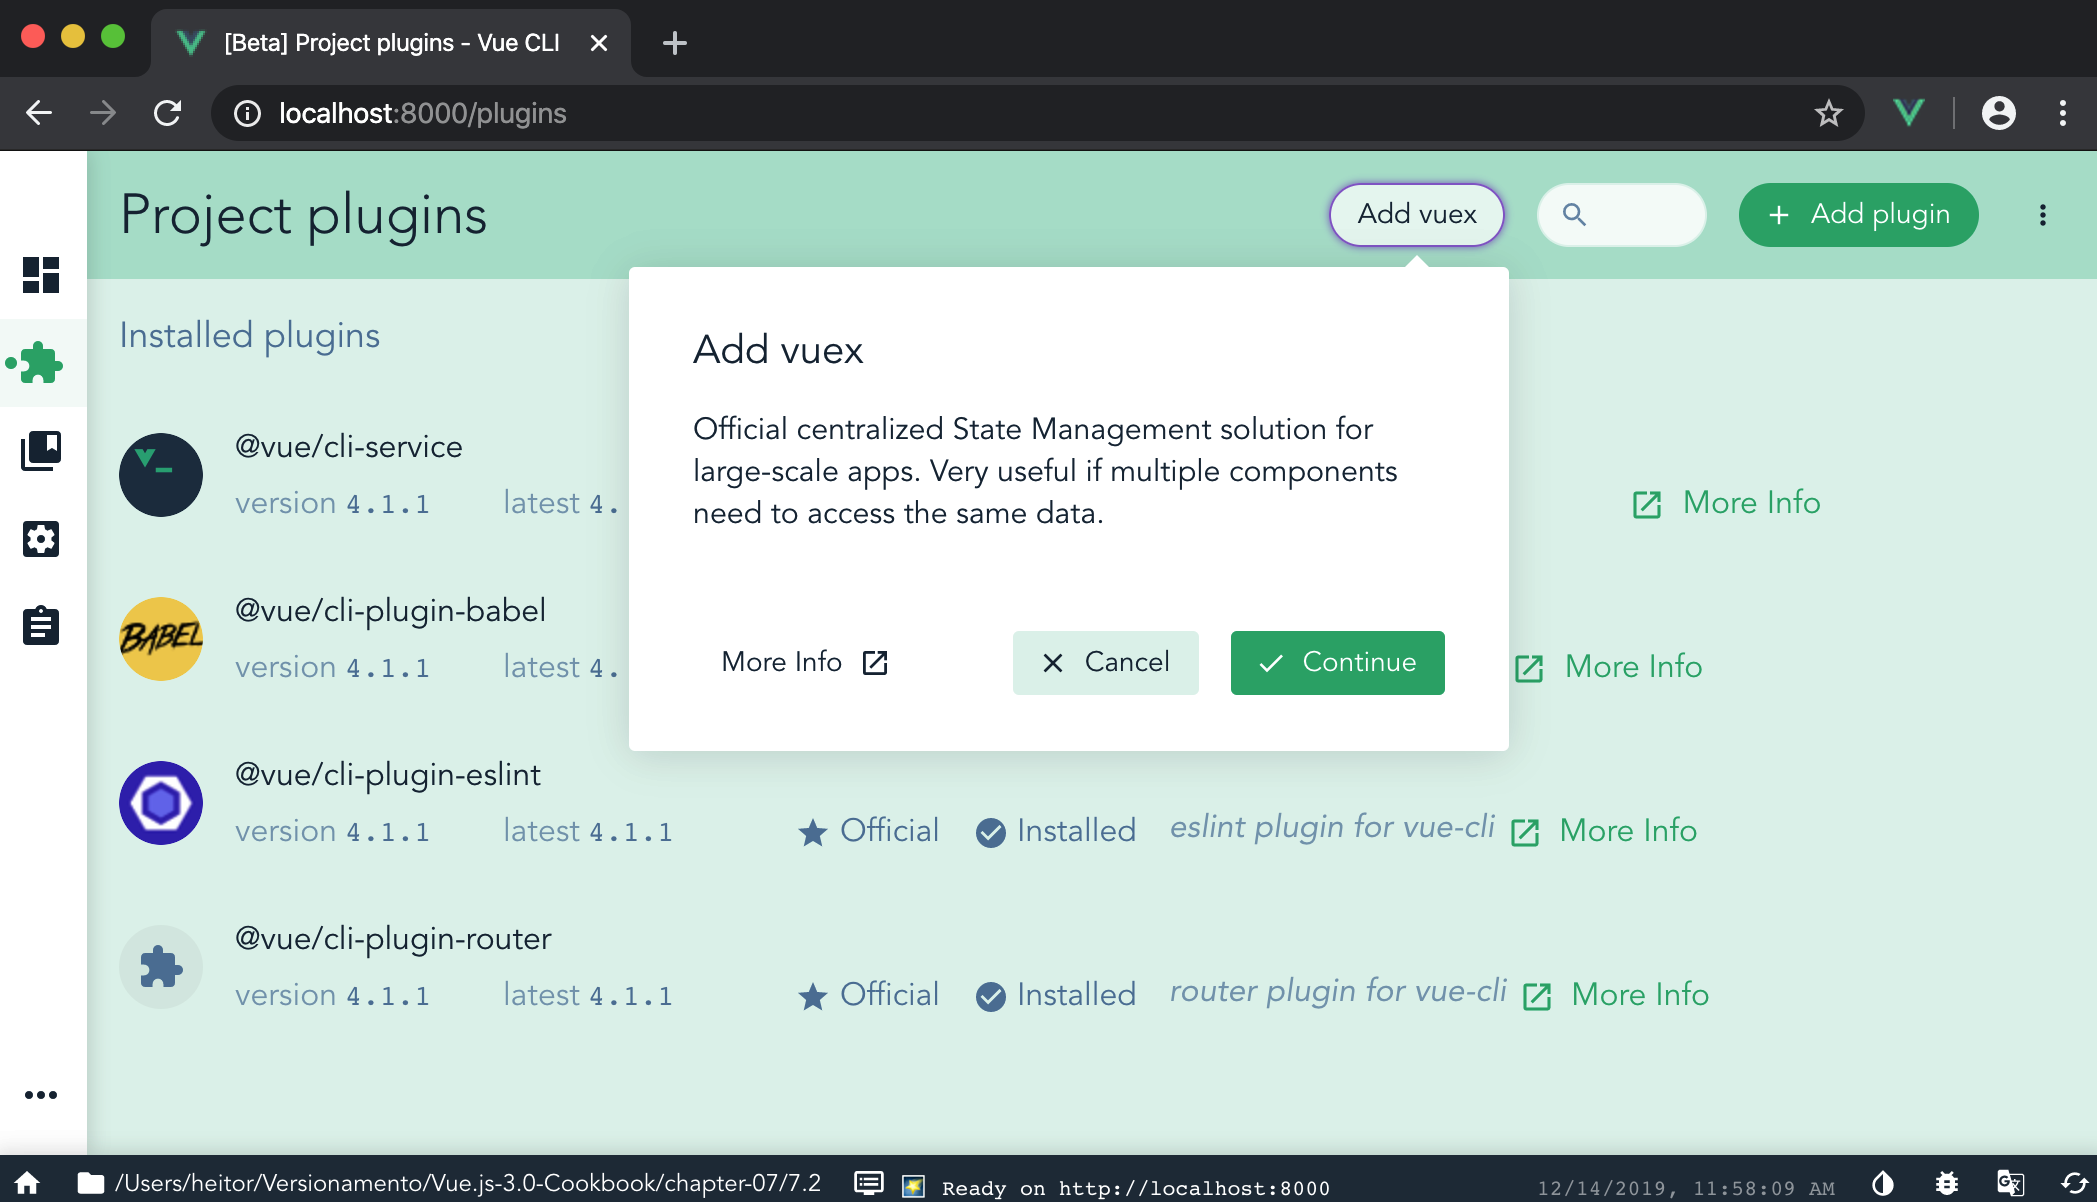
- On the plugins page, on the top bar, click on the Add vuex button. This will trigger a pop-up modal, then click on the Continue button to finish the installation of Vuex on the application:

- Adding the Vuex to our application will change the structure of the application. First, we will notice that there is a new folder called store in the src folder, and in the main...


