-
Book Overview & Buying
-
Table Of Contents

Flash with Drupal
By :
Flash with Drupal
By:
Overview of this book
Due to its power and expandability, Drupal has become one of the most popular open source content management systems. At the same time, Flash has been adopted for its ability to create beautiful and dynamic web applications. By combining these technologies, you can create Flash applications that are both visually stunning and rich in content.
This book is an in depth discussion and tutorial on how to integrate Flash applications with Drupal CMS. It will describe the best techniques and practices for integrating Flash technology with the power and flexibility of Drupal by building real-life Flash applications.
Within this book, you will learn how to build Flash applications that show text from within Drupal and also present images, music, and video within a single Flash application. You will also be able to take advantage of the expandable fields and content filtering provided from the CCK and Views modules to add flexibility and power to your Flash applications. Finally, you will learn how to add your own custom functionality to Drupal and then utilize that from within your Flash applications leaving you with a world of possibilities.
This book starts out with a simple introduction to Flash and Drupal technology where you will create a simple Flash application and then embed that within Drupal. From there, each subsequent chapter builds on the previous chapters tackling a new and challenging task.
For each new task, you will take a step-by-step approach to building a real-life application that utilizes the feature introduced within that chapter. You will also explore alternative design approaches that will eliminate the current design challenges that developers face when building Flash-driven Drupal sites; and all this while staying true to the Object Oriented Principles that govern the foundation of the ActionScript 3 language. By the end of this book, you will be able to apply all the lessons learned from this book to any other use case you may encounter.
Table of Contents (17 chapters)
Flash with Drupal

Credits
About the Author
About the Reviewer
Preface
 Free Chapter
Flash with Drupal
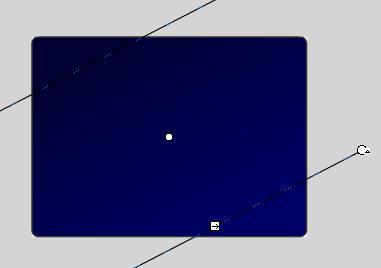
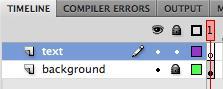
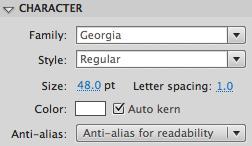
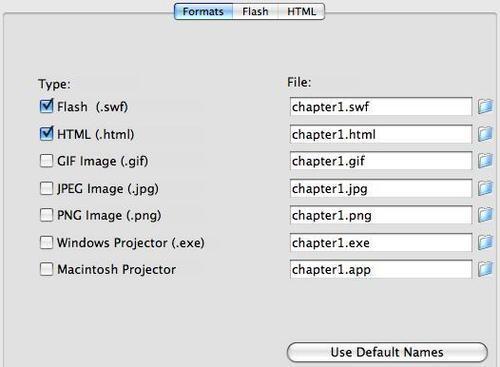
Building a "Hello World" Application
Flash and CCK
Drupal Images in Flash
Drupal Audio in Flash
Flash Video in Drupal
The Hybrid Approach Part 1: Componentization
The Hybrid Approach Part 2: Remote Control
Flash with Drupal Views
User Management
Adding Content to Drupal
Build a Drupal Five-star Voter in Flash