Book Image

Magento PHP Developer's Guide

By : Allan MacGregor
Book Image

Magento PHP Developer's Guide

By: Allan MacGregor

Overview of this book

<p>Magento has completely reshaped the face of e-commerce since its launch in 2008. Its revolutionary focus on object oriented and EAV design patterns has allowed it to become the preferred tool for developers and retailers alike.</p> <p>"Magento PHP Developer’s Guide" is a complete reference to Magento, allowing developers to understand its fundamental concepts, and get them developing and testing Magento code.</p> <p>The book starts by building the reader’s knowledge of Magento, providing them with the information, techniques, and tools that they require to start their first Magento development.</p> <p>After building this knowledge, the book will then look at more advanced topics: how to test your code, how to extend the frontend and backend, and deploying and distributing custom modules.</p> <p>"Magento PHP Developer’s Guide" will help you navigate your way around your first Magento developments, helping you to avoid all of the most common headaches new developers face when first getting started.</p>
Table of Contents (16 chapters)
Magento PHP Developer's Guide
Credits
About the Author
About the Reviewers
www.PacktPub.com
Preface
Index

Publishing our extension


Finally, in order to make our extension available, we have to create an extension profile in Magento Connect. To create an extension profile, perform the following steps:

  1. Log in to magentocommerce.com.

  2. Click on the My Account link.

  3. Click on the Developers link in the left-hand side navigation.

  4. Click on Add new extension.

The Add new extension window looks something like the following screenshot:

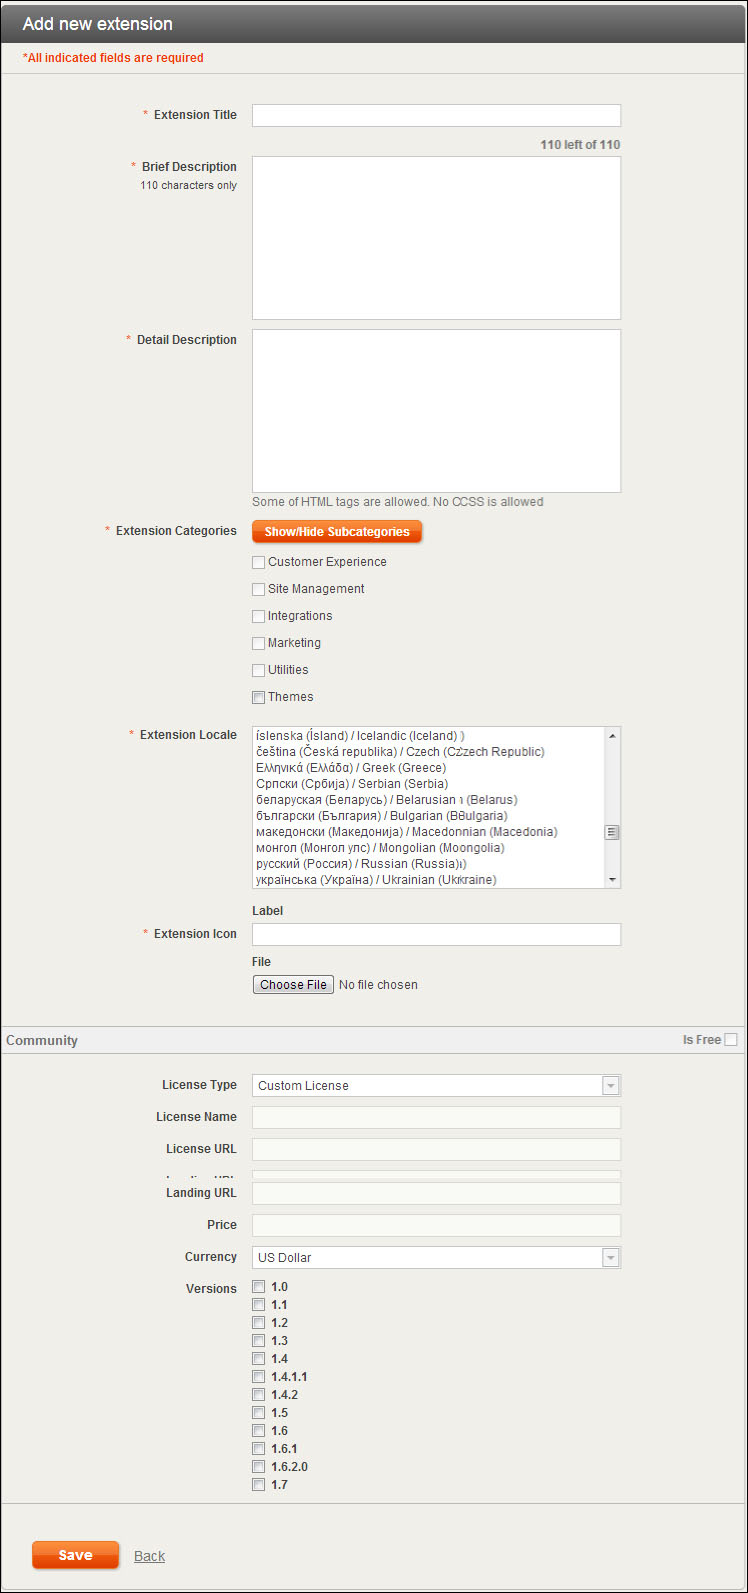
It is important to note that the Extension Title field must be the exact name you used while generating the package.

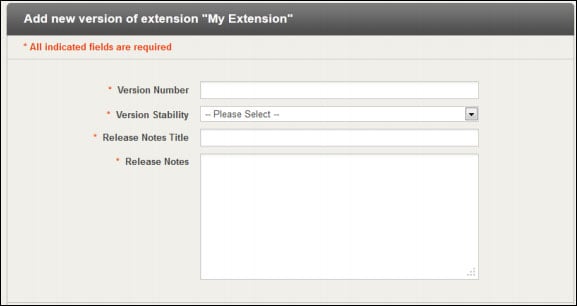
Once the extension profile has been created, we can proceed to upload our extension package; all the fields should match the ones specified during the extension packaging process.

Finally, once we are done, we can click on the Submit for Approval button. An extension can have the following status:

  • Submitted: This means the extension was submitted for review

  • Not Approved: This means there was a problem with the extension, and you will also receive an e-mail explaining...