
For some Middle Eastern languages such as Hebrew and Arabic, script is primarily written from right to left. The W3C have written a standard that defines the text direction through attributes and CSS properties, but it is hard to make sense of these when the text direction is formatted from left to right. Masonry has a built-in option for such situations.
In the code bundle for this book, open the 5-rtl.html file in your preferred text editor to follow along.
We will start off with the existing CSS properties that we have already defined for the Masonry elements. In this recipe, we have the choice of using either the
dir="rtl"attribute on the Masonry container, or of defining the text direction in CSS. I think CSS is easier, so let us define it here.<style> .masonry-item { background: #FFA500; direction: rtl; float: left; margin: 5px; padding: 5px; width: 130px; } </style>Build the standard Masonry HTML structure and add as many Masonry items as necessary.
<div>
   <button id="add-html">Add HTML</button>
</div>
<div id='masonry-container'>
   <div class='masonry-item '>
      Maecenas faucibus mollis interdum.
   </div>
   <div class='masonry-item '>
      Maecenas faucibus mollis interdum. Donec sed odio dui. Nullam quis risus eget urna mollis ornare vel eu leo. Vestibulum id ligula porta felis euismod semper.
   </div>
   <div class='masonry-item '>
      Nullam quis risus eget urna mollis ornare vel eu leo. Cras justo odio, dapibus ac facilisis in, egestas eget quam. Aenean eu leo quam. Pellentesque ornare sem lacinia quam venenatis vestibulum.
   </div>
</div>
Using the standard Masonry methods, insert the following script; make sure to set the
isRTLoption totrue:<script> $(function(){ $('#masonry-container').masonry({ itemSelector : '.masonry-item', isRTL: true }); }); </script>
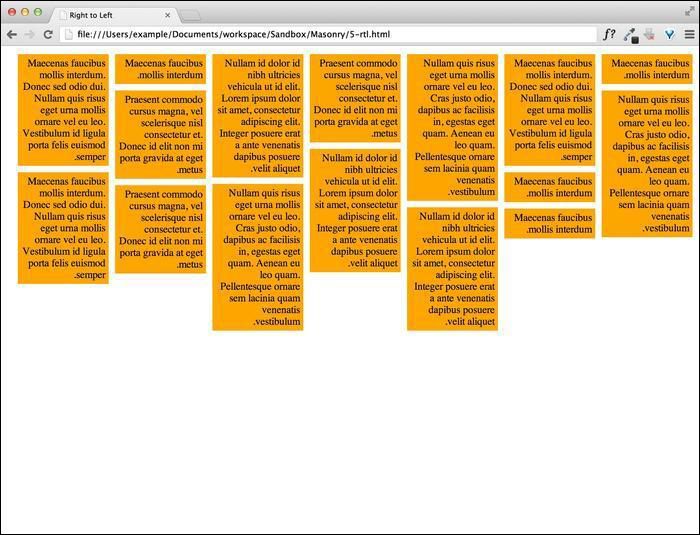
This is a fairly simple process. By default, when Masonry is setting the positions of items in the layout, it always starts from the left. For example, the inline style will look like this: style="position: absolute; top: 0px; left: 300px;". When isRTL is set to true, the positioning starts from the right instead. This is a very simple technique, yet very effective. The result should look like the following screenshot: