

E-mailing a customer once their order has been shipped is a vital stage of any Magento website. The default new shipment template however, can sometimes be (to say the least) a little uninspiring. Within Magento lie the tools to edit our transactional e-mails to however we wish.
To be able to edit our transactional e-mails, a good working knowledge of HTML and CSS is required.
Navigate to System | Transactional Emails and click on Add New Template.
Under Load default template, select New Shipment from the Template drop-down menu and click on Load Template.
In the Template Name field enter
Custom New Shipment.Change the Template Subject field so that it reads as follows:
Your Order # {{var order.increment_id}} has been shipped! (Shipment # {{var shipment.increment_id}})Edit the HTML within the Template Content field so that the first line reads Thank you for your order from {{var store.getFrontendName()}}, we can confirm that your order has now been shipped. To save our new template click on Save Template:

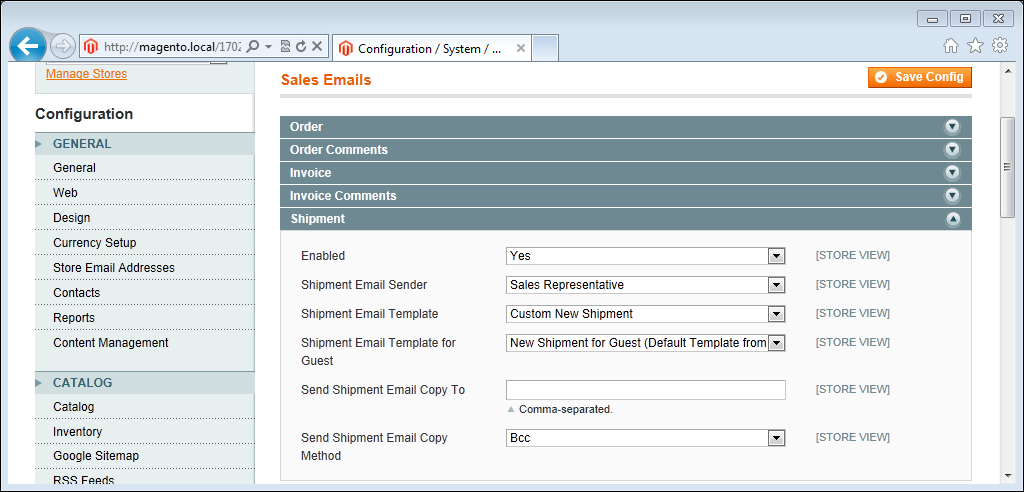
To assign our new template to our sales e-mail process we first need to navigate to System | Configuration | Sales Emails making sure that our scope is set to Default Config and then within the Shipment tab change the Shipment Email Template field to Custom New Shipment, finally click on Save Config:
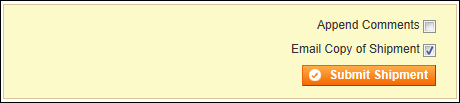
Once we have created our new shipment template and assigned it as our new shipment e-mail template, all new shipments that are created for our order will receive our new e-mail when the Email Copy of Shipment has been ticked when submitting the shipment:
Our changes will take effect immediately as we can see from this screenshot of the e-mail received:

Transactional e-mails can be edited for all sorts of automatic e-mails, from invoices to credit memos. One thing to make sure of though is that we cater for guests as well as customers.
For each of the main transactional templates there is a guest and a non-guest version, so depending on our store setup (whether we allow guest to checkout) we need to ensure both templates have been edited.
There is more information on editing transactional e-mail templates at the following URL:
An important thing to consider when editing the transactional templates is to ensure that all data remains consistent throughout the website. Magento provides variables for us to do this. Within our custom e-mail template there is a button called Insert Variable…, clicking this will bring up a list of variables that can be used inside the e-mail.
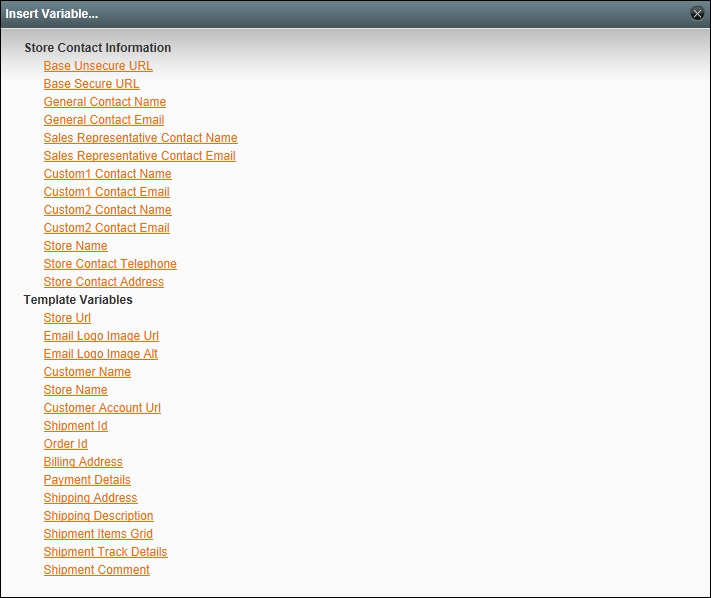
The value of each of these variables is contained within the store configuration, so as long as the variable is used on all templates we do not need to worry when changing, for example our Store Contact Telephone information.