
If you are not convinced with Vagrant and prefer to use a Mac to develop PHP applications, this is your section. Installing all the necessary tools on a Mac might be a bit tricky, depending on the version of your OS X. At the time of writing this book, Oracle has not released a MySQL client that you can use via the command line that works with El Capitan, so we will describe how to install another tool that can do a similar job.
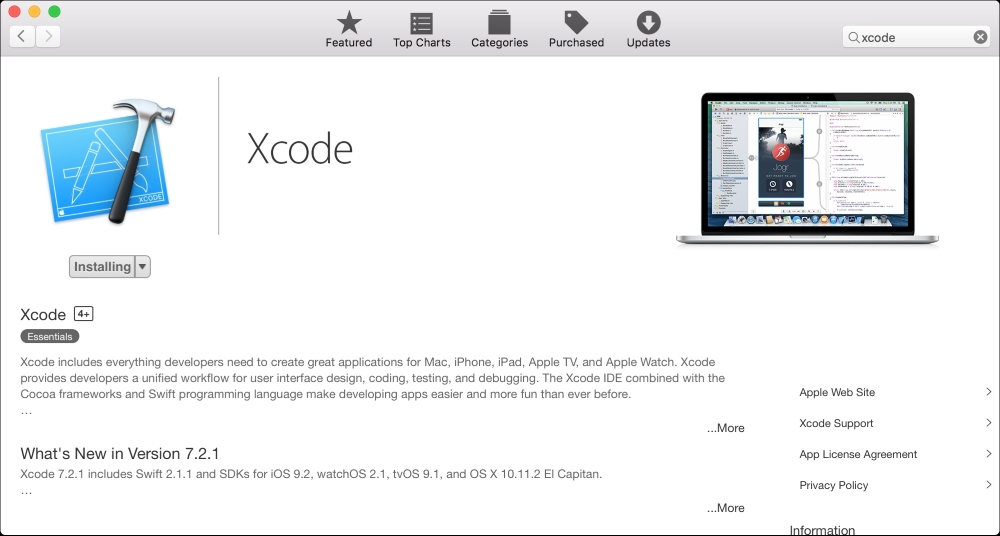
If it is the first time you are using a Mac to develop applications of any kind, you will have to start by installing Xcode. You can find this application for free on the App Store:
Another indispensable tool for Mac users is Brew. This is the package manager for OS X and will help us install PHP with almost no pain. To install it, run the following command on your command line:
$ ruby -e "$(curl -fsSL https://raw.githubusercontent.com/Homebrew/install/master/install)"
If you already have Brew installed, you can make sure that everything works fine by running these two commands:
$ brew doctor
$ brew update
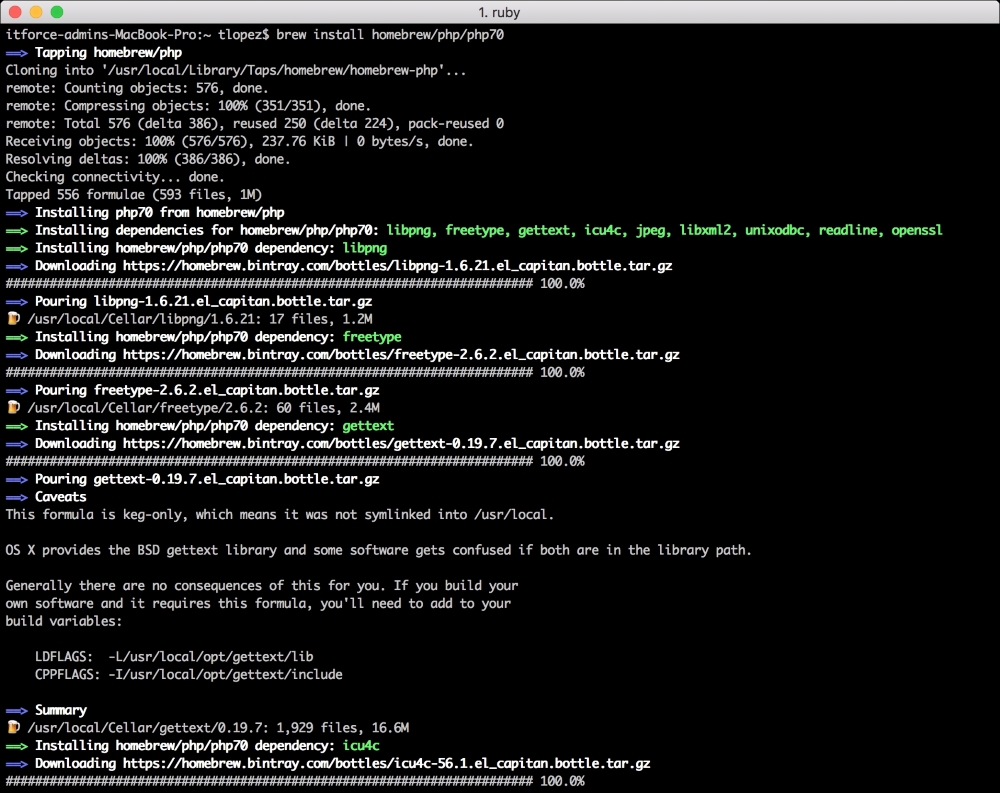
It is time to install PHP 7 using Brew. To do so, you will just need to run one command, as follows:
$ brew install homebrew/php/php70
The result should be as shown in the following screenshot:
Make sure to add the binary to your PATH environment variable by executing this command:
$ export PATH="$(brew --prefix homebrew/php/php70)/bin:$PATH"
You can check whether your installation was successful by asking which version of PHP your system is using with the $ php –v command.
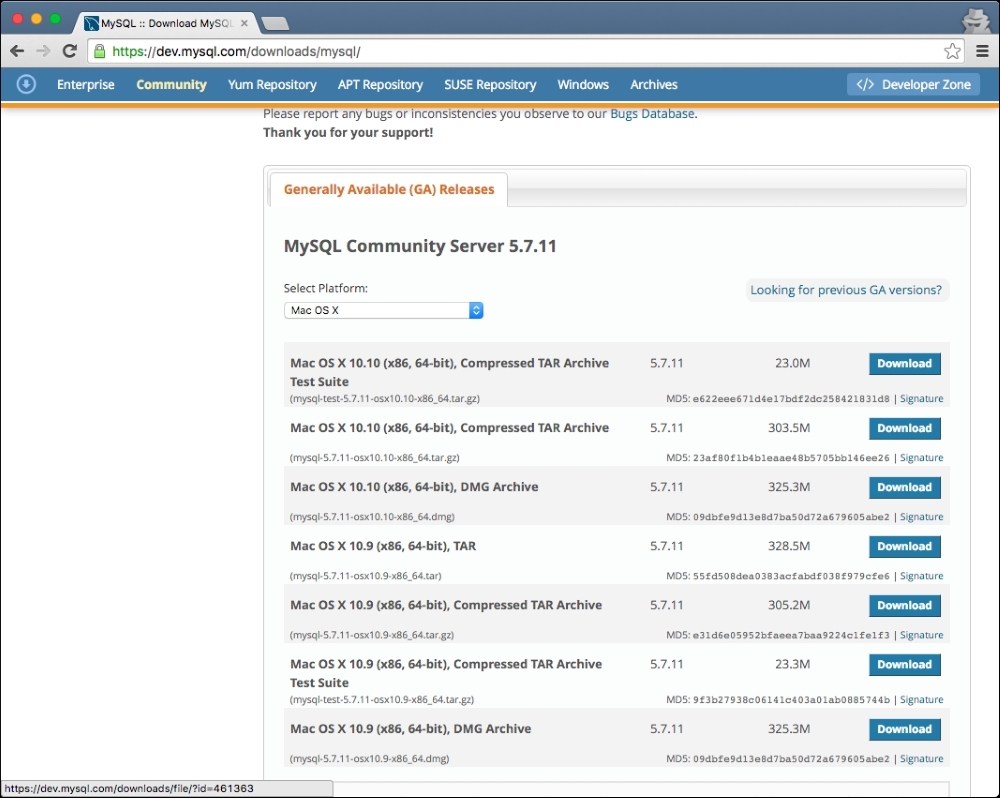
As pointed out at the beginning of this section, MySQL is a tricky one for Mac users. You need to download the MySQL server installer and MySQL Workbench as the client. The MySQL server installer can be found at https://dev.mysql.com/downloads/mysql/. You should find a list of different options, as shown here:
The easiest way to go is to download DMG Archive. You will be asked to log in with your Oracle account; you can create one if you do not have any. After this, the download will start. As with any DMG package, just double-click on it and go through the options—in this case, just click on Next all the time. Be careful because at the end of the process, you will be prompted with a message similar to this:
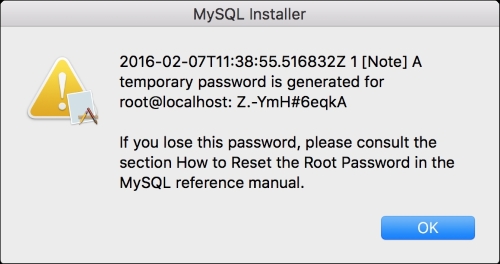
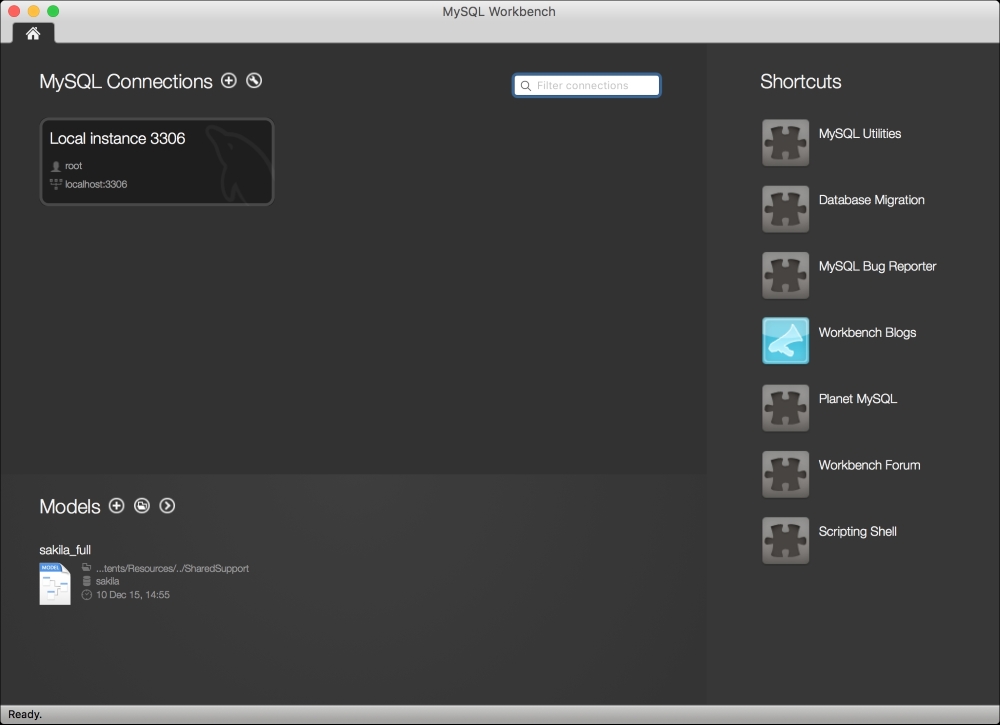
Make a note of it; otherwise, you will have to reset the root password. The next one is MySQL Workbench, which you can find at http://www.mysql.com/products/workbench/. The process is the same; you will be asked to log in, and then you will get a DMG file. Click on Next until the end of the installation wizard. Once done, you can launch the application; it should look similar to this:
In order to install Nginx, we will use Brew, as we did with PHP. The command is the following:
$ brew install nginx
If you want to make Nginx start every time you start your laptop, run the following command:
$ ln -sfv /usr/local/opt/nginx/*.plist ~/Library/LaunchAgents
If you have to change the configuration of Nginx, you will find the file in /usr/local/etc/nginx/nginx.conf. You can change things, such as the port that Nginx is listening to or the root directory where your code is (the default directory is /usr/local/Cellar/nginx/1.8.1/html/). Remember to restart Nginx to apply the changes with the sudo nginx command.