

Now we have a solid basis to move forward with the project. At this time, we will add some template files for login, sign-up, and profile screens.
The expected result for these pages will be as shown in the following screenshot:

Login screen

Sign-up screen
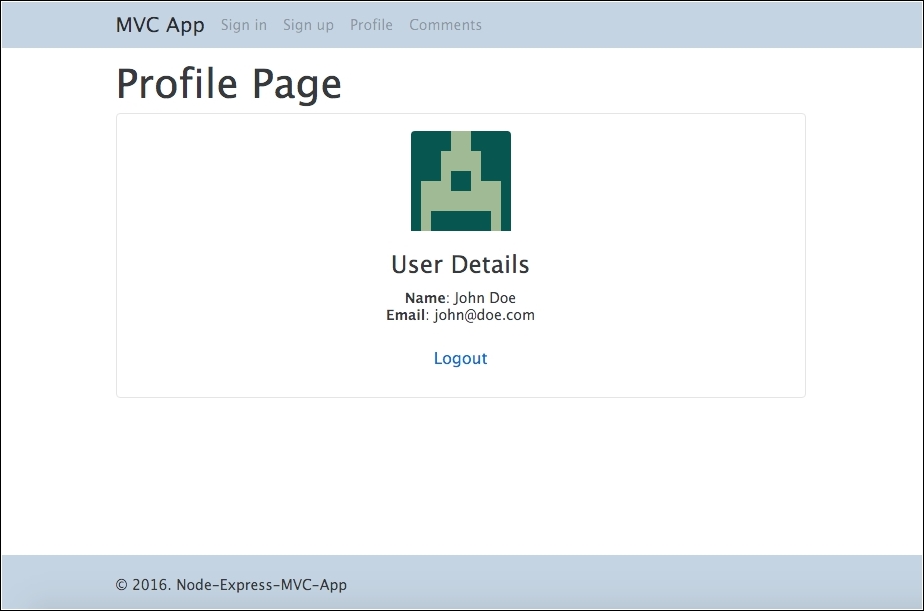
Profile screen
Now let's create the login template. Create a new file called
login.ejsin theviewsfolder and place the following code:<!DOCTYPE html> <html> <head> <title><%= title %></title> <% include ../partials/stylesheet %> </head> <body> <% include ../partials/header %> <div class="container"> <% if (message.length > 0) { %> <div class="alert alert-warning alert-dismissible fade in" role="alert"> <button type="button" class="close" data-dismiss= "alert" aria-label="Close"> <span aria-hidden="true">×</span> </button> <strong>Ohps!</strong> <%= message %>. </div> <% } %> <form class="form-signin" action="/login" method="post"> <h2 class="form-signin-heading">Welcome sign in</h2> <label for="inputEmail" class="sr-only">Email address</label> <input type="email" id="email" name="email" class="form- control" placeholder="Email address" required=""> <label for="inputPassword" class="sr-only">Password</label> <input type="password" id="password" name="password" class="form-control" placeholder="Password" required=""> <button class="btn btn-lg btn-primary btn-block" type="submit">Sign in</button> <br> <p>Don't have an account? <a href="/signup">Signup</a> ,it's free.</p> </form> </div> <% include ../partials/footer %> <% include ../partials/javascript %> </body> </html>Add the login route to
routes/index.jsafter the index route:/* GET login page. */ router.get('/login', function(req, res, next) { res.render('login', { title: 'Login Page', message: req.flash('loginMessage') }); });Let's add the
signuptemplate to theviews/pagesfolder.Create a new file in
views/pagesand save assignup.ejs; then add the following code:<!DOCTYPE html> <html> <head> <title><%= title %></title> <% include ../partials/stylesheet %> </head> <body> <% include ../partials/header %> <div class="container"> <% if (message.length > 0) { %> <div class="alert alert-warning" role="alert"> <strong>Warning!</strong> <%= message %>. </div> <% } %> <form class="form-signin" action="/signup" method="post"> <h2 class="form-signin-heading">Please signup</h2> <label for="inputName" class="sr-only">Name address</label> <input type="text" id="name" name="name" class="form-control" placeholder="Name" required=""> <label for="inputEmail" class="sr-only">Email address</label> <input type="email" id="email" name="email" class= "form-control" placeholder="Email address" required=""> <label for="inputPassword" class="sr-only">Password</label> <input type="password" id="password" name="password" class="form-control" placeholder="Password" required=""> <button class="btn btn-lg btn-primary btn-block" type="submit">Sign in</button> <br> <p>Don't have an account? <a href="/signup">Signup</a> ,it's free.</p> </form> </div> <% include ../partials/footer %> <% include ../partials/javascript %> </body> </html>Now we need to add the route for the sign-up view. Open
routes/index.jsand add the following code right afterlogin route:/* GET Signup */ router.get('/signup', function(req, res) { res.render('signup', { title: 'Signup Page', message:req.flash('signupMessage') }); });Next, we will add the template to the
profilepage and the route to this page. Create a file calledprofile.ejsinside theview/pagesfolder and add this code:<!DOCTYPE html> <html> <head> <title><%= title %></title> <% include ../partials/stylesheet %> </head> <body> <% include ../partials/header %> <div class="container"> <h1><%= title %></h1> <div class="datails"> <div class="card text-xs-center"> <br> <img class="card-img-top" src="<%= avatar %>" alt="Card image cap"> <div class="card-block"> <h4 class="card-title">User Details</h4> <p class="card-text"> <strong>Name</strong>: <%= user.local.name %><br> <strong>Email</strong>: <%= user.local.email %> </p> <a href="/logout" class="btn btn-default">Logout</a> </div> </div> </div> </div> <% include ../partials/footer %> <% include ../partials/javascript %> </body> </html>Now we need to add the route for the profile view; open
routes/index.jsand add the following code right after thesignuproute:/* GET Profile page. */ router.get('/profile', function(req, res, next) { res.render('profile', { title: 'Profile Page', user : req.user, avatar: gravatar.url(req.user.email , {s: '100', r: 'x', d: 'retro'}, true) }); });