

As discussed in previous chapters, Grunt helps in automating tedious non-functional activities such as minimization, compilation, unit testing, and linting much more easily. The Grunt ecosystem is growing rapidly, with plugins for your routine tasks including Sass, LESS, RequireJS, and CoffeeScript.
We can install grunt-cli using the following command:
npm -g install yo grunt-cliIf we are using NetBeans IDE for web application development in an Oracle JET project, the build command is essential in making the application complete, although key source files are available in the src folder. Grunt tasks, including build and serve, can be enabled within NetBeans IDE to resolve this problem by performing the following steps:
- Right-click on the project's root folder and select
Build(as follows), which gives us the option:

- The preceding
Buildoption prompts you to configure project actions to call Grunt tasks from within NetBeans IDE. ChooseYesto open the configuration window:
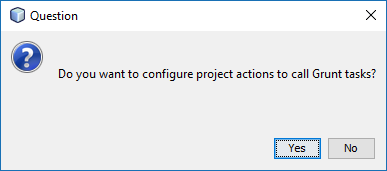
- Select all the...