

If you still don't have a Google account but you really want to continue with this tutorial, then well, I am really sorry, but you will have to create one this time. Firebase is a service powered by Google, so a Google account is more than required.
If you already have your account, log in to the Firebase console:
https://console.firebase.google.com/.
Let's start by creating your new Firebase project. Click on the Add project button. Give it a meaningful name and select your country from the list. Once you are done, click on CREATE PROJECT:

Create a project using the Firebase console
You're done! Now, you can use the Firebase-powered backend for your application, including a real-time database, authentication mechanism, hosting, and analytics.
Let's add the first database entry. Click on the Database tab on the left-hand side. You should see a dashboard similar to this one:
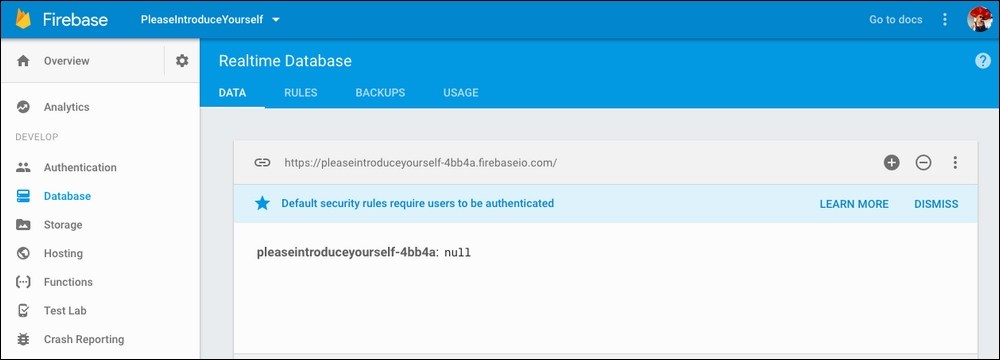
Real-time database on the Firebase project dashboard
Let's add an entry called messages and the very first message as a key-value object containing title, text, and timestamp by clicking on the plus sign:

Adding the first value to the Firebase real-time database
Click on the ADD button, and your database will persist the added entry. Add as many message entries as you wish or leave it like that. Now, for the sake of simplicity, let's change the rules of our database and make it readable and writable for everyone. Beware! Never do this for something in production for public usage. In this example, we just want to test some Firebase features, but your future applications must be smart and secure. Click on the RULES tab and type the following rules in the opened text area:
{
  "rules": {
    ".read": true,
    ".write": true
  }
}
So, your RULES tab now looks like this:

Rules tab after changing the rules
Click on the PUBLISH button and you're done! Now, it would be interesting to start using this data within our application. However, first we have to create this application and connect it to our project.