

The default generated Angular application does not have any styling.
Angular does not dictate anything in terms of style, so in your own projects, you can use any other style framework, such as Angular Material, Foundation, Semantic UI, or one of the many others. Alternatively, you can create your own styles from scratch to get a unique look and feel.
For this book, though, we will stick to Bootstrap 4 and Font Awesome as they're widely used and they provide a great style with a minimal amount of added code.
As discussed in the previous section, our application comes with a global style sheet, src/styles.css.
In this style sheet, we will use the @import command to link to Bootstrap and Font Awesome. This will instruct Angular to download the files and apply the style to your application globally.
Open the
src/styles.cssfile in your editor.Add the following two lines at the end of the file:
@import url('https://maxcdn.bootstrapcdn.com/bootstrap/4.0.0-beta.2/css/bootstrap.min.css');
@import url('https://maxcdn.bootstrapcdn.com/font-awesome/4.7.0/css/font-awesome.min.css');
Refresh the app in the browser.
As you can see, the font of the application was updated to a sans-serif font as that's the Bootstrap default:

Open the
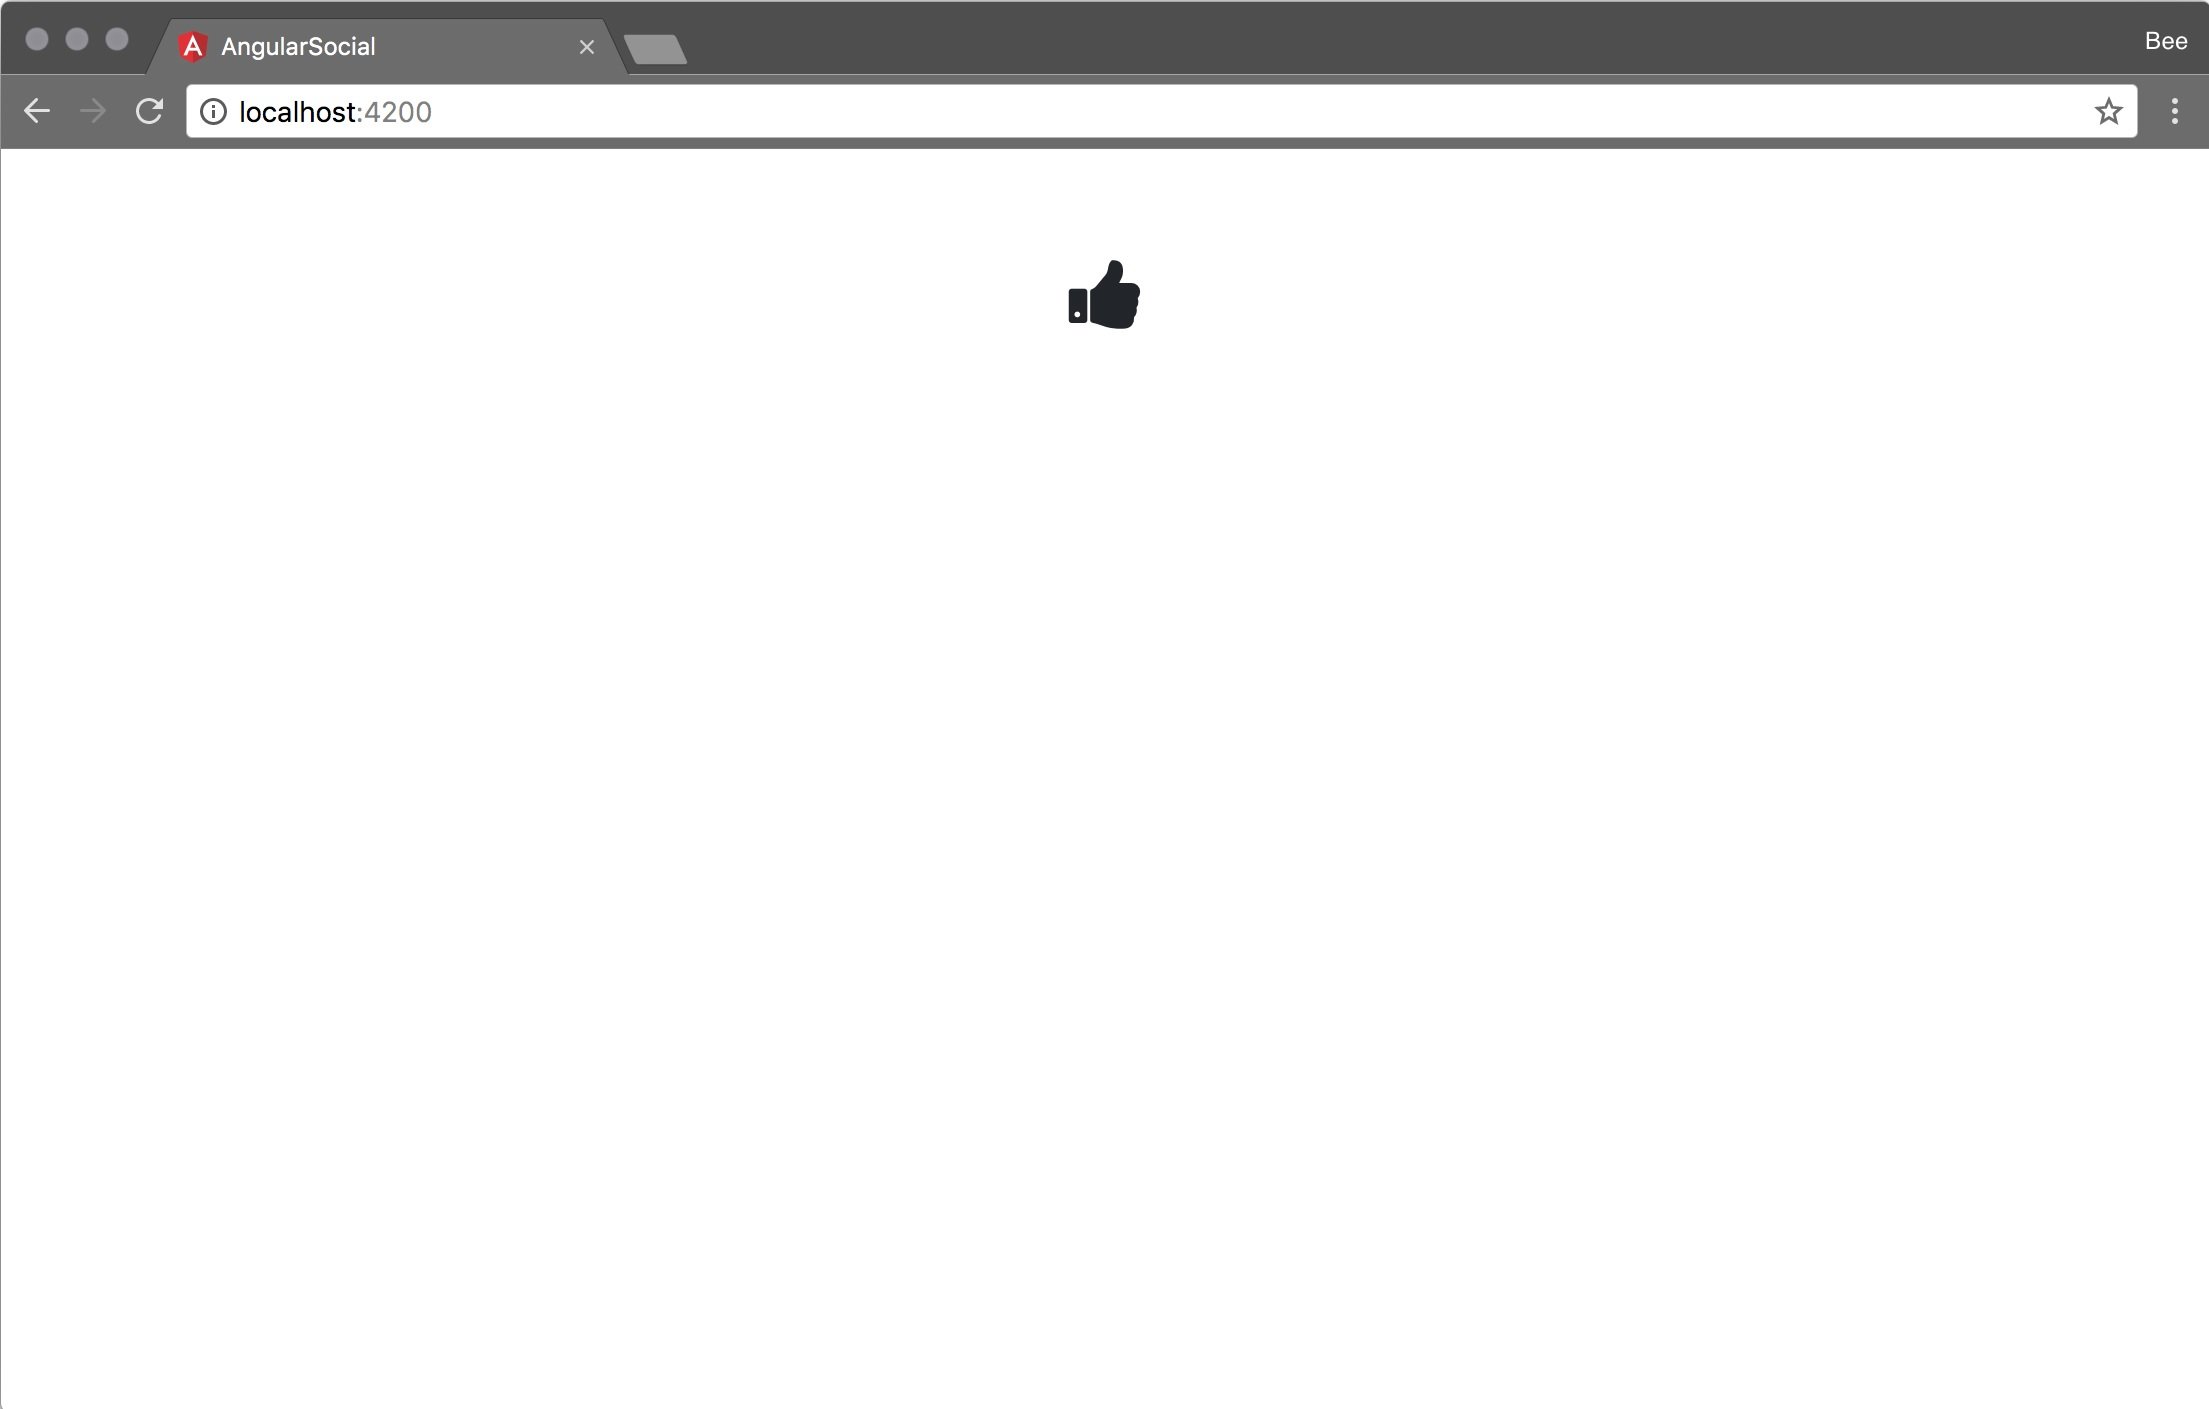
src/app.component.htmlfile and replace the content with the following:<h1 class="text-center mt-5"> <i class="fa fa-thumbs-up"></i> </h1>
When the app refreshes in your browser, you should see the thumbs up icon in the center of the page:
Note
For a list of all available icons, you can refer to the Font Awesome Cheatsheet (http://fontawesome.io/cheatsheet/).
For an overview of all available Bootstrap styles, you can refer to the Bootstrap 4 documentation (https://getbootstrap.com/docs/4.0/getting-started/introduction/).
In this section, we have set up Bootstrap and Font Awesome as the style frameworks for our app. This will enable us to have a different font style than what Angular CLI provides. We can now start creating our UI components.