Book Image

Vue CLI 3 Quick Start Guide

By : Ajdin Imsirovic
Book Image

Vue CLI 3 Quick Start Guide

By: Ajdin Imsirovic

Overview of this book

The sprawling landscape of various tools in JavaScript web development is becoming overwhelming. This book will show you how Vue CLI 3 can help you take back control of the tool chain. To that end, we'll begin by configuring webpack, utilizing HMR, and using single-file .vue components. We'll also use SCSS, ECMAScript, and TypeScript. We'll unit test with Jest and perform E2E testing with Cypress. This book will show you how to configure Vue CLI as your default way of building Vue projects. You'll discover the reasons behind using webpack, babel, eslint, and other modern JavaScript toolchain technologies. You'll learn about the inner workings of each through the lens of Vue CLI 3. We'll explore the extendibility of Vue CLI with the built-in settings, and various core and third-party plugins. Vue CLI helps you work with Vue components, routers, directives, and services in the Vue ecosystem. While learning these concepts, you'll examine the evolution of JavaScript. You'll learn about use of npm, IIFEs, modules in JavaScript, Common.js modules, task runners, npm scripts, module bundlers, and webpack. You'll get familiar with the reasons why Vue CLI 3 is set up the way it is. You'll also learn to perform linting with ESLint and Prettier. Towards the end, we'll introduce you to working with styles and SCSS. Finally, we'll show you how to deploy your very own Vue project on Github Pages.
Table of Contents (10 chapters)

Using ESLint and Prettier together in a Vue CLI 3 UI project

If you are starting a project from scratch in Vue CLI 3 UI, you can also make ESLint and Prettier work together. Here's how:

  1. We begin by pointing our Vue UI to a root folder as follows. It's important to verify you are not inside an existing Vue app:
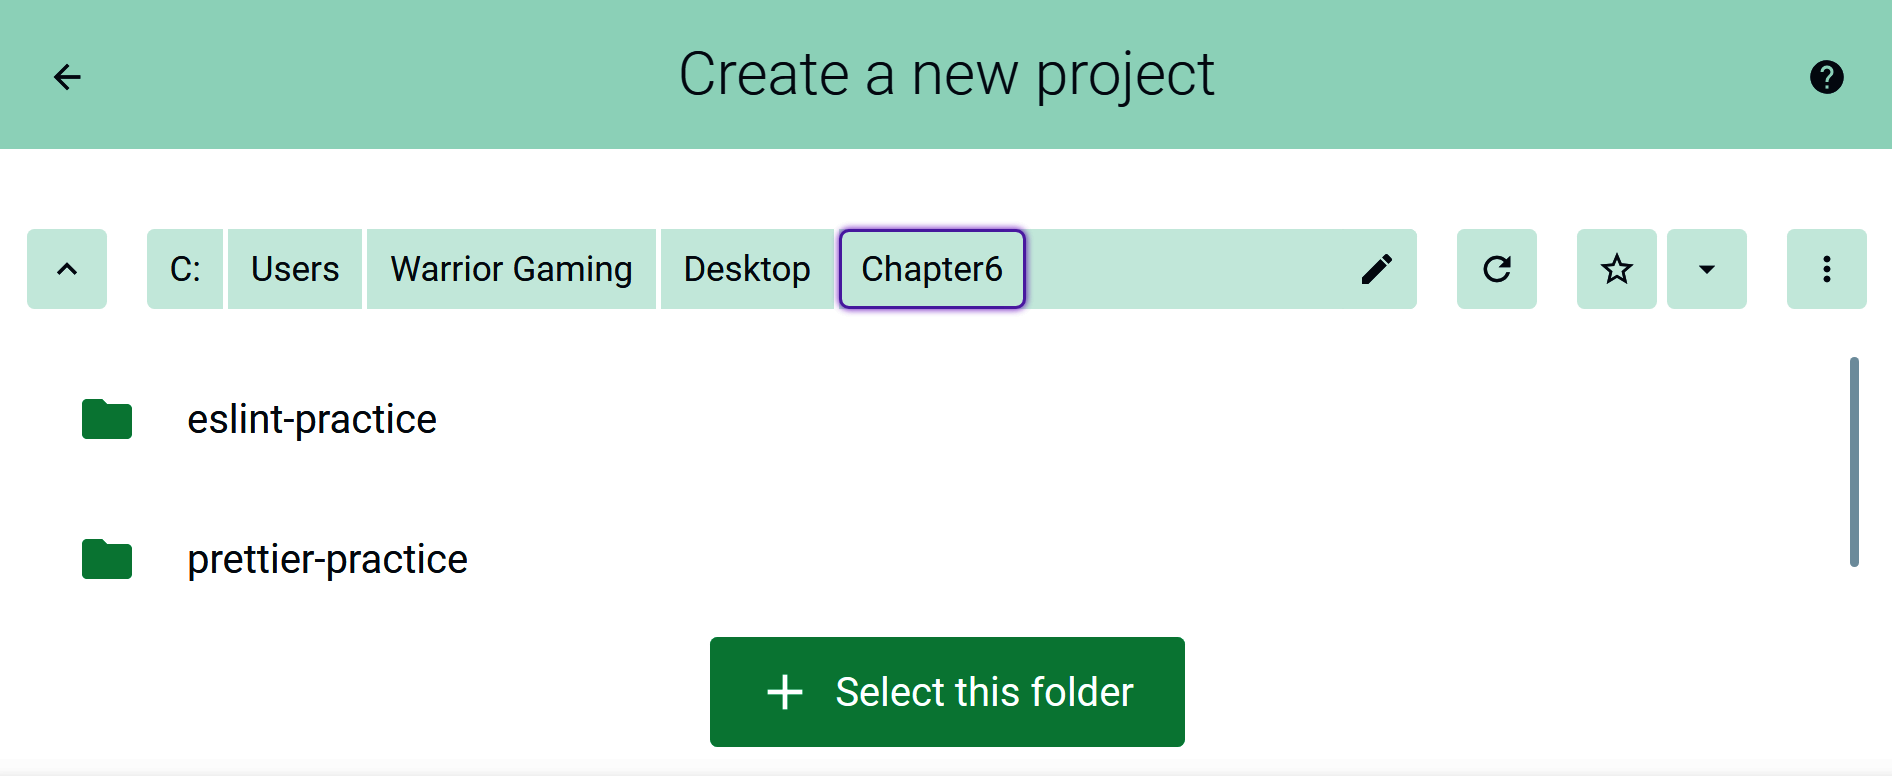
Figure 6.3: Creating a new project in Vue CLI 3 UI
  1. Next, we'll click the Select this folder button to proceed, and then choose our project's name as follows:
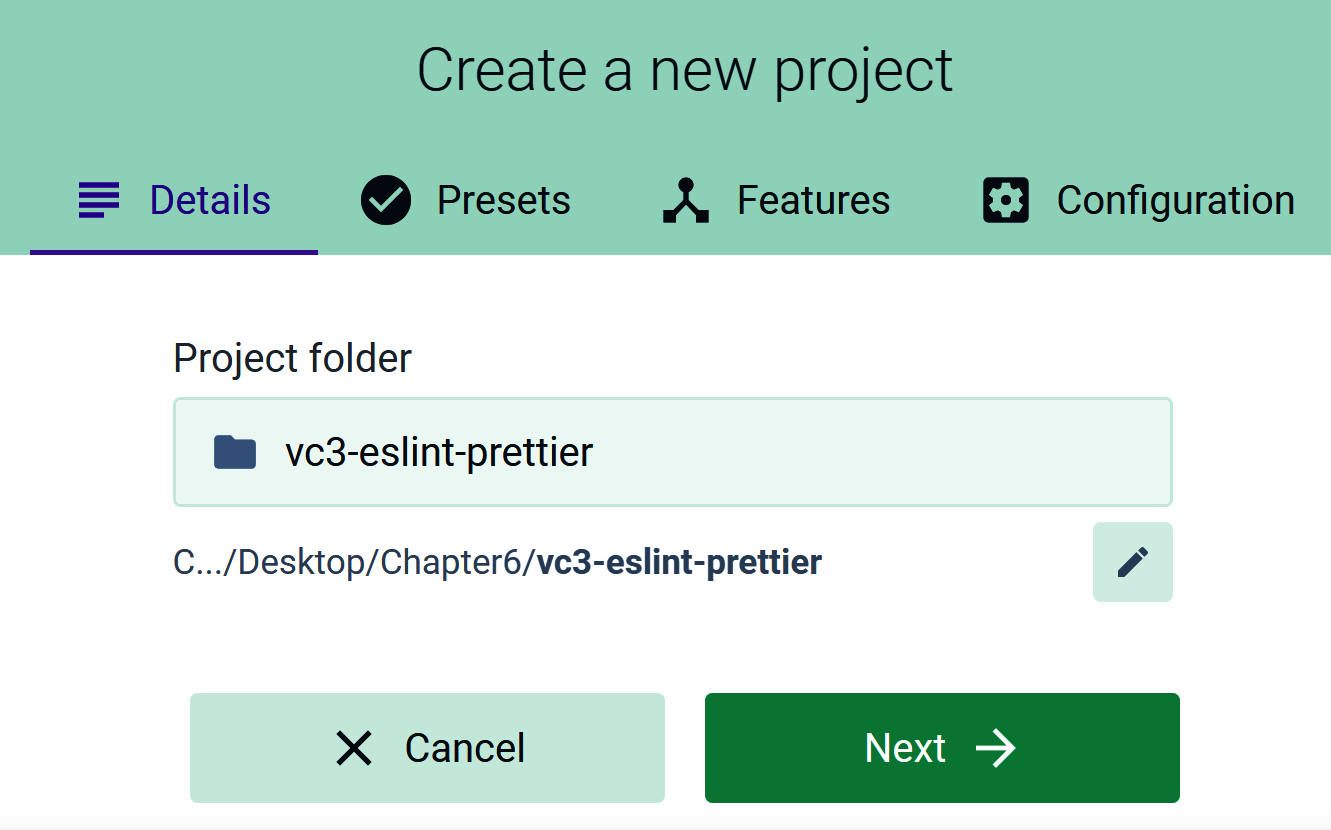
Figure 6.4: Adding project name
  1. Next, we'll click the Select this folder button to proceed, and then choose our project's name. Click Next to proceed and you'll be taken to the Presets tab.
  2. Once you're on the Presets tab, select the Manual preset to manually select features, then click Next again. On the Features tab, the Babel and linter / formatter features should already...