

In this section, we will create a new React application from scratch, starting with setting up a new project with webpack and Babel. Setting up a React project from scratch will help you understand the basic needs of a project, which is crucial for any project you create.
Creating a movie list application
Setting up a project
Every time you create a new React project, the first step is to create a new directory on your local machine. Since you're going to build a movie list application in this chapter, name this directory movieList.
Inside this new directory, execute the following from the command line:
npm init -y
Running this command will create a package.json file with the bare minimum of information that npm needs about this project. By adding the -y flag to the command, we can automatically skip the steps where we set information such as the name, version, and description. After running this command, the following package.json file will be created:
{
    "name": "movieList",
    "version": "1.0.0",
    "description": "",
    "main": "index.js",
    "scripts": {
        "test": "echo \"Error: no test specified\" && exit 1"
    },
    "keywords": [],
    "author": "",
    "license": "ISC"
}
As you can see, there are no dependencies for npm packages since we haven't installed any yet. The first package we'll be installing and configuring is webpack, which we'll do in the next part of this section.
Setting up webpack
To run the React application, we need to install webpack 4 (while writing this book, the current stable version of webpack is version 4) and webpack CLI as devDependencies. Let's get started:
- Install these packages from npm using the following command:
npm install --save-dev webpack webpack-cli
- The next step is to include these packages inside the package.json file and have them run in our start and build scripts. To do this, add the start and build scripts to our package.json file:
{
    "name": "movieList",
    "version": "1.0.0",
    "description": "",
    "main": "index.js",
    "scripts": {
_       "start": "webpack --mode development",
+       "build": "webpack --mode production",
        "test": "echo \"Error: no test specified\" && exit 1"
    },
    "keywords": [],
    "author": "",
    "license": "ISC"
}
"+" symbol is used for the line which is added and "-" symbol is used for the line which is removed in the code.
The preceding configuration will add start and build scripts to our application using webpack. As you can see, npm start will run webpack in development mode and npm build will run webpack in production mode. The biggest difference is that running webpack in production mode will minimize our code to decrease the size of the project bundle.
- Create a new directory inside our project called src and create a new file inside this directory called index.js. Later on, we'll configure webpack so that this file is the starting point for our application. Place the following line of code inside this newly created file:
console.log("movieList")
If we now run the npm start or npm build command at our command line, webpack will start up and create a new directory called dist. Inside this directory, there will be a file called main.js that includes our project code. Depending on whether we've run webpack in development or production mode, the code will be minimized in this file. You can check whether your code is working by running the following command:
node dist/main.js
This command runs the bundled version of our application and should return the movieList string as output in the command line. Now, we're able to run JavaScript code from the command line. In the next part of this section, we will learn how to configure webpack so that it works with React.
Configuring webpack to work with React
Now that we've set up a basic development environment with webpack for a JavaScript application, we can start installing the packages we need in order to run any React application. These are react and react-dom, where the former is the generic core package for React and the latter provides an entry point to the browser's DOM and renders React. Let's get started:
- Install these packages by executing the following command in the command line:
npm install react react-dom
Merely installing the dependencies for React is not sufficient to run it since, by default, not every browser can read the format (such as ES2015+ or React) that your JavaScript code is written in. Therefore, we need to compile the JavaScript code into a readable format for every browser.
- For this, we'll use Babel and its related packages, which can be installed as devDependencies by running the following command:
npm install --save-dev @babel/core @babel/preset-env @babel/preset-react babel-loader
Next to the Babel core, we'll also install babel-loader, which is a helper so that Babel can run with webpack and two preset packages. These preset packages help determine which plugins will be used to compile our JavaScript code into a readable format for the browser (@babel/preset-env) and to compile React-specific code (@babel/preset-react).
With the packages for React and the correct compilers installed, the next step is to make them work with webpack so that they are used when we run our application.
- To do this, create a file called webpack.config.js in the root directory of the project. Inside this file, add the following code:
module.exports = {
    module: {
        rules: [
            {
                test: /\.js$/,
                exclude: /node_modules/,
                use: {
                    loader:'"babel-loader',
                },
            },
        ],
    },
}
The configuration in this file tells webpack to use babel-loader for every file that has the .js extension and excludes .js files in the node_modules directory for the Babel compiler. The actual settings for babel-loader are placed in a separate file, called .babelrc.
- We can also create the .babelrc file in the project's root directory and place the following code inside it, which configures babel-loader to use the @babel/preset-env and @babel/preset-react presets when it's compiling our code:
{
    "presets": [
        [
            "@babel/preset-env",
            {
                "targets": {
                    "node": "current"
                }
            }
        ],
        "@babel/react"
    ]
}
We can also declare the configuration for babel-loader directly inside the webpack.config.js file, but for better readability, we should place it in a separate .babelrc file. Also, the configuration for Babel can now be used by other tools that are unrelated to webpack.
The @babel/preset-env preset has options defined in it that make sure that the compiler uses the latest version of Node.js, so polyfills for features such as async/await will still be available. Now that we've set up webpack and Babel, we can run JavaScript and React from the command line. In the next part of this section, we'll create our first React code and make it run in the browser.
Rendering a React project
Now that we've set up React so that it works with Babel and webpack, we need to create an actual React component that can be compiled and run. Creating a new React project involves adding some new files to the project and making changes to the setup for webpack. Let's get started:
- Let's edit the index.js file that already exists in our src directory so that we can use react and react-dom:
import React from 'react';
import ReactDOM from 'react-dom';

const App = () => {
    return <h1>movieList</h1>;
};

ReactDOM.render(<App />, document.getElementById('root'));
As you can see, this file imports the react and react-dom packages, defines a simple component that returns an h1 element containing the name of your application, and has this component rendered with react-dom. The last line of code mounts the App component to an element with the root ID in your document, which is the entry point of the application.
- We can create this file by adding a new file called index.html to the src directory with the following code inside it:
<!DOCTYPE html>
<html lang="en">
<head>
    <meta charset="UTF-8">
    <meta name="viewport" content="width=device-width, initial-scale=1.0">
    <meta http-equiv="X-UA-Compatible" content="ie=edge">
    <title>movieList</title>
</head>
<body>
    <section id="root"></section>
</body>
</html>
This adds an HTML heading and body. Within the head tag is the title of our application and inside the body tag is a section with the id property root. This matches with the element we've mounted the App component to in the src/index.js file.
- The final step of rendering our React component is extending webpack so that it adds the minified bundle code to the body tags as scripts when running. Therefore, we should install the html-webpack-plugin package as a devDependency:
npm install --save-dev html-webpack-plugin
Add this new package to the webpack configuration in the webpack.config.js file:
const HtmlWebPackPlugin = require('html-webpack-plugin');

const htmlPlugin = new HtmlWebPackPlugin({
    template: './src/index.html',
    filename: './index.html',
});

module.exports = {
    module: {
        rules: [
            {
                test: /\.js$/,
                exclude: /node_modules/,
                use: {
                    loader: 'babel-loader',
                },
            },
        ],
    },
    plugins: [htmlPlugin],
};
In the configuration for html-webpack-plugin, we've set the entry point of the application as the index.html. file. That way, webpack knows where to add the bundle to the body tag.
We can also add the configuration of the plugin directly inside the exported configuration for webpack by replacing the htmlPlugin constant in the exported configuration. As our application grows in size, this may make the webpack configuration less readable, depending on our preferences.
Now, if we run npm start again, webpack will start in development mode and add the index.html file to the dist directory. Inside this file, we'll see that, inside your body tag, a new scripts tag has been inserted that directs us to our application bundle, that is, the dist/main.js file. If we open this file in the browser or run open dist/index.html from the command line, it will return the movieList result directly inside the browser. We can do the same when running the npm build command to start Webpack in production mode; the only difference is that our code will be minified.
This process can be speeded up by setting up a development server with webpack. We'll do this in the final part of this section.
Creating a development server
While working in development mode, every time we make changes to the files in our application, we need to rerun the npm start command. Since this is a bit tedious, we will install another package called webpack-dev-server. This package adds the option to force webpack to restart every time we make changes to our project files and manages our application files in memory instead of by building the dist directory. The webpack-dev-server package can also be installed with npm:
npm install --save-dev webpack-dev-server
Also, we need to edit the start script in the package.json file so that it uses webpack-dev-server instead of webpack directly when running the start script:
{
    "name": "movieList",
    "version": "1.0.0",
    "description": "",
    "main": "index.js",
    "scripts": {
-       "start": "webpack --mode development",
+       "start": "webpack-dev-server --mode development --open",
        "build": "webpack --mode production"
    },
    "keywords": [],
    "author": "",
    "license": "ISC"

    ...
}
The preceding configuration replaces webpack in the start scripts with webpack-dev-server, which runs webpack in development mode. This will create a local server that runs the application with the --open flag, which makes sure webpack is restarted every time an update is made to any of your project files.
To enable hot reloading, replace the --open flag with the --hot flag. This will only reload files that have been changed instead of the entire project.
Now, we've created the basic development environment for our React application, which you'll develop and structure further in the next section of this chapter.
Structuring a project
With the development environment set up, it's time to start creating the movie list application. First let's have a look at the current structure of the project, where two of the directories within our project's root directory are important:
- The first directory is called dist and is where the output from webpack's bundled version of your application can be found
- The second one is called src and includes the source code of our application:
movieList
|-- dist
    |-- index.html
    |-- main.js
|-- node_modules
|-- src
    |-- index.js
    |-- index.html
.babelrc
package.json
webpack.config.js
Another directory that can be found in the root directory of our project is called node_modules. This is where the source files for every package that we install using npm are placed. It is recommended you don't make any manual changes to files inside this directory.
In the following subsections, we will learn how to structure our React projects. This structure will be used in the rest of the chapters in this book as well.
Creating new components
The official documentation for React doesn't state any preferred approach regarding how to structure our React project. Although two common approaches are popular within the community: either structuring your files by feature or route or structuring them by file type.
The movie list application will use a hybrid approach, where files are structured by file type first and by feature second. In practice, this means that there will be two types of components: top-level components, which are called containers, and low-level components, which relate to these top-level components. Creating these components requires that we add the following files and code changes:
- The first step to achieve this structure is creating a new subdirectory of src called containers. Inside this directory, create a file called List.js. This will be the container for the list containing the movies and contains the following content:
import React, { Component } from 'react';

class List extends Component {
    render() {
        return <h1>movieList</h1>;
    }
};

export default List;
- This container should be included in the entry point of our application so that it's visible. Therefore, we need to include it in the index.js file, inside the src directory, and refer to it:
import React from 'react';
import ReactDOM from 'react-dom';
+ import List from './containers/List';

const App = () => {
-   return <h1>movieList</h1>;
+   return <List />;
};

ReactDOM.render(<App />, document.getElementById('root'));
- If we still have the development server running (if not, execute the npm start command again), we'll see that our application still returns the same result. Our application should have the following file structure:
movieList
|-- dist
    |-- index.html
    |-- main.js
|-- src
    |-- containers
        |-- List.js
    |-- index.js
    |-- index.html
.babelrc
package.json
webpack.config.js
- The next step is to add a component to the List container, which we'll use later to display information about a movie. This component will be called Card and should be located in a new src subdirectory called components, which will be placed inside a directory with the same name as the component. We need to create a new directory called components inside the src directory, which is where we'll create another new directory called Card. Inside this directory, create a file called Card.js and add the following code block to the empty Card component:
import React from 'react';

const Card = () => {
    return <h2>movie #1</h2>;
};

export default Card;
- Now, import this Card component into the container for List and return this component instead of the h1 element by replacing the return function with the following code:
import React, { Component } from 'react';
+ import Card from '../components/Card/Card';

class List extends Component {
    render() {
-       return <h1>movieList</h1>;
+       return <Card />;
    }
};

export default List;
Now that we've added these directories and the Card.js file, our application file's structure will look like this:
movieList
|-- dist
    |-- index.html
    |-- main.js
|-- src
    |-- components
        |-- Card
            |-- Card.js
    |-- containers
        |-- List.js
    |-- index.js
    |-- index.html
.babelrc
package.json
webpack.config.js
If we visit our application in the browser again, there will be no visible changes as our application still returns the same result. But if we open the React Developer Tools plugin in our browser, we'll notice that the application currently consists of multiple stacked components:
<App>
    <List>
        <Card>
            <h1>movieList</h1>
        </Card>
    </List>
</App>
In the next part of this section, you will use your knowledge of structuring a React project and create new components to fetch data about the movies that we want to display in this application.
Retrieving data
With both the development server and the structure for our project set up, it's time to finally add some data to it. If you haven't already downloaded the assets in the GitHub repository from the Getting started section, you should do so now. These assets are needed for this application and contain a JSON file with data about the five highest-grossing movies and their related image files.
The data.json file consists of an array with objects containing information about movies. This object has the title, distributor, year, amount, img, and ranking fields, where the img field is an object that has src and alt fields. The src field refers to the image files that are also included.
We need to add the downloaded files to this project's root directory inside a different subdirectory, where the data.json file should be placed in a subdirectory called assets and the image files should be placed in a subdirectory called media. After adding these new directories and files, our application's structure will look like this:
movieList
|-- dist
    |-- index.html
    |-- main.js
|-- src
    |-- assets
        |-- data.json
    |-- components
        |-- Card
            |-- Card.js
    |-- containers
        |-- List.js
    |-- media
        |-- avatar.jpg
        |-- avengers_infinity_war.jpg
        |-- jurassic_world.jpg
        |-- star_wars_the_force_awakens.jpg
        |-- titanic.jpg
    |-- index.js
    |-- index.html
.babelrc
package.json
webpack.config.js
This data will be retrieved in the top-level components only, meaning that we should add a fetch function in the List container that updates the state for this container and passes it down as props to the low-level components. The state object can store variables; every time these variables change, our component will rerender. Let's get started:
- Before retrieving the data for the movies, the Card component needs to be prepared to receive this information. To display information about the movies, we need to replace the content of the Card component with the following code:
import React from 'react';

const Card = ({ movie }) => {
     return (
        <div>
            <h2>{`#${movie.ranking} - ${movie.title} (${movie.year})`}</h2>
            <img src={movie.img.src} alt={movie.img.alt} width='200' />
            <p>{`Distributor: ${movie.distributor}`}</p>
            <p>{`Amount: ${movie.amount}`}</p>
        </div>
    );
};

export default Card;
- Now, the logic to retrieve the data can be implemented by adding a constructor function to the List component, which will contain an empty array as a placeholder for the movies and a variable that indicates whether the data is still being loaded:
...

class List extends Component {+
+   constructor() {
+       super()
+       this.state = {
+           data: [],
+           loading: true,
+       };
+   }

    return (
      ...
- Immediately after setting up the constructor function, we should set up a componentDidMount function, where we'll fetch the data after the List component is mounted. Here, we should use an async/await function since the fetch API returns a promise. After fetching the data, state should be updated by replacing the empty array for data with the movie information and the loading variable should be set to false:
...

class List extends Component {

    ...

 +    async componentDidMount() {
 +        const movies = await fetch('../../assets/data.json');
 +        const moviesJSON = await movies.json();

 +        if (moviesJSON) {
 +            this.setState({
 +                data: moviesJSON,
 +                loading: false,
 +            });
 +        }
 +    }

    return (
      ...
The previous method that we use to retrieve information from JSON files using fetch doesn't take into account that the request to this file may fail. If the request fails, the loading state will remain true, meaning that the user will keep seeing the loading indicator. If you want to display an error message when the request doesn't succeed, you'll need to wrap the fetch method inside a try...catch block, which will be shown later on in this book.
- Pass this state to the Card component, where it can ultimately be shown in the Card component that we changed in the first step. This component will also get a key prop, which is required for every component that is rendered within an iteration. Since this value needs to be unique, the id of the movie is used, as follows:
class List extends Component {

    ...

    render() {
 _     return <Card />
 +     const { data, loading } = this.state;

+      if (loading) {
+         return <div>Loading...</div>
+      }

+      return data.map(movie => <Card key={ movie.id } movie={ movie } />);
    }
}

export default List;
If we visit our application in the browser again, we'll see that it now shows a list of movies, including some basic information and an image. At this point, our application will look similar to the following screenshot:
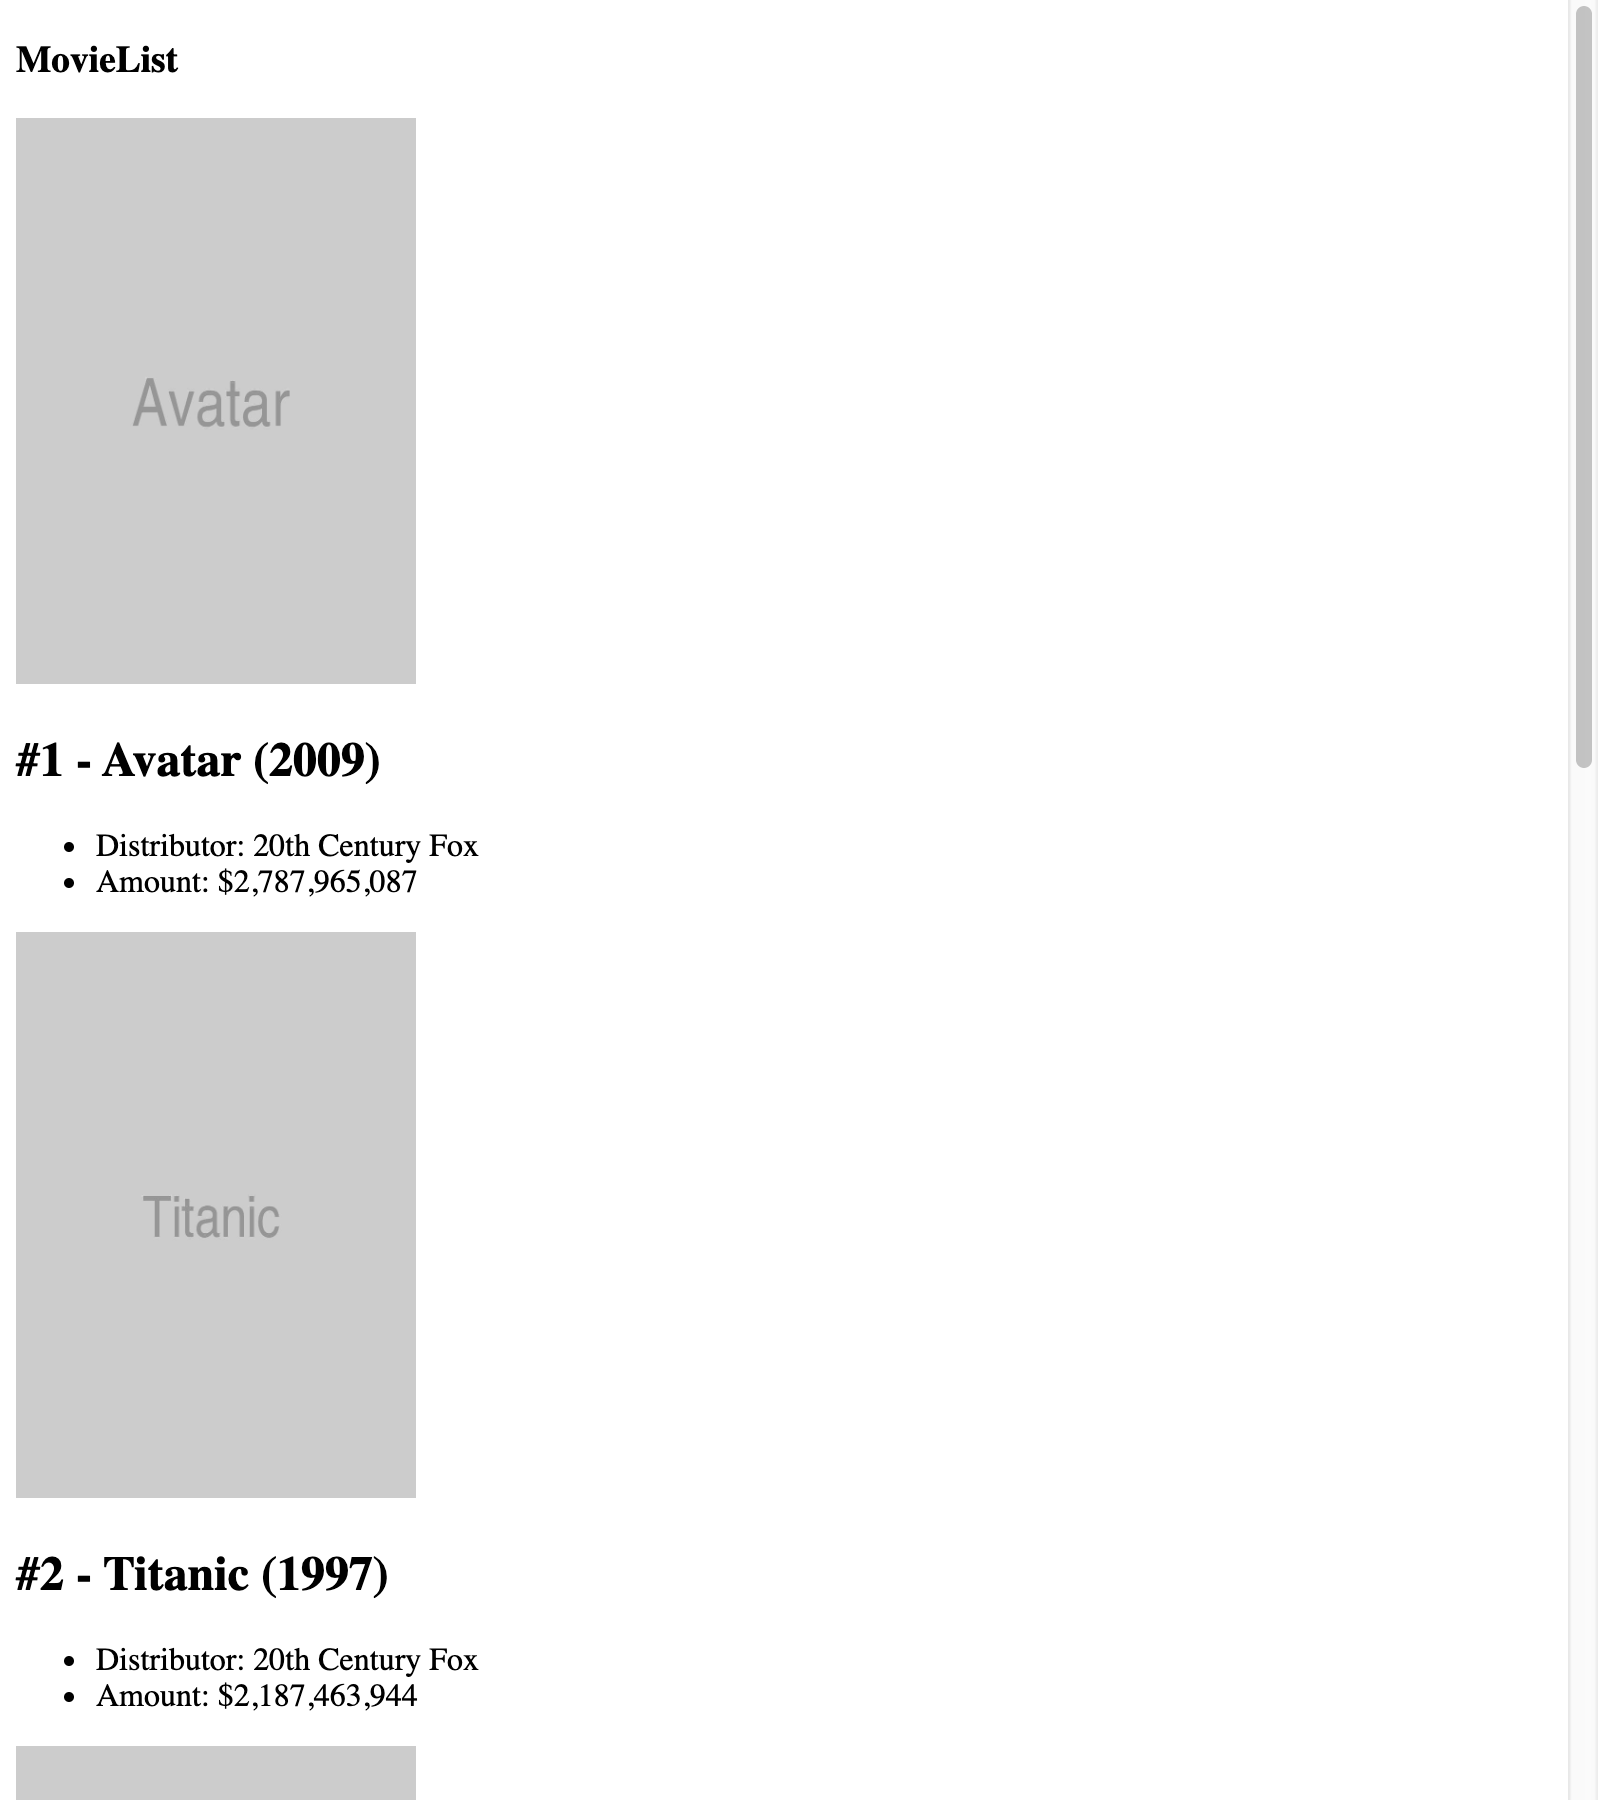
As you can see, limited styling has been applied to the application and it's only rendering the information that's been fetched from the JSON file. Styling will be added in the next part of this section using a package called Bootstrap.
Adding styling
Showing just the movie information isn't enough. We also need to apply some basic styling to the project. Adding styling to the project is done with the Bootstrap package, which adds styling to our components based on class names. Bootstrap can be installed from npm and requires the following changes to be used:
- To use Bootstrap, we need to install it from npm and place it in this project:
npm install --save-dev bootstrap
- Also, import this file into the entry point of our React application, called index.js, so that we can use the styling throughout the entire application:
import React, { Component } from 'react';
import ReactDOM from 'react-dom';
import List from './containers/List';
+ import 'bootstrap/dist/css/bootstrap.min.css';

const App = () => {
    return <List />;
}

ReactDOM.render(<App />, document.getElementById('root'));
If we try and run the development server again, we will receive an error saying "You may need an appropriate loader to handle this file type.". Because Webpack is unable to compile CSS files, we need to add the appropriate loaders to make this happen. We can install these by running the following command:
npm install --save-dev css-loader style-loader
- We need to add these packages as a rule to the webpack configuration:
const HtmlWebPackPlugin = require('html-webpack-plugin');

const htmlPlugin = new HtmlWebPackPlugin({
    template: './src/index.html',
    filename: './index.html',
});

module.exports = {
    module: {
        rules: [
            {
                test: /\.js$/,
                exclude: /node_modules/,
                use: {
                    loader: "babel-loader"
                }
            },
+           {
+               test: /\.css$/,
+               use: ['style-loader', 'css-loader']
+           }
        ]
    },
    plugins: [htmlPlugin]
};
The order in which loaders are added is important since css-loader handles the compilation of the CSS file and style-loader adds the compiled CSS files to the React DOM. Webpack reads these settings from right to left and the CSS needs to be compiled before it's attached to the DOM.
- The application should run in the browser correctly now and should have picked up some small styling changes from the default Bootstrap stylesheet. Let's make some changes to the index.js file first and style it as the container for the entire application. We need to change the App component that is rendered to the DOM and wrap the List component with a div container:
...

const App = () => {
    return (
+        <div className='container-fluid'>
            <List />
        </div>
    );
};

ReactDOM.render(<App />, document.getElementById('root'));
- Inside the List component, we need to set the grid to display the Card components, which display the movie information. Wrap the map function and the Card component with the following code:
...

class List extends Component {

    ...

    render() {
        const { data, loading } = this.state;

        if (loading) {
            return <div>Loading...</div>;
        }

         return (
  +         <div class='row'>
                {data.map(movie =>
  +                 <div class='col-sm-2'>
                        <Card key={ movie.id } movie={ movie } />
  +                 </div>
                )}
  +          </div>
        );
    }
}

export default List;
- The code for the Card component is as follows. This will add styling for the Card component using Bootstrap:
import React from 'react';

const Card = ({ movie }) => {
    return (
        <div className='card'>
            <img src={movie.img.src} className='card-img-top' alt={movie.img.alt} />
            <div className='card-body'>
                <h2 className='card-title'>{`#${movie.ranking} - ${movie.title} (${movie.year})` }</h2>
            </div>
            <ul className='list-group list-group-flush'>
                <li className='list-group-item'>{`Distributor: ${movie.distributor}`}</li>
                <li className='list-group-item'>{`Amount: ${movie.amount}`}</li>
            </ul>
        </div>
    );
};

export default Card;
- To add the finishing touches, open the index.js file and insert the following code to add a header that will be placed above our list of movies in the application:
...

const App = () => {
    return (
        <div className='container-fluid'>
_            <h1>movieList</h1>
+            <nav className='navbar sticky-top navbar-light bg-dark'>
+               <h1 className='navbar-brand text-light'>movieList</h1>
+           </nav>

            <List />
        </div>
    );
};

ReactDOM.render(<App />, document.getElementById('root'));
If we visit the browser again, we'll see that the application has had styling applied through Bootstrap, which will make it look as follows:
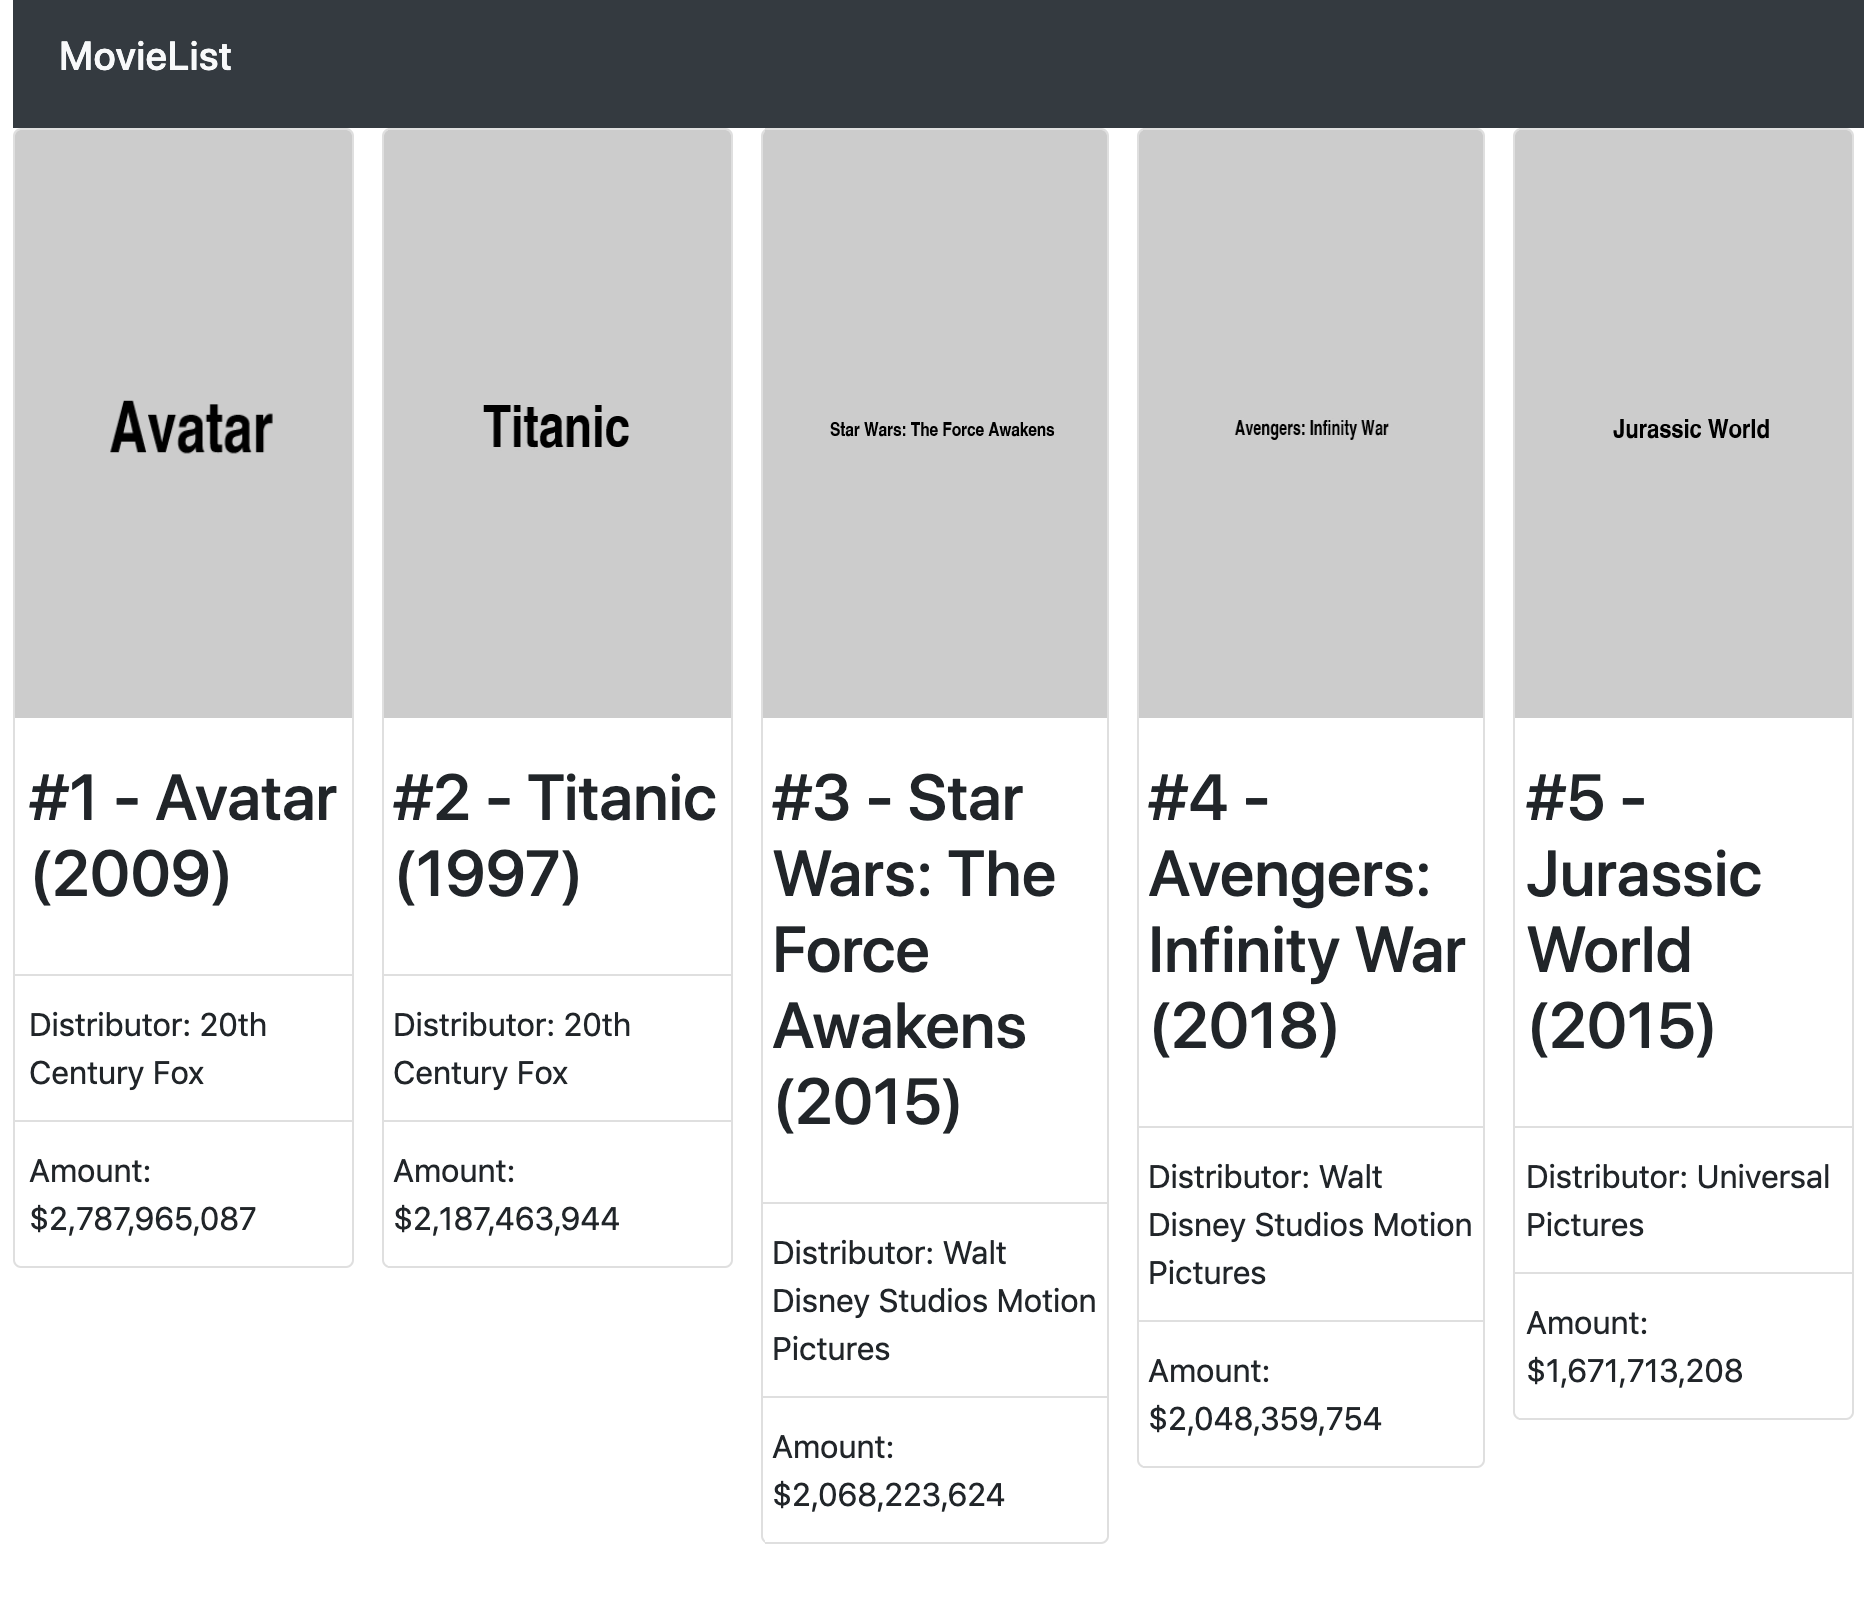
The style rules from Bootstrap have been applied to our application, making it look far more complete then it did before. In the final part of this section, we'll add the ESLint package to the project, which will make maintaining our code easier by synchronizing patterns across the project.
Adding ESLint
Finally, we will add ESLint to the project to make sure our code meets certain standards, for instance, that our code follows the correct JavaScript patterns. Adding ESLint requires the following changes:
- Install ESLint from npm by running the following command:
npm install --save-dev eslint eslint-loader eslint-plugin-react
The first package, called eslint, is the core package and helps us identify any potentially problematic patterns in our JavaScript code. eslint-loader is a package that is used by Webpack to run ESLint every time we update our code. Finally, eslint-plugin-react adds specific rules to ESLint for React applications.
- To configure ESLint, we need to create a file called .eslintrc.js in the project's root directory and add the following code to it:
module.exports = {
    "env": {
        "browser": true,
        "es6": true
    },
    "parserOptions": {
        "ecmaFeatures": {
            "jsx": true
        },
        "ecmaVersion": 2018,
        "sourceType": "module"
    },
    "plugins": [
        "react"
    ],
    "extends": ["eslint:recommended", "plugin:react/recommended"]
};
The env field sets the actual environment our code will run in and will use es6 functions in it, while the parserOptions field adds extra configuration for using jsx and modern JavaScript. Where things get interesting, however, is the plugins field, which is where we specify that our code uses react as a framework. The extends field is where the recommended settings for eslint are used, as well as framework-specific settings for React.
We can run the eslint --init command to create custom settings, but using the preceding settings is recommended, so that we ensure the stability of our React code.
- If we look at our command line or browser, we will see no errors. However, we have to add the eslint-loader package to the webpack configuration. In the webpack.config.js file, add eslint-loader next to babel-loader:
...

module.exports = {
    module: {
        rules: [
            {
                test: /\.js$/,
                exclude: /node_modules/,
+               use: ['babel-loader', 'eslint-loader']
            },
            {
                test: /\.css$/,
                use: ['style-loader', 'css-loader']
            }
        ]
    },
    plugins: [htmlPlugin]
};
By restarting the development server, webpack will now use ESLint to check whether our JavaScript code complies with the configuration of ESLint. In our command line (or Console tab in the browser), the following error should be visible:
movieList/src/components/Card/Card.js
    3:17  error 'movie' is missing in props validation  react/prop-types
When using React, it's recommended that we validate any props we send to components since JavaScript's dynamic type system may lead to situations where variables are undefined or have an incorrect type. Our code will work without us having to validate the props, but to fix this error we have to install the prop-types package, which used to be a feature of React but was later deprecated. Let's get started:
- The package that we use to check for prop types can be installed from npm:
npm install --save prop-types
- Now, we can validate propTypes in our component by importing the package into the Card component and adding the validation to the bottom of this file:
import React from 'react';
+ import PropTypes from 'prop-types';

const Card = ({ movie }) => {
    ...
};

+ Card.propTypes = {
+    movie: PropTypes.shape({}),
+ };

export default Card;
- If we look at the command line again, we'll see that the missing propTypes validation error has disappeared. However, the validation for our props still isn't very specific. We can make this more specific by also specifying the propTypes of all the fields of the movie prop:
...

Card.propTypes = {
_   movie: PropTypes.shape({}),
+    movie: PropTypes.shape({
+    title: PropTypes.string,
+    distributor: PropTypes.string,
+     year: PropTypes.number,
+     amount: PropTypes.string,
+     img: PropTypes.shape({
+       src: PropTypes.string,
+       alt: PropTypes.string
+     }),
+     ranking: PropTypes.number
+   }).isRequired
};
We can also indicate which props are required for React to render the component by adding isRequired to the propTypes validation.
Congratulations! You have created a basic React application from scratch using React, ReactDom, webpack, Babel, and ESLint.