

Introducing Sanity Manage
Let's start by looking at the Sanity.io project we have just created. Log in to your Sanity.io account by clicking on the Log in link on the Sanity.io website, as shown in the following screenshot:

Figure 2.6 – Log in link
After logging in, you should be able to see a list of your projects. From the top menu, you will also have the option to create a new team and the option to create a new project as illustrated in the following screenshot:
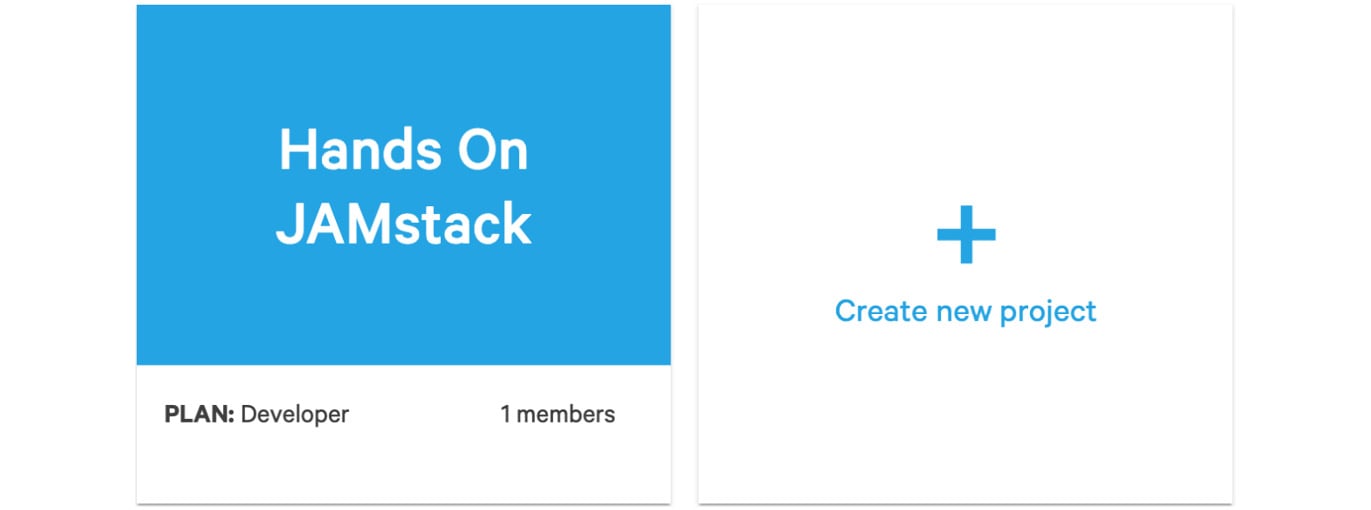
Figure 2.7 – Sanity.io Manage landing page
Click on the project's rectangular block, and let's have a look at the project pages.
Sanity.io project pages
From this section, you can manage your Sanity.io project. Under the top menu, you can find the section with project’s Sanity Studio details such as URL, PROJECT ID, and PLAN will always be visible across all the pages of the project as illustrated in the following screenshot:

Figure 2.8 – Sanity menu header
Under this top menu, there is a second-level menu with various aspects of the project, as illustrated in the following screenshot:

Figure 2.9 – Second-level menu
There are five sections to be explored. Let's take a look at each one in turn.
Usage
In this section of the page, the resource usage presented as bandwidth in kilobytes (KB), megabytes (MB), or gigabytes (GB) for this project is shown.
There are currently seven charts available, with the following data:
- Resource Usage:
Document used (a donut chart)
Assets used (a donut chart)
- Usage this month:
Bandwidth (an area graph)
API Requests (an area graph)
API CDN Requests (an area graph)
- Asset and document history:
Documents (an area graph)
Assets (an area graph)
Bandwidth, document, and request statistics are updated once every hour. Asset statistics are updated once a day.
Members
On the Members page, all members of the current project are displayed. Here, users may invite and remove members, depending on their role. When adding a new member, they may choose the type of access level for this member.
There are three permissions that can be set, as follows:
- Administrator: A user with this role can fully manage the current project and its aspects.
- Read + Write: A user with this role can read from and write to all datasets of the current project.
- Read: A user with this role can only read from all datasets of the current project.
Datasets
From this section, you may view and remove datasets. Datasets are where data is stored. A project may have more than one dataset, depending on the project's needs. The Developer account is limited to two accounts.
Settings
From this section, you can manage the General settings and API of the current project.
General settings include the following:
- Organization
- Project Name
- Project Color
- Custom Studio URL
You can also disable or delete a project. When you disable a project, it can be re-enabled at any time without data loss.
When you delete a project, all the documents, assets, and users related to the project will be removed. Note that this action cannot be undone.
From this section, you may also view and modify your current plan. Depending on your needs, you can choose a different plan. For this project, though, the free plan Developer is amply sufficient, providing up to three users.
Let's explore the API settings, in the following subsections.
CORS Origins
In this subsection, you can add and remove hosts that can connect to the project API. The localhost:3333 host is automatically added. localhost:3333 is our local development environment URL. The Gatsby application URL and Sanity Studio application URL hosted on Netlify are also automatically added to the CORS Origins list.
In this way, we allow our local development environment and the applications hosted on Netlify to access our Sanity API.
Every time we want to let a new application communicate with the Sanity API, we do this by simply adding the application URL to our CORS Origins list, which is as follows:
- Token: A token is used by robots to query the project API.
- Webhooks: Webhooks are called when an action is triggered. For example, when content is changed, we can call a given URL to perform an action such as a notification.
Now that we know how to change the configuration of our application, let's see how we can add content through Sanity Studio.