

Setting up Three.js for postprocessing
To set up Three.js for postprocessing, we have to make a couple of changes to our current setup, as follows:
- Create
EffectComposer, which can be used to add postprocessing passes. - Configure
EffectComposerso that it can render our scene and apply any additional postprocessing steps. - In the render loop, use
EffectComposerto render the scene, apply the configured postprocessing steps, and show the output.
As always, we will show an example that you can use to experiment with and adapt for your own purposes. The first example in this chapter can be accessed from basic-setup.html. You can use the menu in the top-right corner to modify the properties of the postprocessing step used in this example. In this example, we will render the mushroom man from Chapter 9, Animation and Moving the Camera, and add an RGB shift effect to it, as follows:
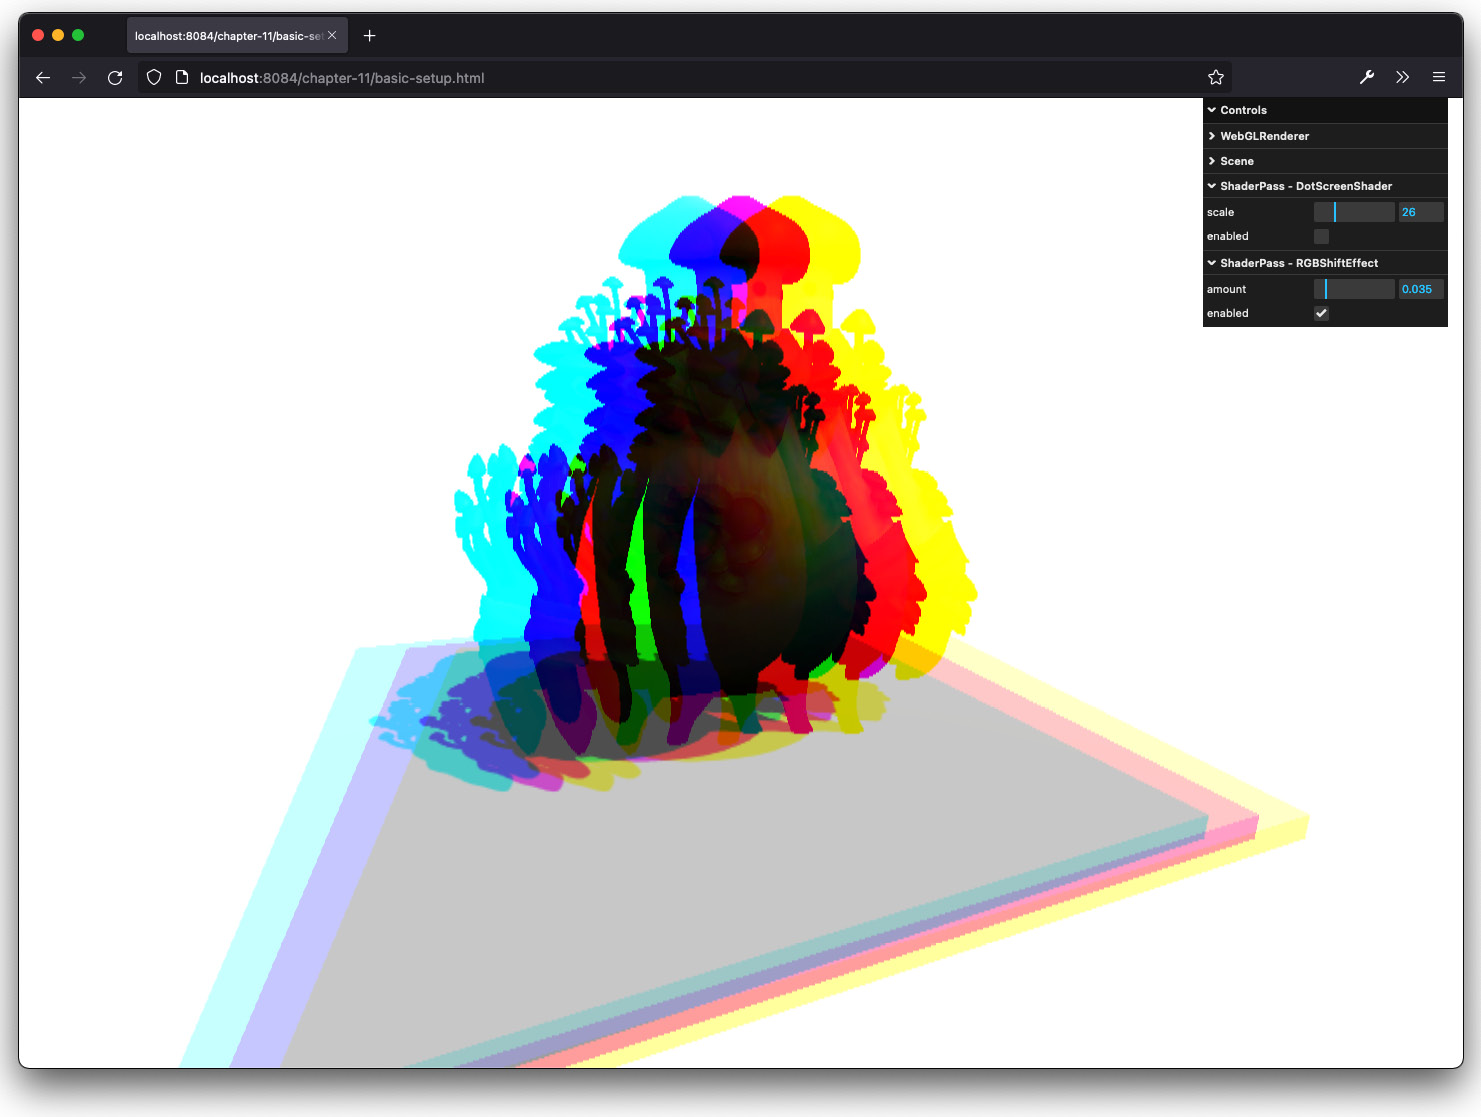
Figure 11.1 – Rendered using a postprocessing pass
...