

Writing your first custom structural directive
In this recipe, you'll write your first custom structural directive named *appIfNot that will do the opposite of what *ngIf does—that is, you'll provide a Boolean value to the directive, and it will show the content attached to the directive when the value is false, as opposed to how the *ngIf directive shows the content when the value provided is true.
Getting ready
The project for this recipe resides in chapter02/start_here/ng-if-not-directive:
- Open the project in VS Code.
- Open the terminal, and run
npm installto install the dependencies of the project. - Once done, run
ng serve -o.This should open the app in a new browser tab, and you should see something like this:
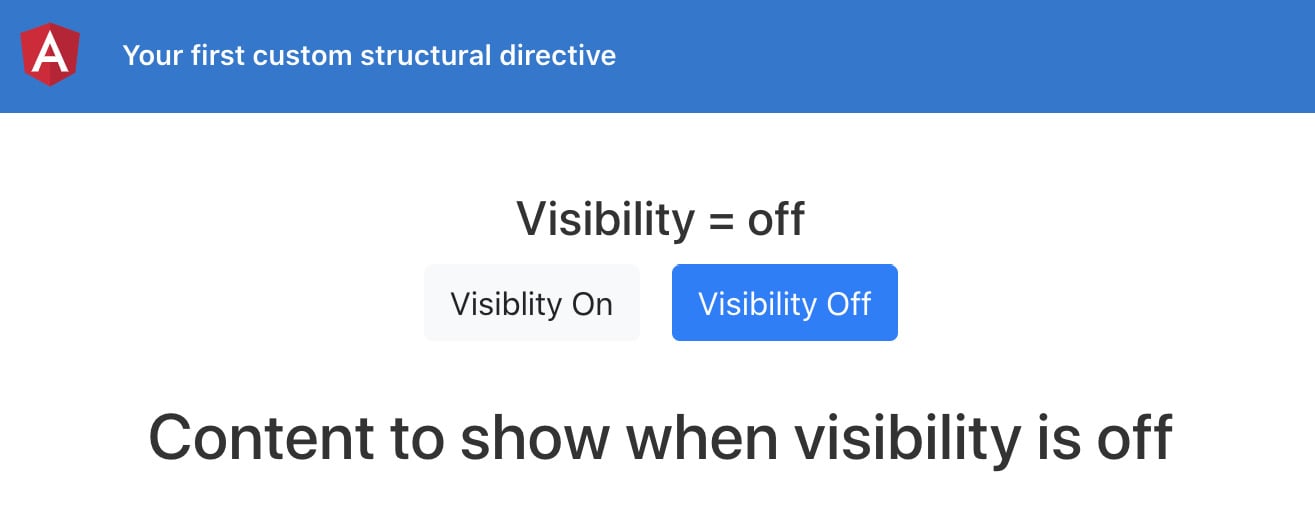
Figure 2.4 – ng-if-not-directive app running on http://localhost:4200
How to do it…
- First of all, we'll create a directive using the following command in the project root:
ng g directive directives/if-not
- Now, instead of the
*ngIfdirective in theapp.component.htmlfile, we can use our*appIfNotdirective. We'll also reverse the condition fromvisibility === VISIBILITY.Offtovisibility === VISIBILITY.On, as follows:... <div class="content" role="main"> ... <div class="page-section" id="resources" *appIfNot="visibility === VISIBILITY.On"> <!-- Resources --> <h2>Content to show when visibility is off</h2> </div> </div>
- Now that we have set the condition, we need to create an
@Inputinside the*appIfNotdirective that accepts a Boolean value. We'll use a setter to intercept the value changes and will log the value on the console for now:import { Directive, Input } from '@angular/core'; @Directive({ selector: '[appIfNot]' }) export class IfNotDirective { constructor() { } @Input() set appIfNot(value: boolean) { console.log(`appIfNot value is ${value}`); } } - If you tap on the Visibility On and Visibility Off buttons now, you should see the values being changed and reflected on the console, as follows:

Figure 2.5 – Console logs displaying changes for the appIfNot directive values
- Now, we're moving toward the actual implementation of showing and hiding the content based on the value being
falseandtruerespectively, and for that, we first need theTemplateRefservice and theViewContainerRefservice injected into the constructor ofif-not.directive.ts. Let's add these, as follows:import { Directive, Input, TemplateRef, ViewContainerRef } from '@angular/core'; @Directive({ selector: '[appIfNot]' }) export class IfNotDirective { constructor(private templateRef: TemplateRef<any>, private viewContainerRef: ViewContainerRef) { } @Input() set appIfNot(value: boolean) { console.log(`appIfNot value is ${value}`); } } - Finally, we can add the logic to add/remove the content from the DOM based on the
appIfNotinput's value, as follows:... export class IfNotDirective { constructor(private templateRef: TemplateRef<any>, private viewContainerRef: ViewContainerRef) { } @Input() set appIfNot(value: boolean) { if (value === false) { this.viewContainerRef. createEmbeddedView(this.templateRef); } else { this.viewContainerRef.clear() } } }
How it works…
Structural directives in Angular are special for multiple reasons. First, they allow you to manipulate DOM elements—that is, adding/removing/manipulating based on your needs. Moreover, they have this * prefix that binds to all the magic Angular does behind the scenes. As an example, *ngIf and *ngFor are both structural directives that behind the scenes work with the <ng-template> directive containing the content you bind the directive to and create the required variables/properties for you in the scope of ng-template. In the recipe, we do the same. We use the TemplateRef service to access the <ng-template> directive that Angular creates for us behind the scenes, containing the host element on which our appIfNot directive is applied. Then, based on the value provided to the directive as input, we decide whether to add the magical ng-template to the view or clear the ViewContainerRef service to remove anything inside it.
See also
- Angular structural directive microsyntax documentation (https://angular.io/guide/structural-directives#microsyntax)
- Angular structural directives documentation (https://angular.io/guide/structural-directives)
- Creating a structural directive by Rangle.io (https://angular-2-training-book.rangle.io/advanced-angular/directives/creating_a_structural_directive)