
Even though these basic ways of putting images onto our site won't make our site stand out from the competition, we are going to take a look at them. This will also show us the improvement achieved once we have used some of the modules previously commented on.
Let's add an image to one of our content articles. Log in to your Joomla! Administration zone. Go to the Media Manager, and then to stories. Once you are there, upload an image.
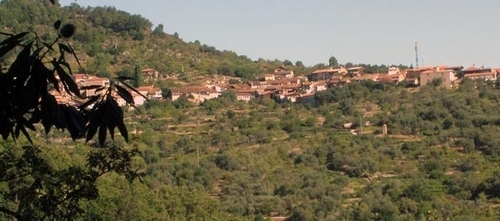
For this example, we will be using the following image:
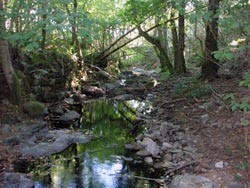
This image is named image_1.png. You can find it in the
code for Chapter 1 in the code bundle of the book. Then go to Content | Article Manager; here we will create a
sample article. Don't worry about the structure; it's not important for
now. Create the article in the Uncategorised
section and category:

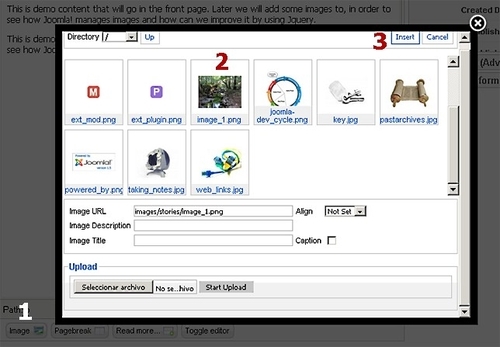
To insert the image into the article, click on the Image control button at the bottom of the editor (action 1). Then, select the image (action 2) and click on the Insert button (action 3). The image is now inserted into the editor at the location where the cursor was placed. The actions involved are displayed in the following screenshot:
If all has gone OK, the result will be an image inserted into our article—nothing more, and nothing less. Do you want to see it? The result is as follows:
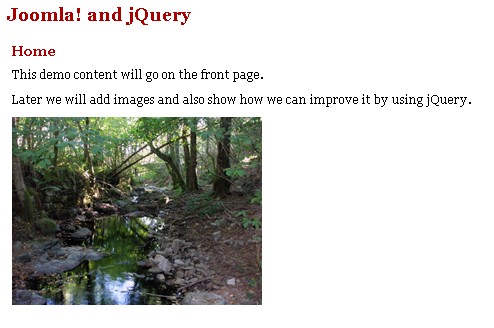
An image, like the one we have used, can make the article more interesting and is easy to incorporate.
Placing images in modules works in the same way as placing them in articles.
However, images end up in module positions, and therefore you can use them as
banners, ads, or something equally useful. For this example, we are going to
use image_2.png (the following image), which is included
in the code bundle. Don't forget to upload it to our Joomla! installation
before continuing:
To create a module, go to Extensions | Module Manager | New | Custom HTML, and give the module a name you want. In this example, we will be placing the module in the module_1 position.
As we have selected the Custom HTML module type, we will be presented with a WYSIWYG editor, similar to the one we had when creating the previous article. Insert the image as we have done before, and then save the module. When this is done, and if the module is published, the result will be similar to the following screenshot:
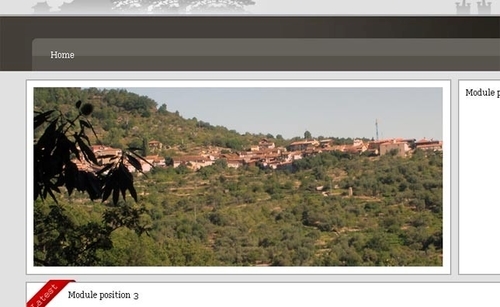
For now, this will be enough. Later, we will continue working with this module position. However, before that let's take a look at the process of placing images.
Most templates use images in the layout in order to make them more
interesting; and, of course, our example template is no exception! To see how
this is done, open your Joomla! installation folder. Go to the
templates folder, and then to our jj15 template
folder.
Note that we are opening the jj15 folder as it's the
name of our template. Now open the index.php file and search
for the following piece of code:
<div id="header"> <img src="<?php echo $this->baseurl ?>/templates/jj15/ images/header_image.gif" /> </div><!-- End of header -->
This will result in our header image being shown, as follows:

To get this to work, we have used the typical HTML
<img> tag and a bit of PHP scripting, such as
<?php echo $this->baseurl ?>, to generate the base URL of
our site. This will, therefore, produce the following code:
<img src="/jj15/templates/jj15/images/header_image.gif" />
That's it! Enough of the basics. We want to make our site very interesting, so let's use jQuery for further improvement of our site along with the use of third-party extensions.
One of the most interesting features of working with Joomla! is that there are lots of extensions already built. These extensions will surely help us in the development of our site, saving time and effort, and will give great results in no time. In this chapter, we are going to take a look at some interesting Joomla! extensions.
Don't worry, later in the book we will also see how to create our own extension. But don't go so fast my friend, stay with me and we will go step by step and create a very interesting site.