
In three easy steps, you can install Adobe Edge Inspect and get it set up on your system.
Before you install Adobe Edge Inspect, you will need to check whether you have the basic minimum requirements, as listed in this step. These are the current specs at the time of writing this book.
Intel Pentium 4 or AMD Athlon 64 processor
Windows 7 or Windows 8 (Adobe Edge Inspect is currently not supported by Windows XP)
512 MB of RAM
200 MB of available hard disk space for installation of the Edge Inspect helper application
1280 x 800 display with 16-bit video card
Broadband Wi-Fi Internet connection
Multicore Intel processor
Mac OS X v10.6 to 10.8
512 MB of RAM
200 MB of available hard disk space for the installation of the Edge Inspect helper application
1280 x 800 display with 16-bit video card
Broadband Wi-Fi Internet connection
The Adobe Edge Inspect web inspector (the place where you will remotely test and debug) runs as a Google Chrome extension and you will need the Chrome web browser installed on your computer. The minimum version supported is Chrome 14 but for better results Chrome 21 or greater is recommended. So go ahead, download and install Google Chrome on your computer from this link: http://chrome.google.com/.
Adobe Edge Inspect is compatible with iPhone (including iPhone5), iPod touch, and iPad
iOS 4.3 or greater
At least 2-3 MB of free storage on the iOS device
Wi-Fi support
Adobe Edge Inspect is a part of Adobe Edge Tools and Services. You can get Edge Inspect by signing up for a free or a paid Creative Cloud membership subscription. With a free subscription you can download the free version of the Edge Inspect application and get started. The difference between the free version and the full version is that with the free version you can pair and connect only one mobile device with your computer whereas with the paid full version you can connect unlimited number of mobile devices with your computer simultaneously. We will soon be talking about pairing and connecting mobile devices in our next section, so till then this might sound a little confusing to you. To get the full version of Edge Inspect you can either buy a full Creative Cloud membership or upgrade to a paid subscription for Edge Inspect only.
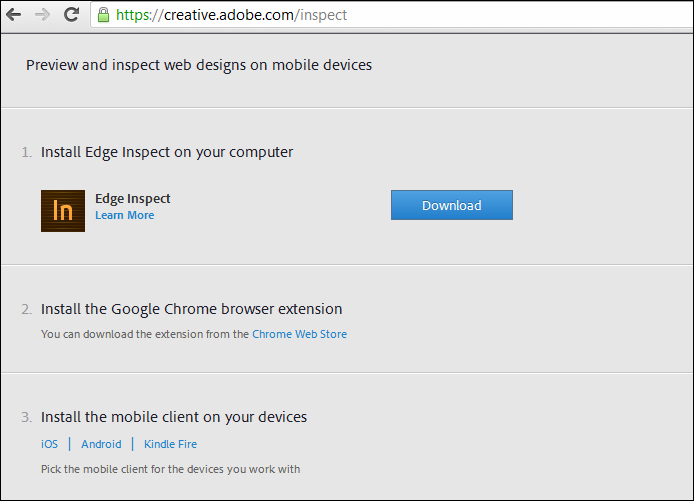
Navigate to this link https://creative.adobe.com/join/starter to sign in to your Adobe Creative Cloud account or create a new one if you do not have it already. After logging into your Creative Cloud account you can download Edge Inspect by following the link as shown in this screenshot:
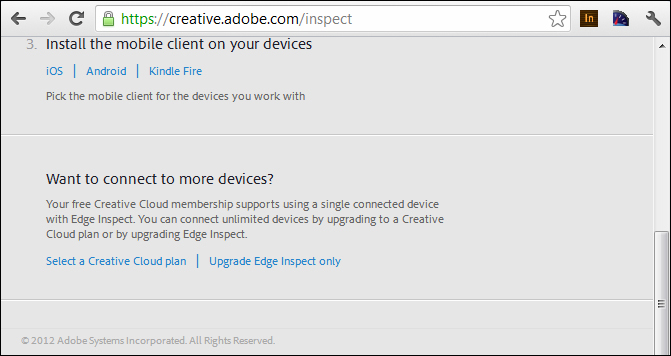
When you are downloading Edge Inspect it is the free version that you are downloading. You can upgrade to a full version by following the upgrade link below the download section. It is shown in the following screenshot:
After that, it is very easy to set up Adobe Edge Inspect. There are four parts to setting up the environment. Let's look at each of them individually.
The Edge Inspect application (I call it the helper application) runs on your computer. Download the installer from your Creative Cloud account for Mac or Windows based on the computer platform that you are using by clicking on the Download button shown on the previous page.
After downloading the installer file, locate it, and then run it. Follow the on-screen instructions in the setup wizard. The following image shows the installer setup on a Windows 7 machine:
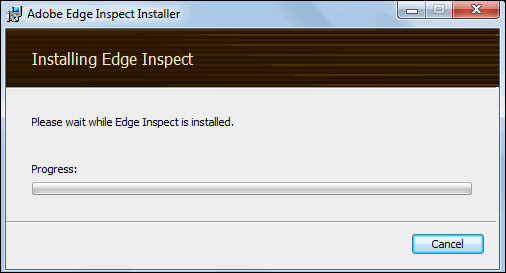
Similarly, if you are using a Mac machine, run the installer and follow the given instructions till you have the helper application installed on your computer. The overall steps for installation are pretty simple and you should be done within a few seconds.
After installing, you have to run this helper application in order to use Adobe Edge Inspect and start detecting devices. When you run it, it will live in the Taskbar Notification Area on Windows and the Menu Bar Extras on Mac OS X. We will talk more about this in our later sections.
Edge Inspect uses Bonjour for the auto-discovery and detection of target mobile devices. The Bonjour setup comes as a part of the Edge Inspect installation folder for Windows. So if you are using a Windows machine then go ahead and install it. You can find the Bonjour setup file as follows:
Windows 32-bit machine:
\Program Files\Adobe\Adobe Edge Inspect\BonjourPSSetup.exeWindows 64-bit machine:
\Program Files(x86)\Adobe\Adobe Edge Inspect\BonjourPSSetup.exe
In Mac OS X, Bonjour is enabled by default so there is no need to install it separately.
Let's see what Bonjour is, before we move further. Bonjour is a network discovery technology developed by Apple Inc. that enables automatic discovery of devices and services on a local network. It is mostly used for finding printers and file-sharing servers, connecting them with a computer, and then using their services. You can learn more about Bonjour by visiting the official page at http://www.apple.com/support/bonjour/.
The Edge Inspect mobile client will run on your mobile device. For each mobile device that you are going to test on, you will need to install the app on it.
For an iOS device, navigate to the App Store and search for Adobe Edge Inspect, then download and install it. The following image shows the Adobe Edge Inspect app in the iOS app store:

For Android devices, navigate to Google Play (Android Marketplace is merged into Google Play) and search for Adobe Edge Inspect and then download and install it. The following image shows the Adobe Edge Inspect mobile app for Android:

Both the iOS and Android apps are absolutely free, so go ahead and install them on your mobile devices. After you have installed the app it will appear as an icon with In written on it in your menu screen.
You need to install the Chrome extension for Adobe Edge Inspect, as all interactions with the paired mobile devices take place through the extension. The Edge Inspect extension can be installed only with Google Chrome and no other browser. You can download the extension by following this link: http://www.adobe.com/go/edgeinspect_chrome. Click on the link to navigate to the Chrome web store and then click on the ADD TO CHROME button on the right to install the Edge Inspect extension.
After you install the Edge Inspect extension it appears as a dark grey icon with In written on it in the right-hand corner of Chrome's menu bar as shown in the following image:
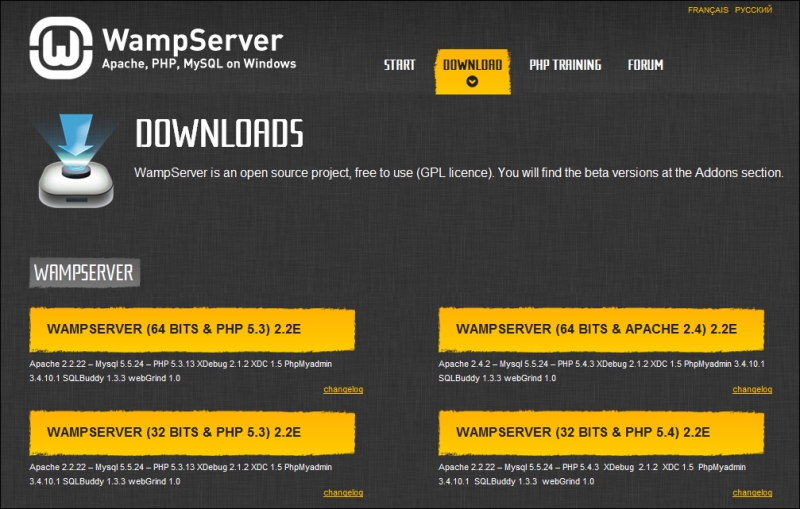
As a developer you always want to test and debug your pages locally before moving them into production, so you need to download and install an HTTP web server on your computer. Edge Inspect cannot debug pages from the local filesystem via the file protocol (file:///). You will need to host your pages either in a local HTTP web server that runs on your computer or a hosted server that can serve your pages over the web. I am using the WAMP server on a Windows 7 computer and hosting all my mobile web projects inside the www folder. There are other options available for Windows; you can try something like XAMPP or the Apache HTTP server. If you are using Mac OS X, you can use the built-in Apache server to host your mobile web projects.
Download and install the WAMP server from http://www.wampserver.com/en/.