
In order to create impress presentations, you must at least have knowledge of HTML and CSS. Not everyone who wants to create presentations will be familiar with these technologies, so it's important to find out the possibilities of creating impress presentations without technical knowledge. Luckily, there are some free tools we can use to create presentations with impress.js.
This is a free tool where you can create slides with basic elements. Although it is not possible to use the full features of impress.js, this will be handy for non-technical people to create quick presentations. You can find this tool available at http://tantaman.github.com/Strut/dist/index.html.
As with most presentation software, slides are displayed as a list in the left-hand side and we can add new slides dynamically. The following screenshot will preview the slide creation screen of this tool:
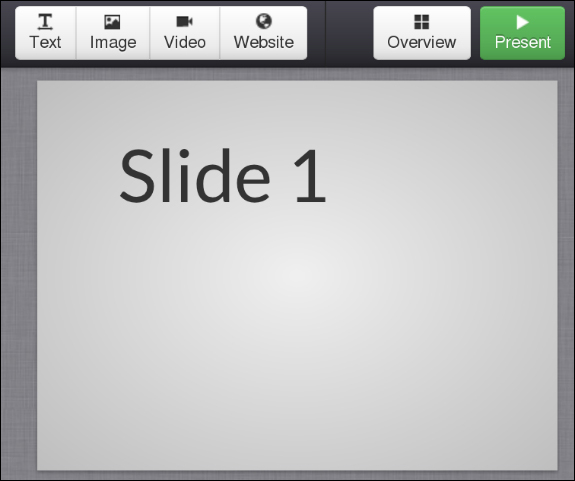
We can add elements such as text, images, and videos into slides. Advanced features such as CSS styles and events cannot be used yet with this tool. Once we finish the slide creation process, we can go to the overview of the presentation using the Overview button on the right. The Overview screen will be as follows:
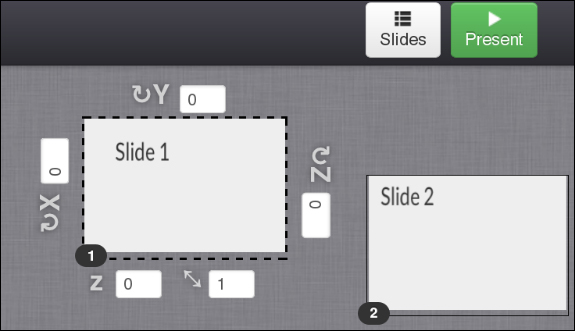
Overview is where we position our slides. Just drag the slides or provide custom values for the x, y, z attributes. Once we are done with adjusting the positions, we can click on the Present button to start the presentation and it will run as a normal impress presentation.
Impressionist is another tool to automate the presentation creation process. You can find the demo at http://hsivaram.com/impressionist/0.1/. The only limitation of impressionist compared to strut is that it only works on WebKit browsers, so we will be using the Chrome browser to demonstrate the functionality.
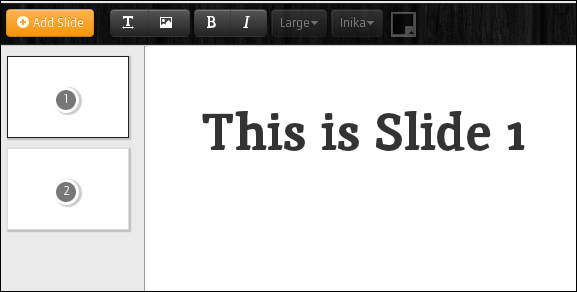
The following is the main slide creation screen of impressionist. It is quite similar to the previous slide creation screen:
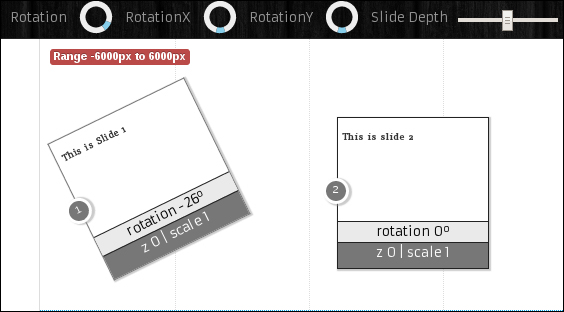
Once we are done with all the slides, we can move into the overview of slides using the Orchestration View button on the top-right corner of the screen. There you can position elements like we did earlier. All the controls are given in the menu bar for positioning, rotating, and scaling. The following is the preview of Orchestration View:
We can click on the Preview button to see the presentation in action. These tools are very handy for non-technical users. Feel free to check out these tools and create simplified presentations.