
You don't need a lot of hardware for this first project. You only need an Arduino Uno board, and of course, the Arduino Ethernet shield. Other boards such as the Arduino Mega will work as well for the projects in the first chapter of the book, but you might face difficulties for the projects in the following chapters in the book. Therefore, I recommend that you use an Arduino Uno board for all the projects of this book.
Before actually assembling the shield with the board, make sure to write down the MAC address of the shield, which is written on the back of the shield. We will need it later in the project when we write the first sketch.
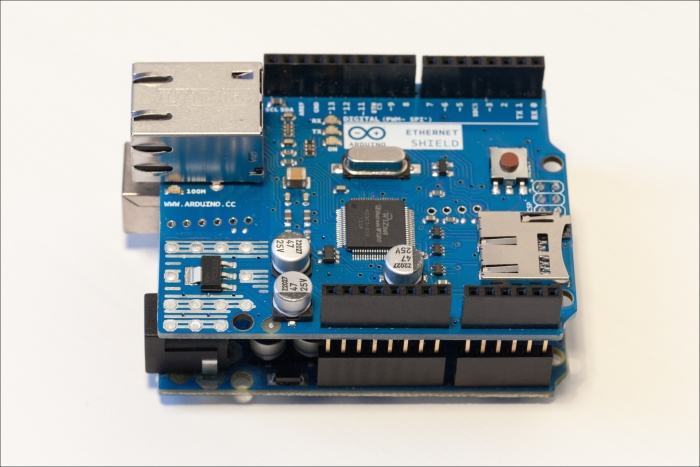
This is an image of the assembled board and the Ethernet shield:
You will also need a USB B to USB A cable to connect the Arduino board to your computer, and an Ethernet cable to connect the shield to a router.
On the software side, all you need is the Arduino IDE, which can be found at the following address:
http://arduino.cc/en/main/software
The Ethernet library is included by default in the Arduino software, so you don't need to install any additional components.
The hardware configuration in this chapter is really simple. At this point, you should already have the Arduino Ethernet shield connected to your Arduino Uno board. If that's not the case, please do so now.
You then have only two cables to plugin: a USB cable between your computer and the Arduino Uno board and the Ethernet cable. Simply connect the USB cable to one port of your computer.
For the Ethernet cable, you have several options. The easiest thing you can do, which is what I recommend, is to connect the Ethernet cable directly from the shield to the main router of your home. Usually, you will have a Wi-Fi router in your home, which you use to enable Wi-Fi connectivity for your computer and other devices. This router should also have some Ethernet ports, where you can connect your Ethernet shield. The advantage of this solution is that your shield will automatically get an IP address and will have access to the Internet automatically. This assumes that your router is configured for DHCP; go to your router settings to enable DHCP. As this procedure varies depending on the brand of your router, refer to your router documentation to find out how to do this on your specific router.
If you don't have a router, you can directly connect the Ethernet cable to your computer. I don't recommend this alternative, as configuring your computer to connect to the shield and sharing the Internet connection with the shield is really complex, and it also depends on your operating system.
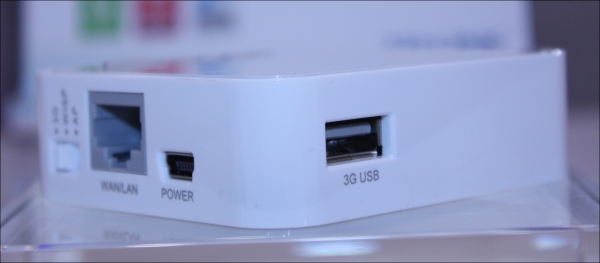
If you really don't have access to a router but you have access to a Wi-Fi network, I recommend buying one of these small Wi-Fi routers that have an Ethernet port. It can connect to any Wi-Fi network in range and share the connection automatically with other devices via Ethernet.
For example, as shown in the following image, I recommend the TP-Link MR3020 router:
This is an image of the assembled hardware for the tasks in this chapter, with the USB cable and the Ethernet cable plugged in the project:
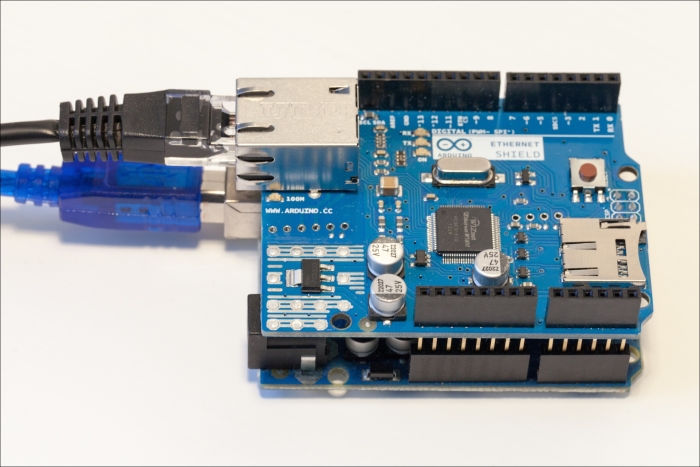
If everything is wired correctly, you should see the ON LED on the Ethernet shield is switched on, as well as the LINK LED near the Ethernet port.