-
Book Overview & Buying
-
Table Of Contents

Containers for Developers Handbook
By :
Containers for Developers Handbook
By:
Overview of this book
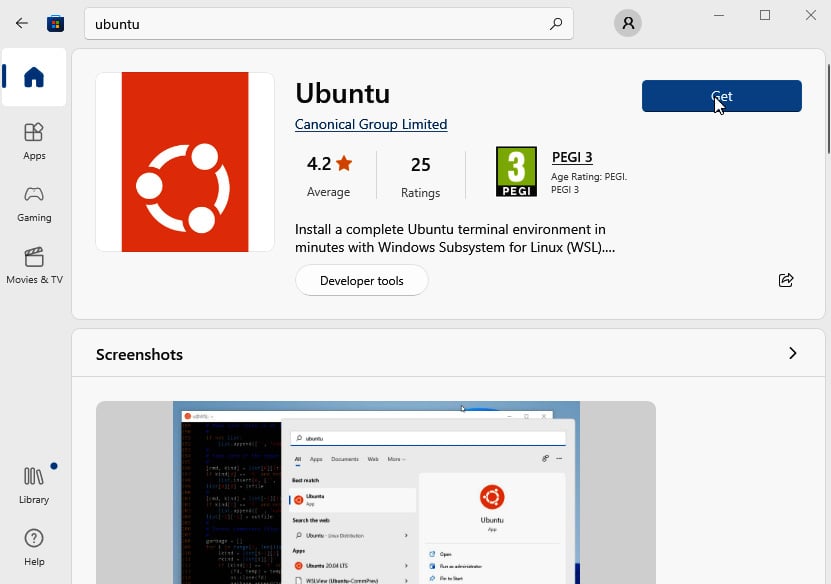
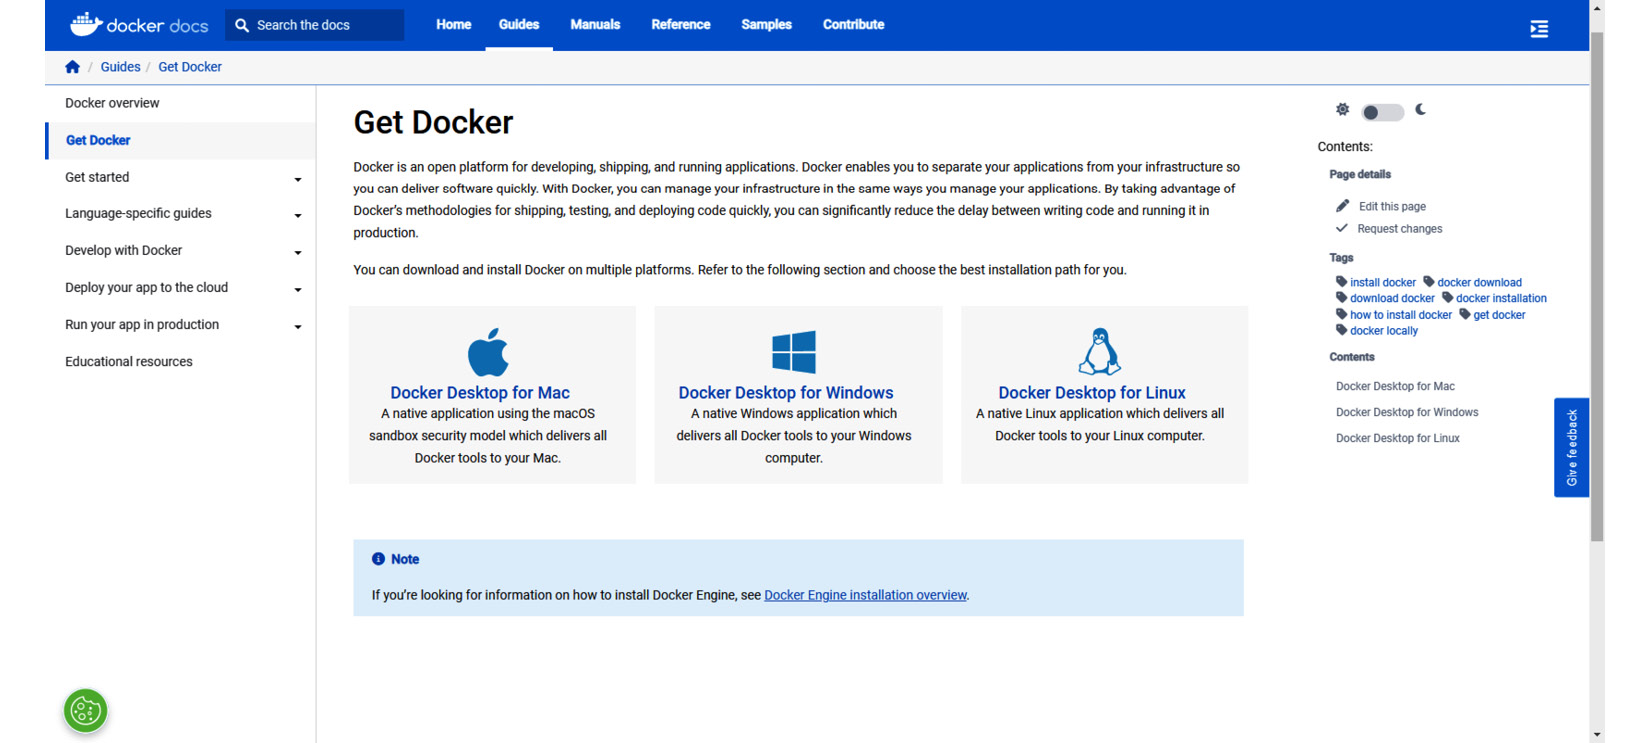
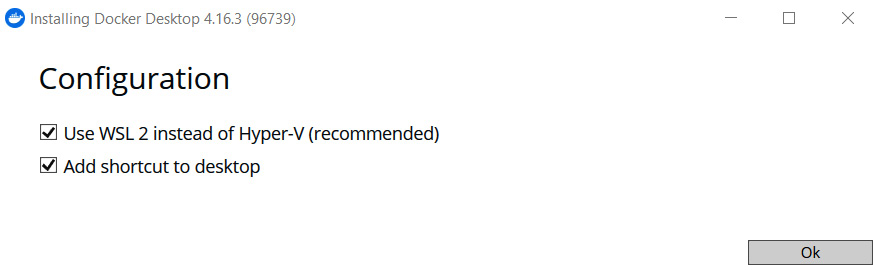
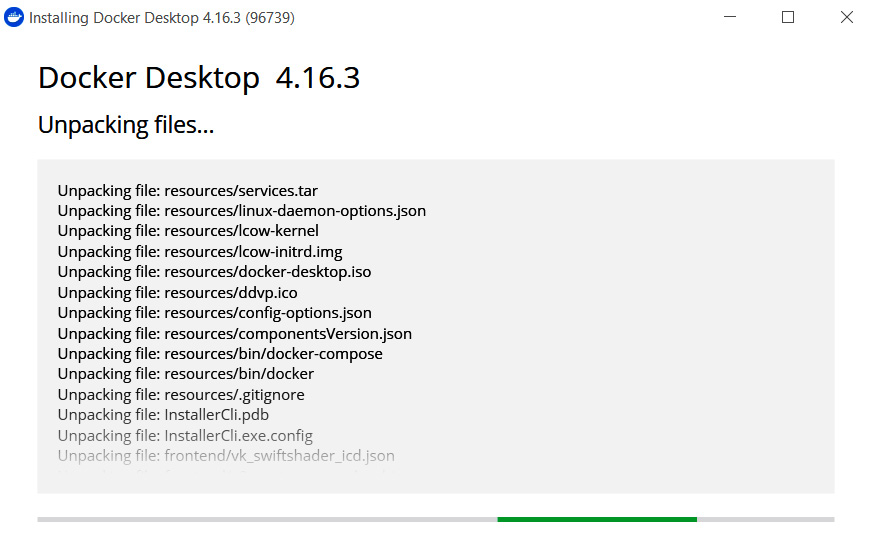
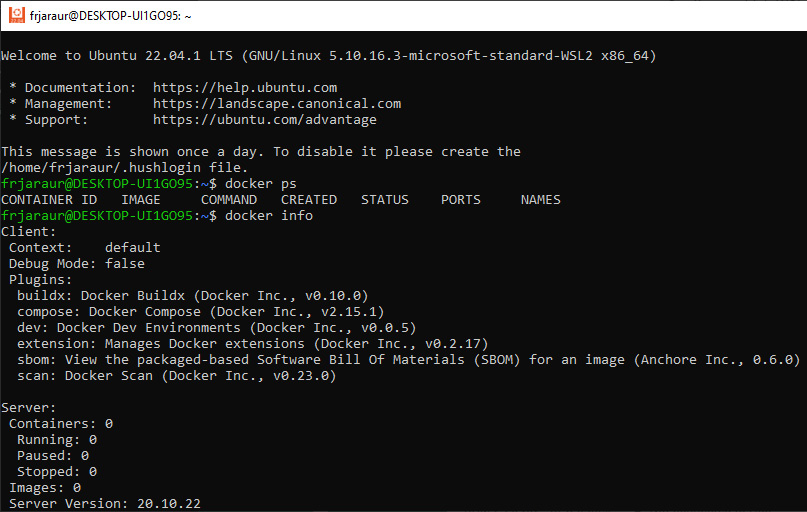
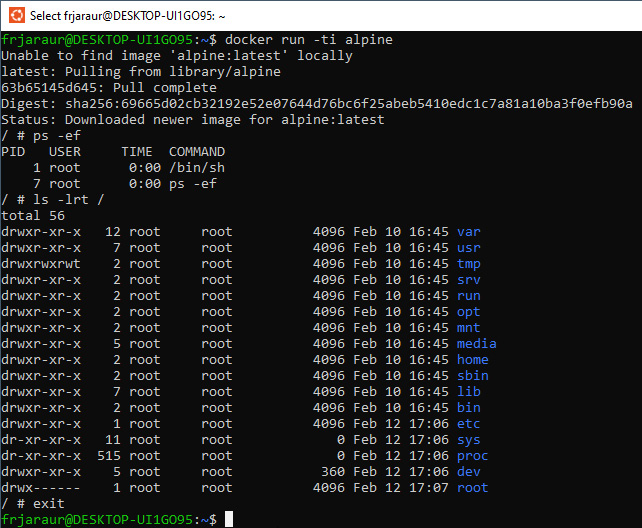
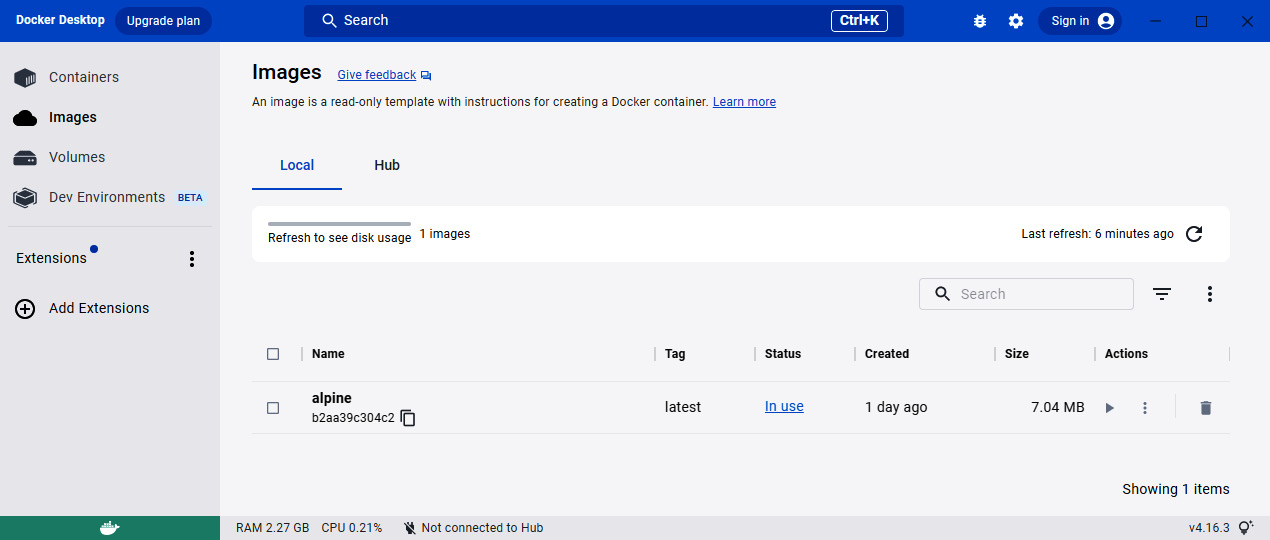
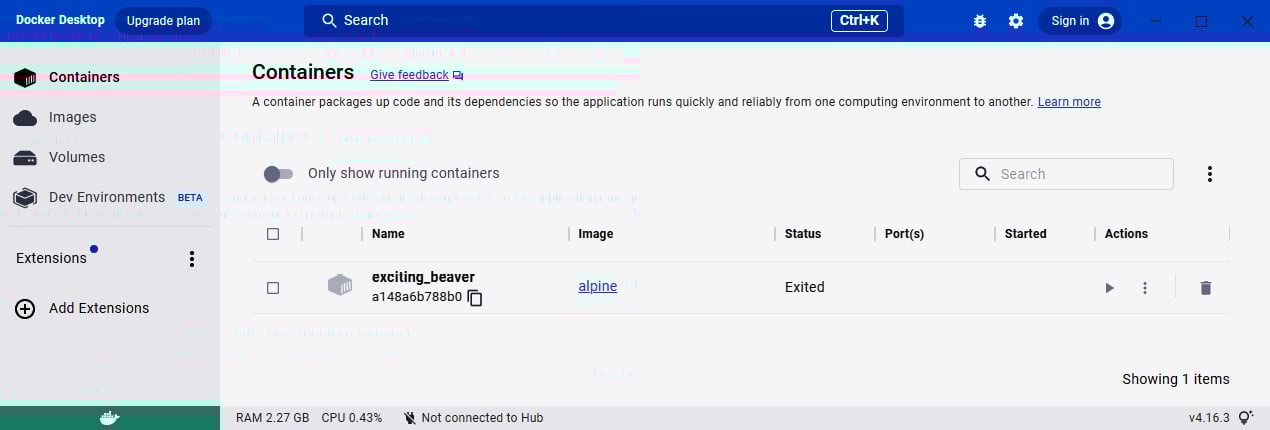
Developers are changing their deployment artifacts from application binaries to container images, giving rise to the need to build container-based apps as part of their new development workflow. Managing an app’s life cycle is complex and requires effort—this book will show you how to efficiently develop, share, and execute applications.
You’ll learn how to automate the build and delivery process using CI/CD tools with containers as container orchestrators manage the complexity of running cluster-wide applications, creating infrastructure abstraction layers, while your applications run with high availability, resilience, and persistence. As you advance, you’ll develop, test, and debug applications on your desktop and get them ready to run in production with optimal security standards, using deployment patterns and monitoring tools to help identify common issues. You’ll also review deployment patterns that’ll enable you to solve common deployment problems, providing high availability, scalability, and security to your applications. Finally, you’ll explore different solutions to monitor, log, and instrument your applications as per open-source community standards.
By the end of this book, you’ll be able to manage your app’s life cycle by implementing CI/CD workflows using containers to automate the building and delivery of its components.
Table of Contents (20 chapters)
Preface

Part 1:Key Concepts of Containers
 Free Chapter
Chapter 1: Modern Infrastructure and Applications with Docker
Chapter 2: Building Docker Images
Chapter 3: Sharing Docker Images
Chapter 4: Running Docker Containers
Chapter 5: Creating Multi-Container Applications
Part 2:Container Orchestration
Chapter 6: Fundamentals of Container Orchestration
Chapter 7: Orchestrating with Swarm
Chapter 8: Deploying Applications with the Kubernetes Orchestrator
Part 3:Application Deployment
Chapter 9: Implementing Architecture Patterns
Chapter 10: Leveraging Application Data Management in Kubernetes
Chapter 11: Publishing Applications
Chapter 12: Gaining Application Insights
Part 4:Improving Applications’ Development Workflow
Chapter 13: Managing the Application Life Cycle
Index